If you’re searching for a peplum top sewing pattern that flatters curves and stays put, this Haadia peplum top workflow is for you. Designed for knit fabrics and a cinched waist, the Haadia top gives full coverage without the frustrating hike-up in the back. Below I break the entire make-down into clear steps, supply lists, and fit tips so you can sew a professional-looking top at home.
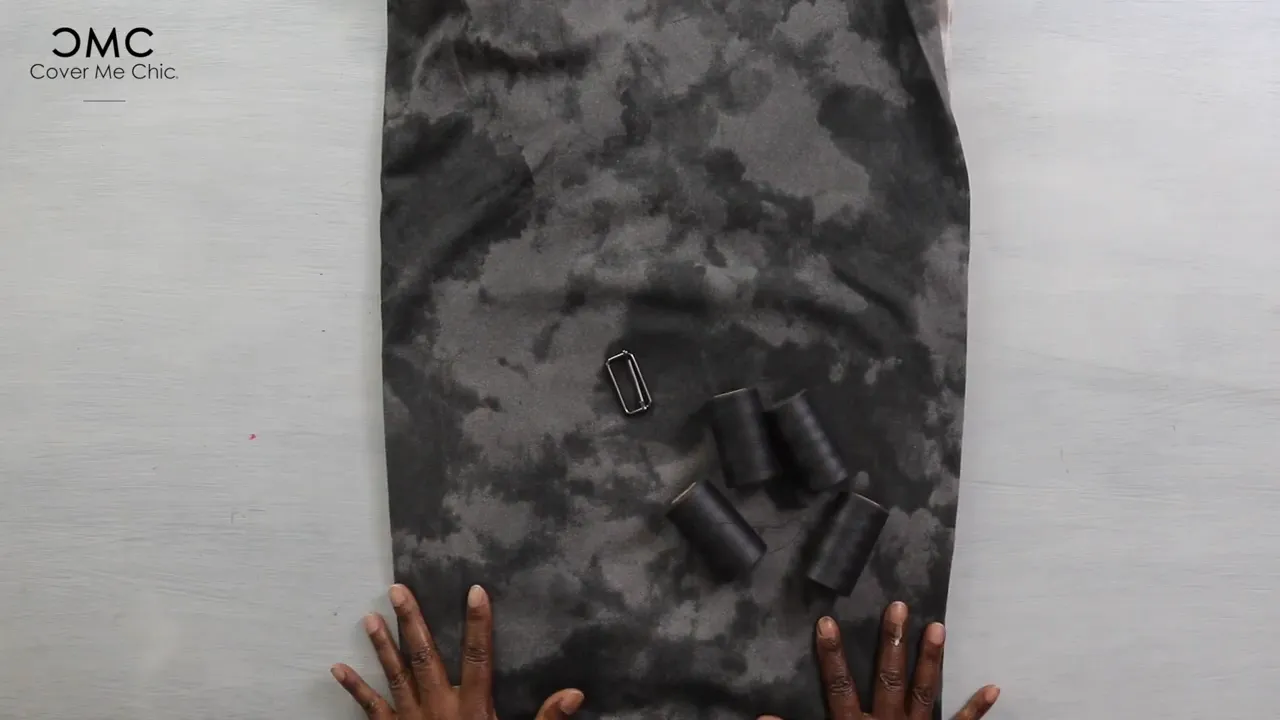
Lay out the pattern and cut all pieces following the pattern instructions. For the waistband, fold both pieces wrong sides together, lining up notches. Sew the long edges and clip the seam allowance to 1/4″ where indicated so the curve turns smoothly. The belt for this peplum top sewing pattern is narrow, so use a loop turner to push the fabric through and get a crisp finish.
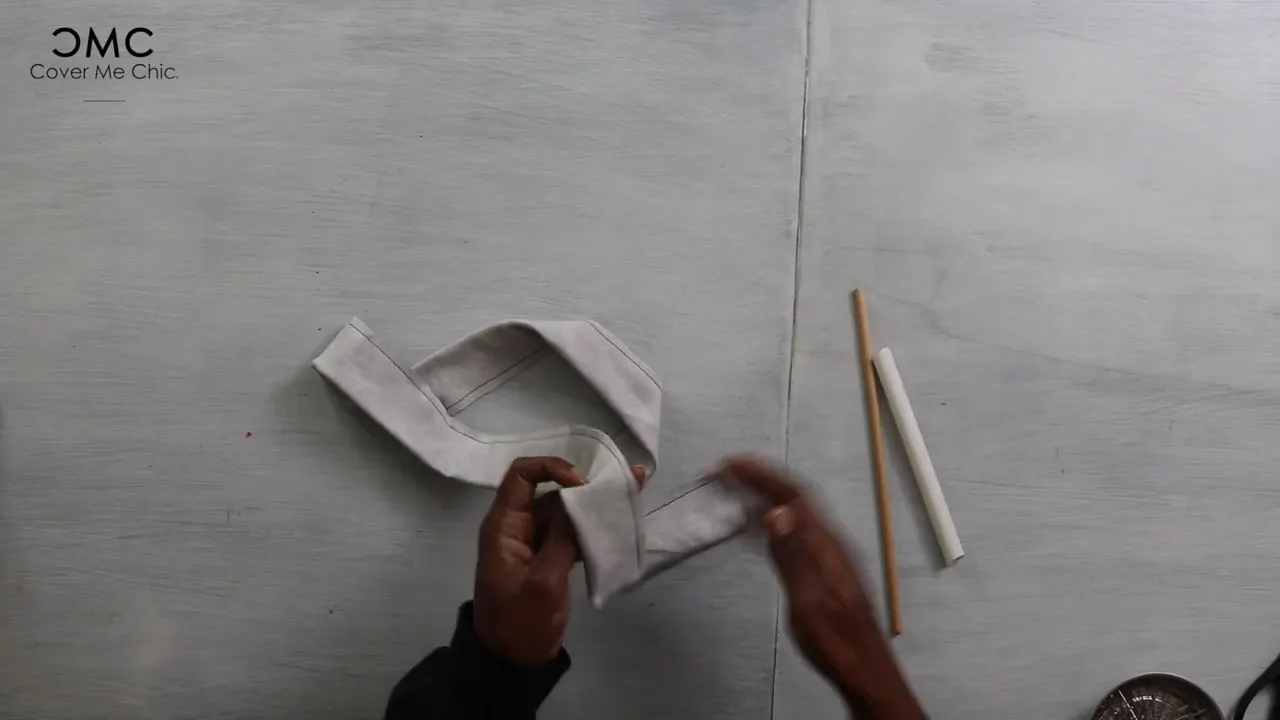
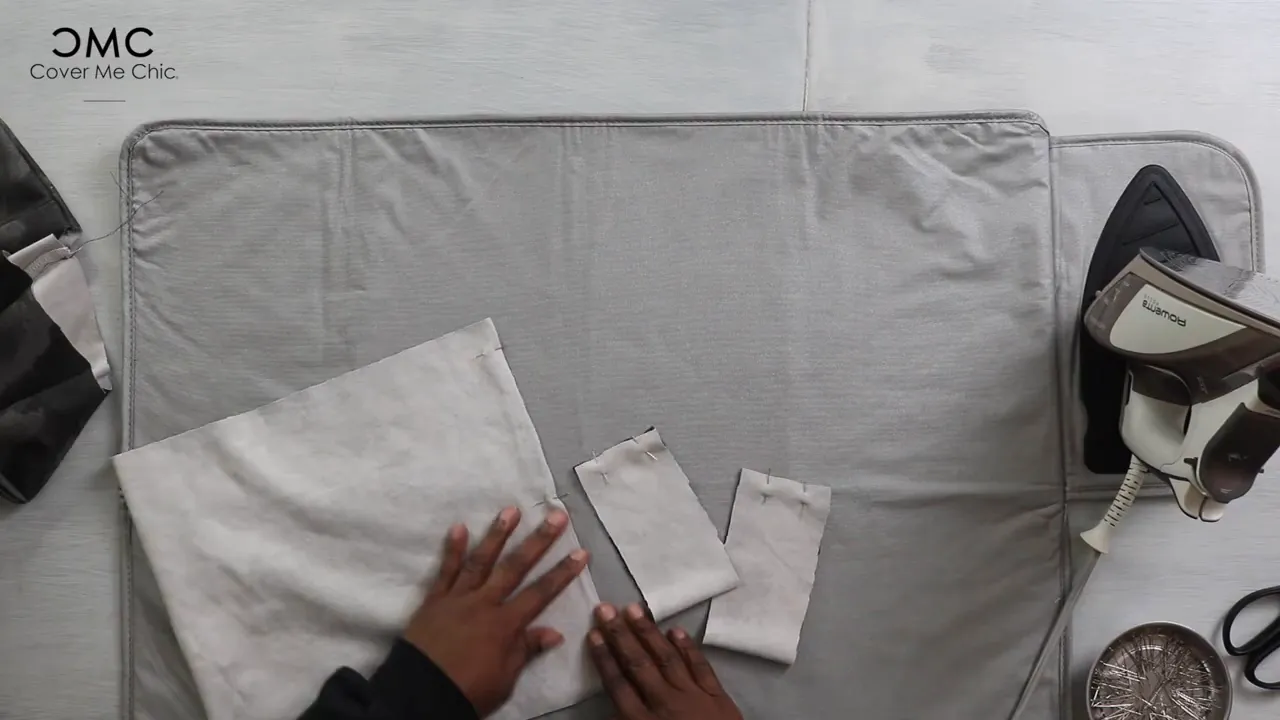
Press the seams flat and match the seam line to the fold before topstitching — it makes turning and finishing much cleaner.
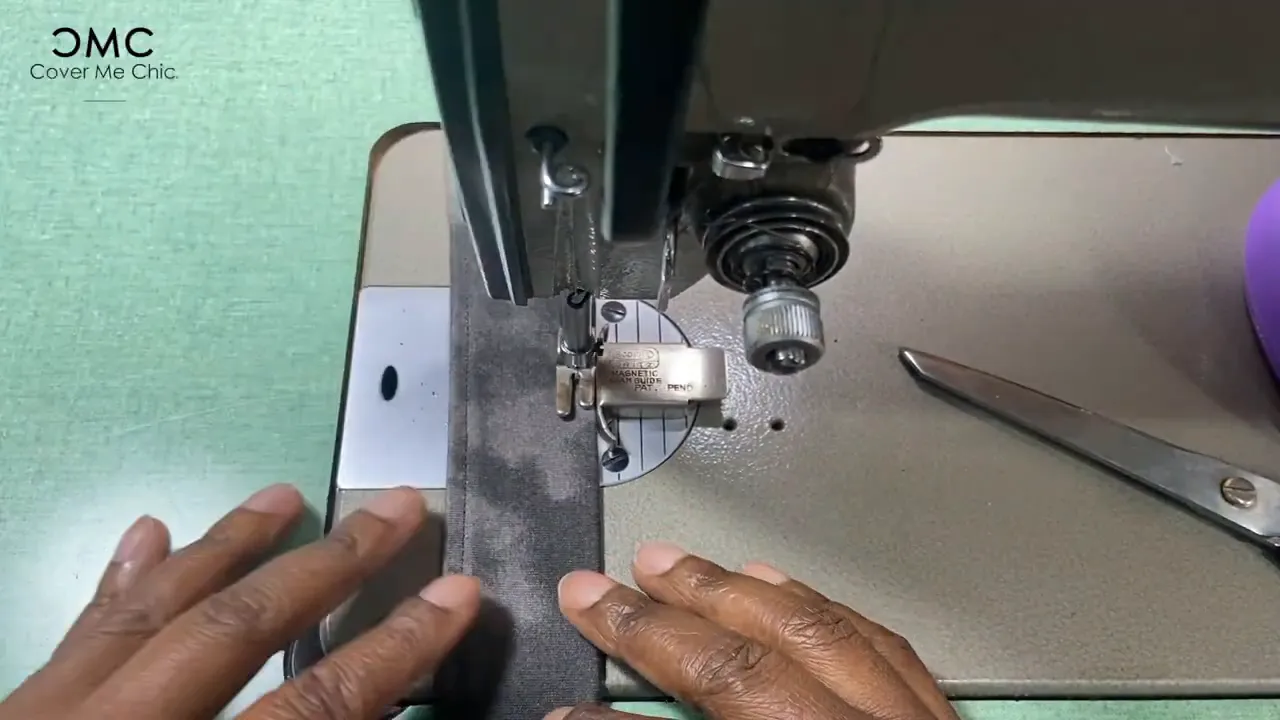
Topstitch the waistband at 1/4″ from the raw edge to keep everything flat. Fold the belt through the slider, allowing roughly 1″ to loop, then fold the raw edge under 1/4″ and topstitch securely. Match the waistband notches to the front bodice so the belt lands in the correct position on both sides.
Pin the side front panels to the center front, matching notches and easing as needed. Sew front seams and back seams using a 1/2″ seam allowance for the main construction — this is a reliable allowance for knit garment assembly. Finish seam edges on a serger or with a narrow zigzag to prevent stretching.
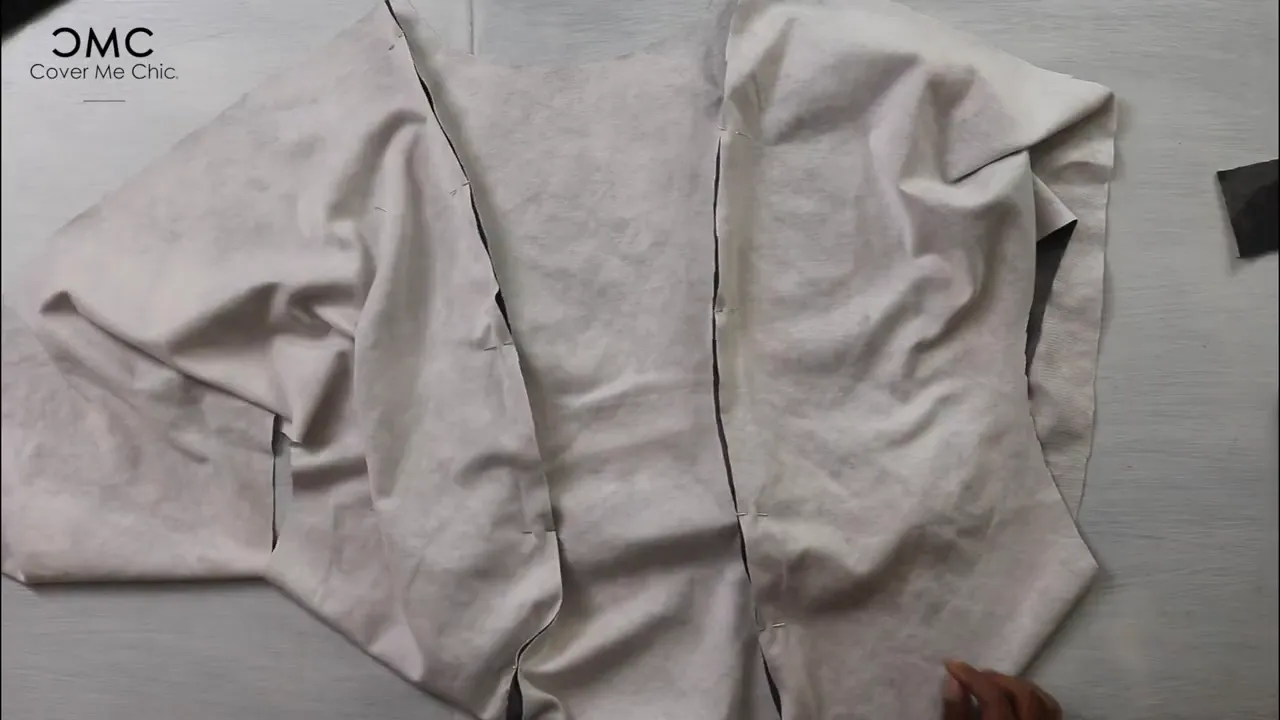
Press every seam you sew. Proper pressing flattens seam bulk and gives your peplum top sewing pattern a professional look.
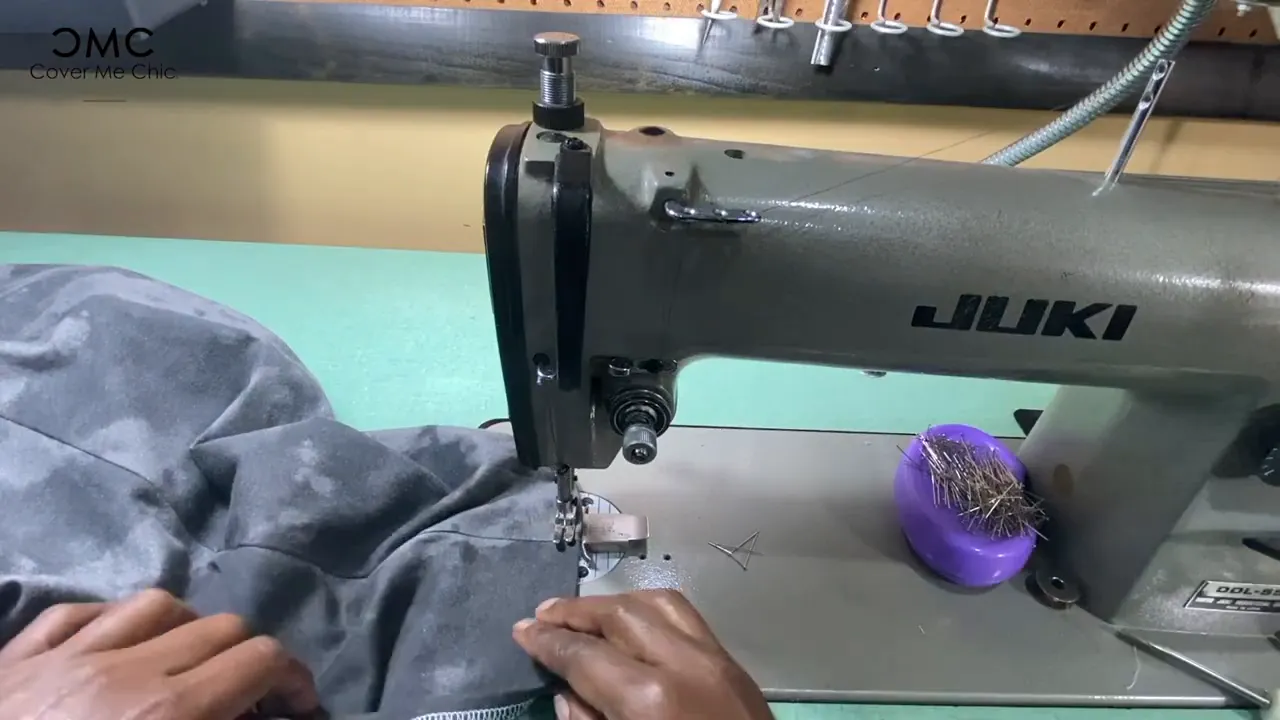
Construct the collar and cuffs by sewing the short ends right sides together at 1/2″ seam allowance, pressing seams open, then folding wrong sides together and pressing again. Pin the collar to the neckline matching the center back and front notches, then stitch in place. For the sleeve hems, use two rows of basting: one at 1/4″ from the raw edge and another about 1″ in. These rows let you evenly gather the sleeve edge to fit the cuff.
Match the cuff seam to the side seam and the sleeve seam to the cuff notch, evenly distribute the gathers, then sew with a 1/2″ seam allowance. Finish all raw edges and press again. Turn up the bottom hem 1/2″ and topstitch 1/2″ from the edge for a clean finish.
Once you’ve finished the hems and edges, give the entire top a final press. The result is a flattering, cinched-waist peplum that provides coverage and won’t hike up as you move. Pair it with straight leg pants for a polished modest look.

If you love this peplum top sewing pattern and want more monthly patterns, live Q&A sessions, and access to a community of sewists, consider joining a our CMC sewing collective which offers guided support and new designs each month. If you prefer a standalone option, get the Haadia pattern as a single-purchase download.
Sewing a peplum top that fits well on curves is about fabric choice, careful seam finishing, and thoughtful placement of the waistband and belt hardware. Follow these steps and you’ll end up with a polished, comfortable top that stays where it should — no hiking, just flattering shape.
Download your free how to Measure your body Tool Kit.
There was a problem reporting this post.
Please confirm you want to block this member.
You will no longer be able to:
Please note: This action will also remove this member from your connections and send a report to the site admin. Please allow a few minutes for this process to complete.