
Ready to dive into the world of DIY fashion? In this guide, I’ll show you how to sew a jumpsuit that’s not just stylish but also fits beautifully. The Suad jumpsuit features a high waist with an elastic back, a mandarin collar, a front zipper, and practical side pockets. Whether you’re dressing it up for an event or keeping it casual, this jumpsuit is versatile enough for any occasion. Let’s get started!
Before we jump into the sewing process, let’s gather everything you’ll need. Here’s a quick checklist:
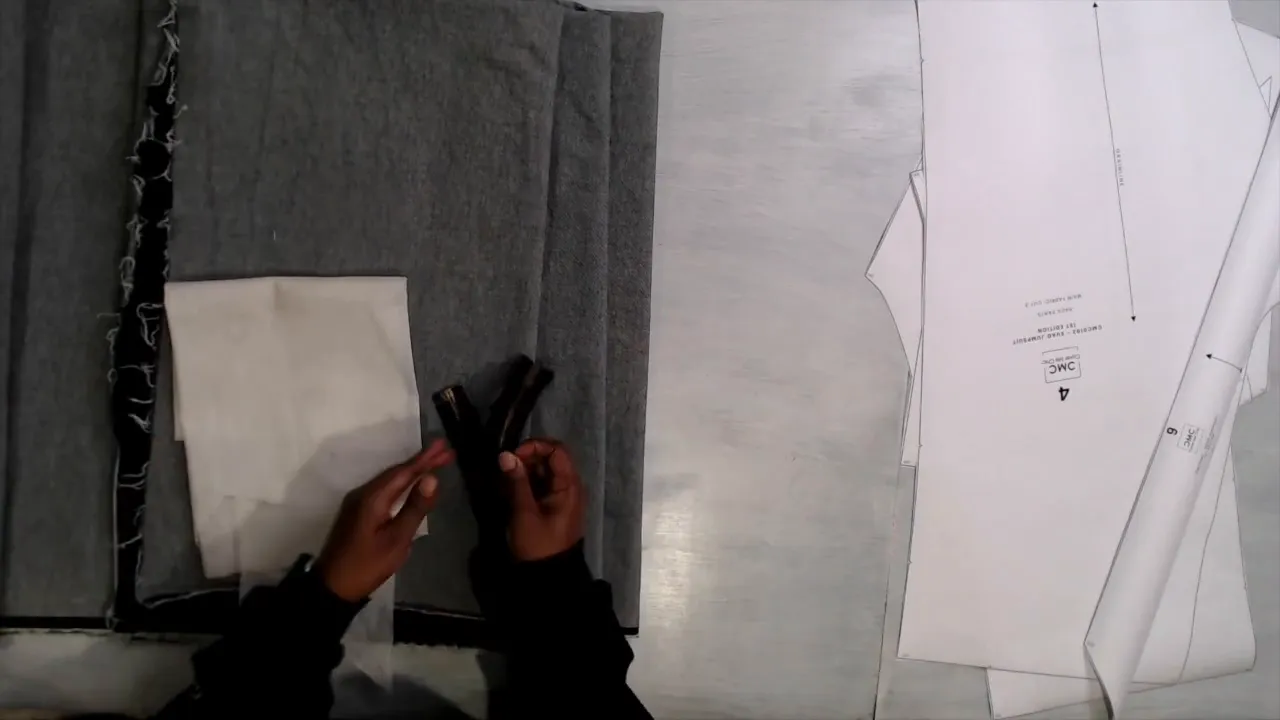
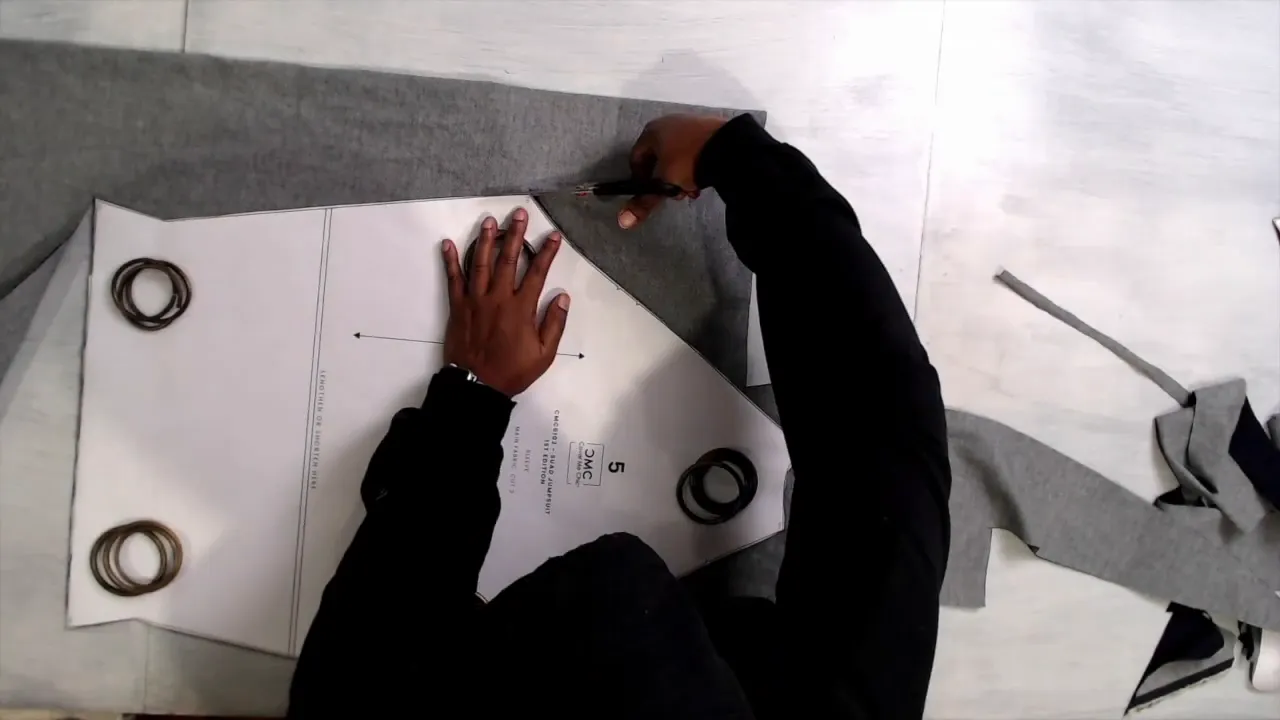
Now that you have everything, let’s talk about how to cut your fabric. It’s essential to lay out your pattern according to the fabric width. The pattern instructions will guide you on the layout process, but the general rule is to cut everything along the straight or coarse grain. Don’t forget to mark all notches!
Once your fabric is laid out, it’s time to cut. Make sure you cut carefully, as this will ensure a clean and professional finish later on. After cutting, you should have the following pieces:
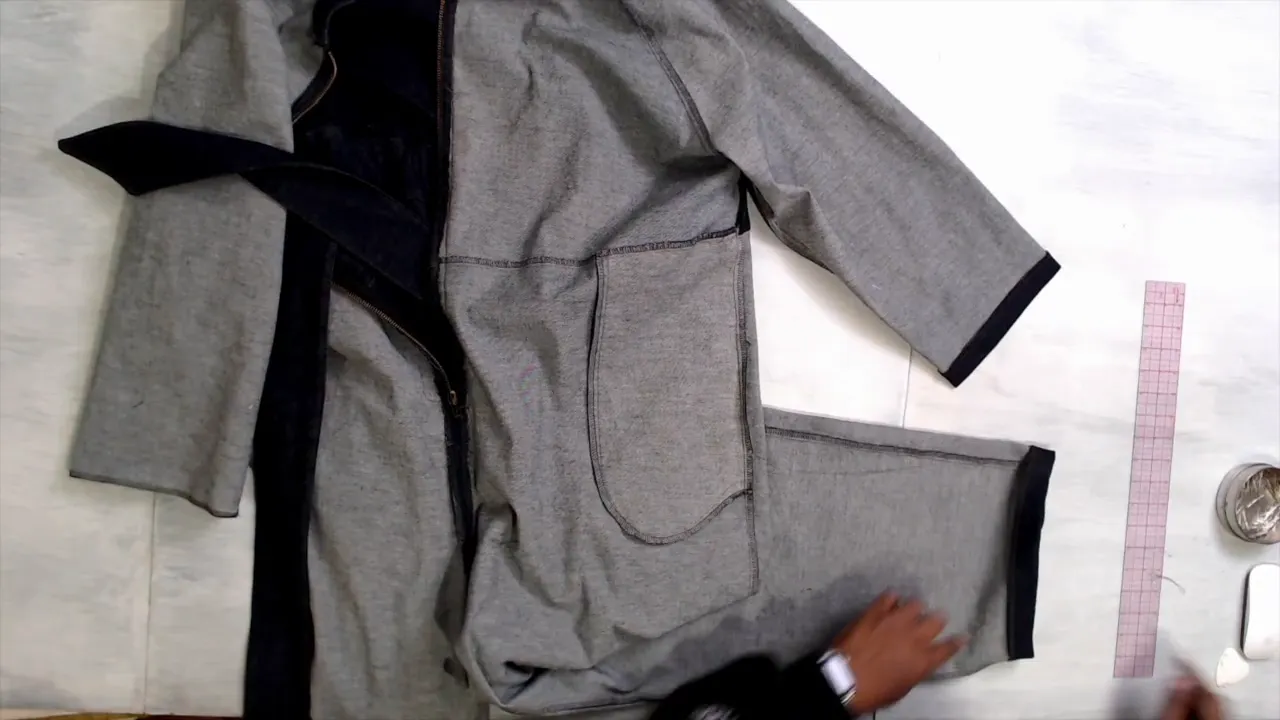
Next, let’s sew the pockets. Start by fusing one side of the collar and then move on to sewing the full pockets. Attach the back waistband to the pants, then head over to your sewing machine.
Use a half-inch seam allowance to sew everything. After sewing, trim and clip the edges to reduce bulk. It’s time to turn the full pocket right side out and attach it to the back waistband.
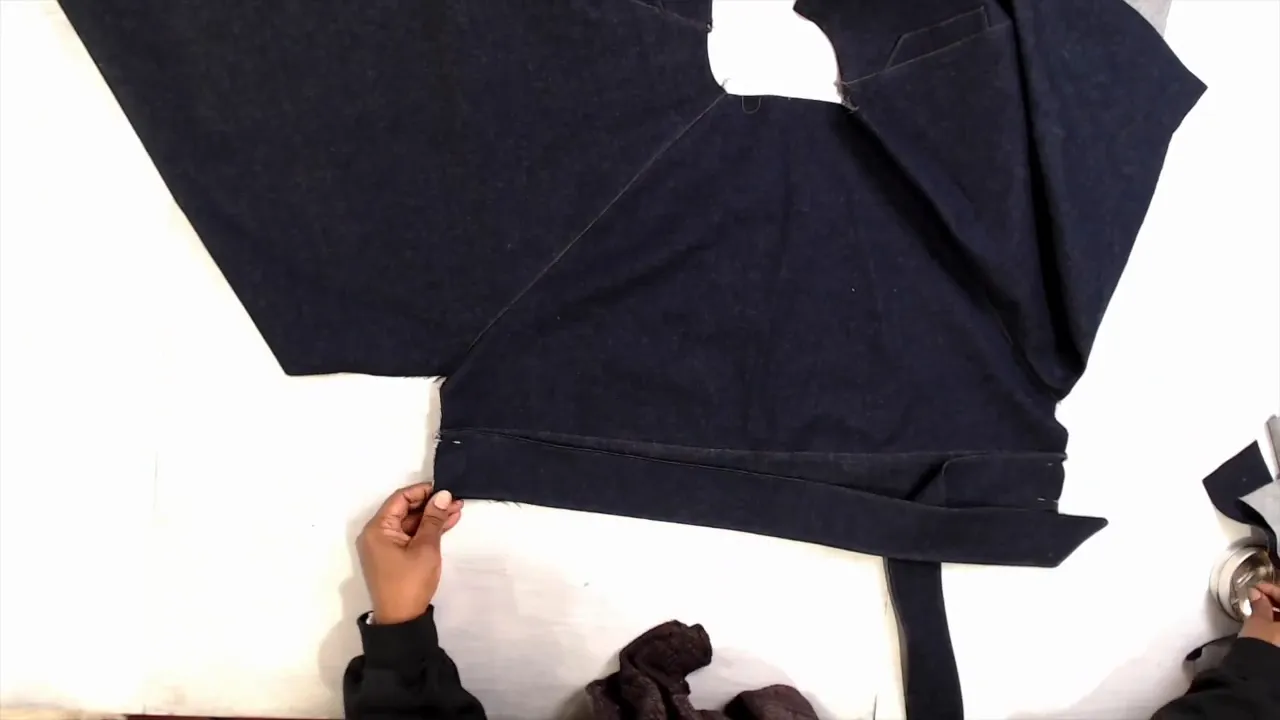
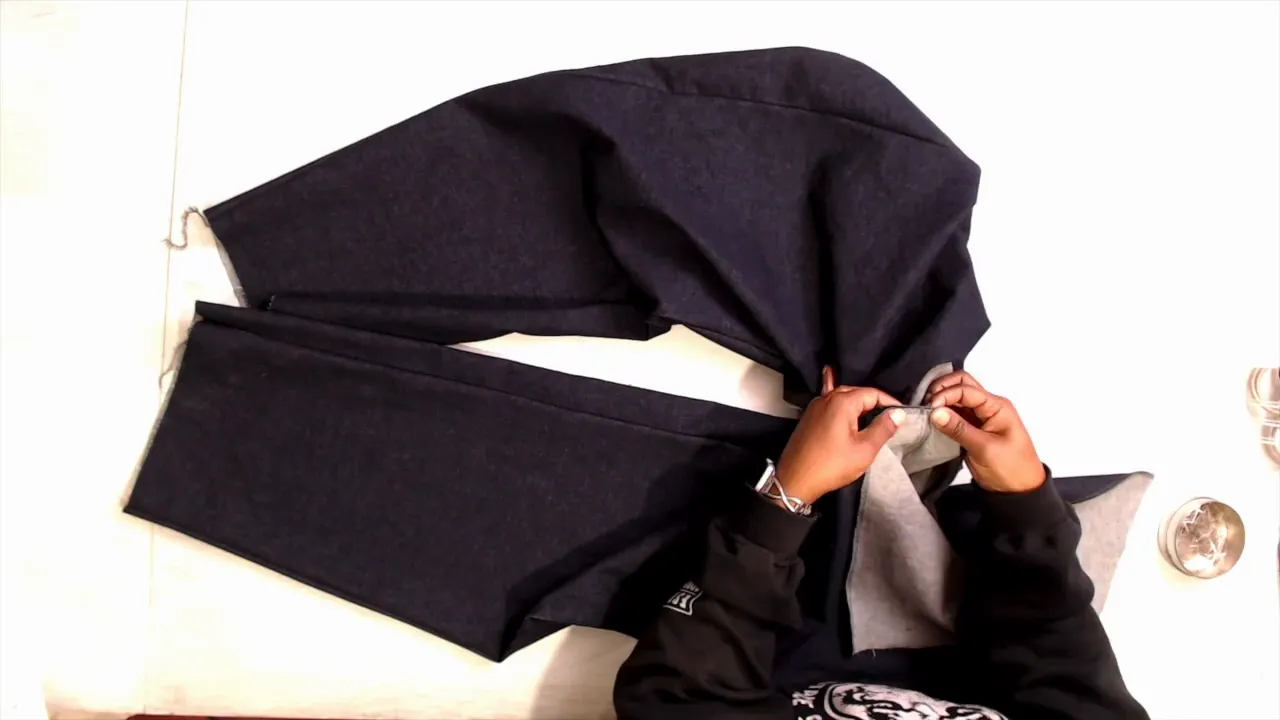
With the pockets attached, let’s assemble the top section of the jumpsuit. Start by attaching the front sleeve and matching it with the back sleeve. It’s crucial to sew all seams for both the front and back sleeves, ensuring you mark and match all notches.
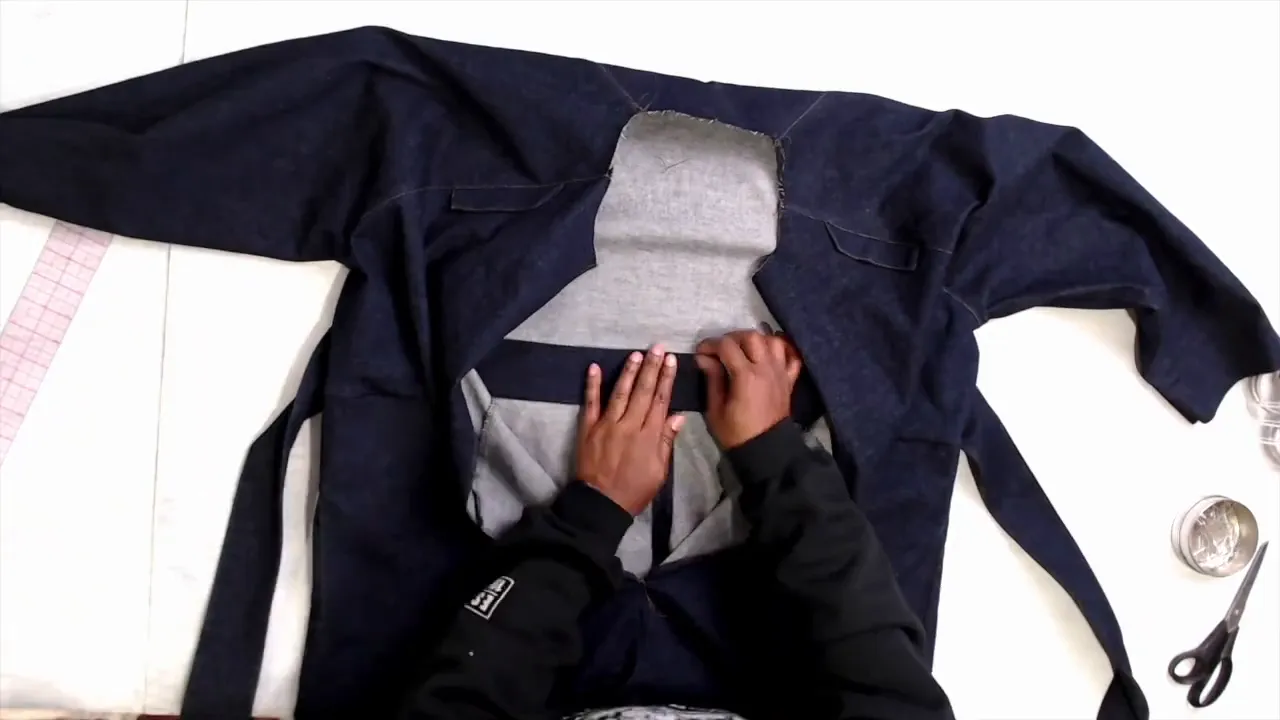
While at the machine, sew the front belt with a half-inch seam allowance. After that, trim it down to about a quarter of an inch and clip the ends. Turn the belt right side out, press it, and sew an eighth-inch top stitch for a polished look.
Now that the top is finished, it’s time to work on the bottom section. Transfer the stitch line to the pocket, match the notches, and pin everything in place. Sew at a half-inch seam allowance and serge the edges for a clean finish.
Next, pin the pocket to the front to secure it. If you prefer, you can stay stitch it instead. Pin the inseam front and back together, along with the side seams, and sew both seams at a half-inch seam allowance.
After finishing both pant legs, it’s time to join the top and bottom. Match all notches and clip the middle of the bottom waistband to align with the center back seam. Pin everything together and sew with a half-inch seam allowance.
Be cautious, as the layers can get thick when working with denim. Use a larger needle for easier sewing through multiple layers.
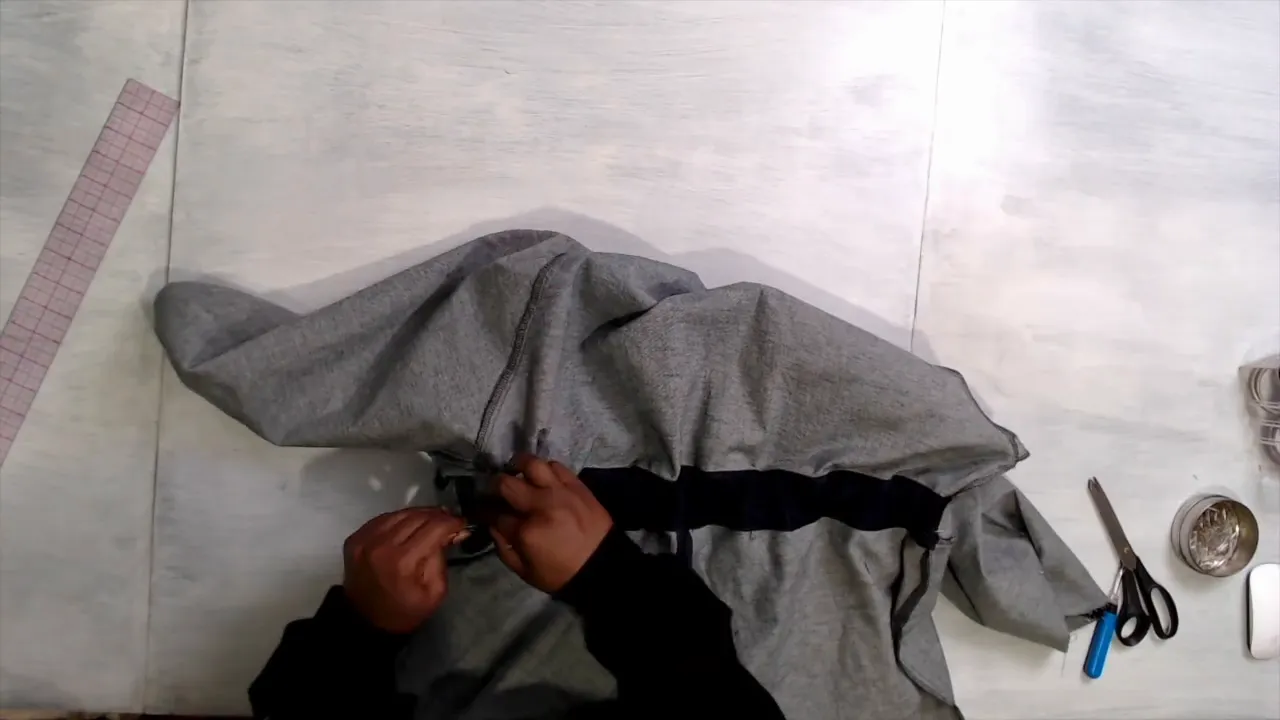
Next, we need to create the casing for the elastic. Pin up the back waistband and top stitch at an eighth of an inch away from the edge around the entire waistband. This will help secure the elastic in place.
For the elastic, I used two inches wide, cut to about nineteen inches. Adjust the length based on your preference for fit. Guide the elastic through the casing and pin the edges to prevent movement.
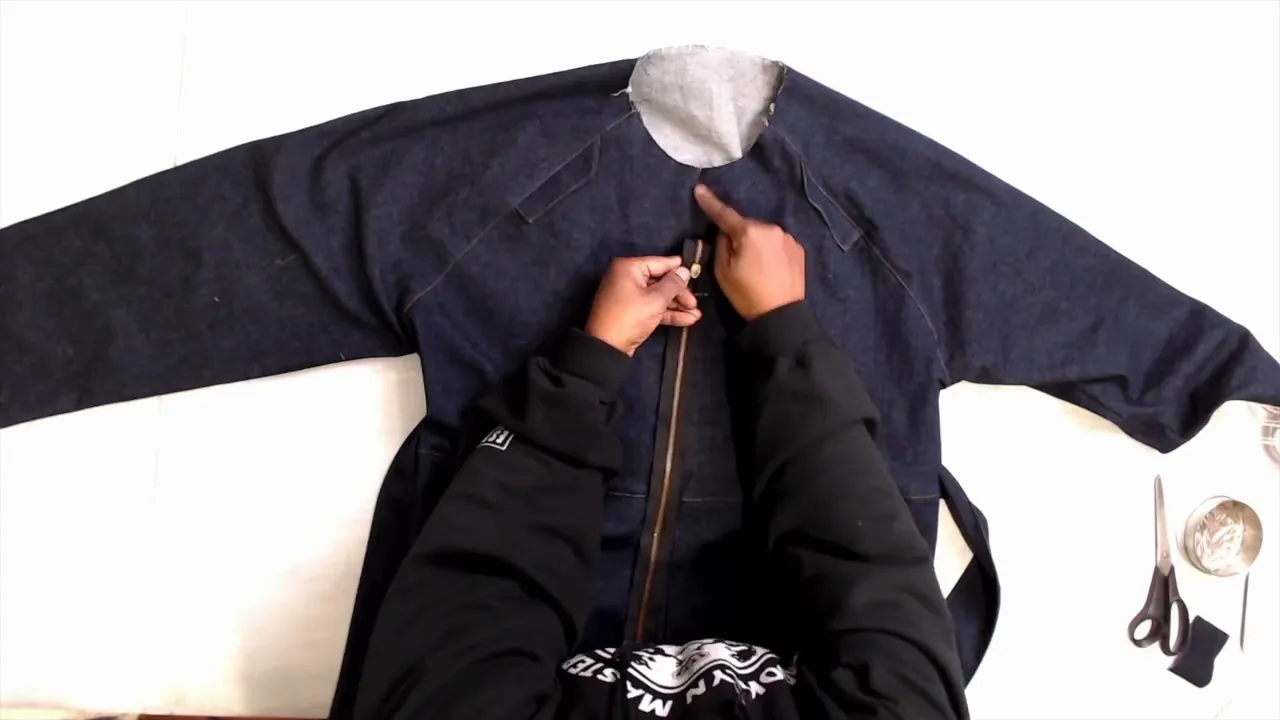
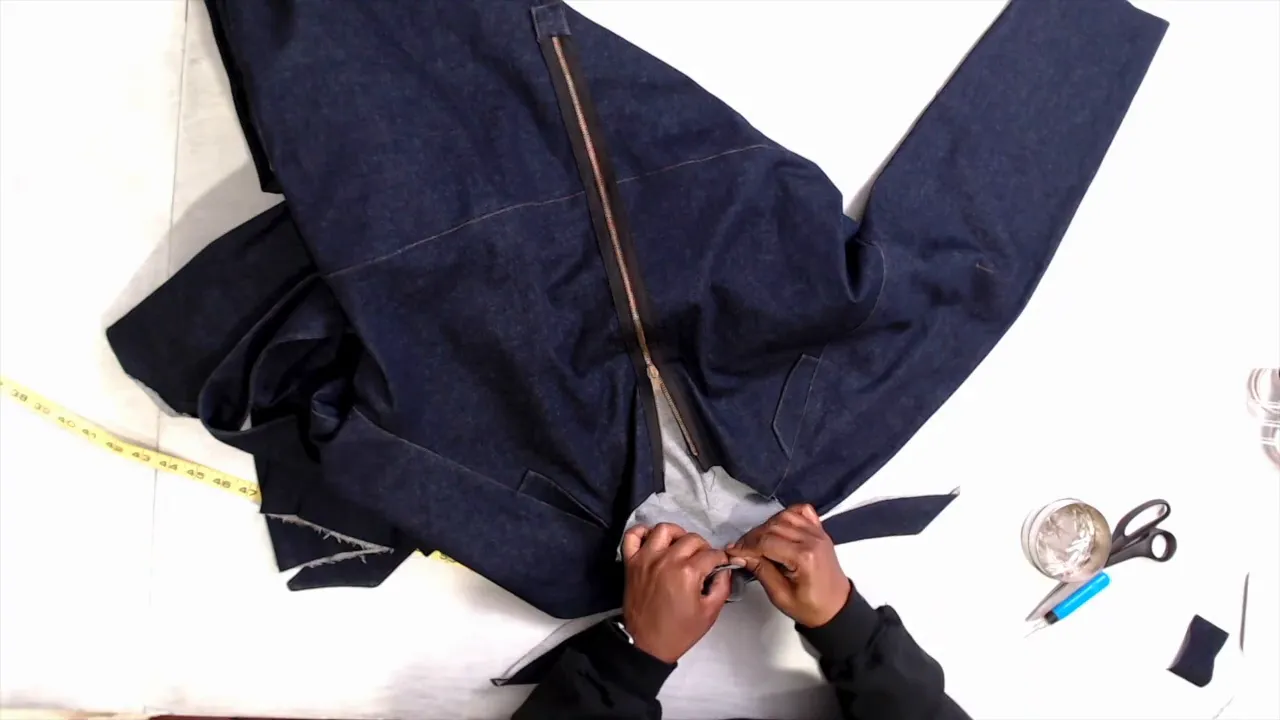
The zipper installation is next. Pin the waistband seams together and sew at a half-inch seam allowance. Before attaching the zipper, clean up the bottom with the zipper cover. This will give a finished look to the bottom seam.
With everything secured, turn it right side out and pin the zipper to the front seam. Ensure the zipper teeth are centered on the seam. Use a seam ripper to open the front seam for sewing the zipper onto the jumpsuit.
Now, let’s move on to the collar. Pin the collar right sides together and sew with a half-inch seam allowance. After trimming the edges, turn it right side out and press it before attaching it to the neck of the jumpsuit.
Fold both the back and collar and clip them to match at the back. Make sure to ease everything into place before sewing it down with a half-inch seam allowance.
Finally, it’s time to hem the edges. I serged the edges already, folded them up, and pressed them. Now, simply sew an inch away from the edge after folding. This will give your jumpsuit a clean finish.
And there you have it! The Suwad jumpsuit is complete and ready to wear. You can download the pattern below, and I hope you enjoyed this tutorial on how to sew a jumpsuit!
Sewing your own jumpsuit can be a rewarding experience. Not only do you get a custom fit, but you also get to express your unique style. Don’t hesitate to experiment with different fabrics to make this jumpsuit truly yours. Happy sewing!
For more tutorials and inspiration, follow me on Instagram and Youtube. And don’t forget to like and subscribe for more DIY fashion projects!
The Suad jumpsuit PDF pattern is more than just a garment; it’s your ticket to effortless style and comfort.
Download your free how to Measure your body Tool Kit.
There was a problem reporting this post.
Please confirm you want to block this member.
You will no longer be able to:
Please note: This action will also remove this member from your connections and send a report to the site admin. Please allow a few minutes for this process to complete.