Welcome to a comprehensive guide on sewing a stunning maxi wrap dress that fits beautifully, flatters curves, and offers practical style with pockets and 3/4 sleeves. This tutorial is inspired by the Nadia maxi wrap dress sewing pattern by Cover Me Chic, a pattern specifically drafted to accommodate wider hips and a fuller backside without the dress hiking up in the back. Whether you’re an experienced sewist or a beginner eager to create a modest yet fashionable garment, this detailed walkthrough will help you achieve professional results.
If you’re passionate about sewing clothes that fit your body perfectly and express your personal style, this maxi wrap dress is an excellent project to add to your sewing repertoire. Before we dive into the sewing process, let’s explore the materials, preparation, and step-by-step instructions to create your own Nadia maxi wrap dress.

To start your maxi wrap dress project, gather the following materials:
Make sure to get your own copy of the CoverMe Chic Nadia maxi wrap dress sewing pattern to follow along with the exact sizing and pattern layout. You can find the link to the pattern in the description of the original tutorial.
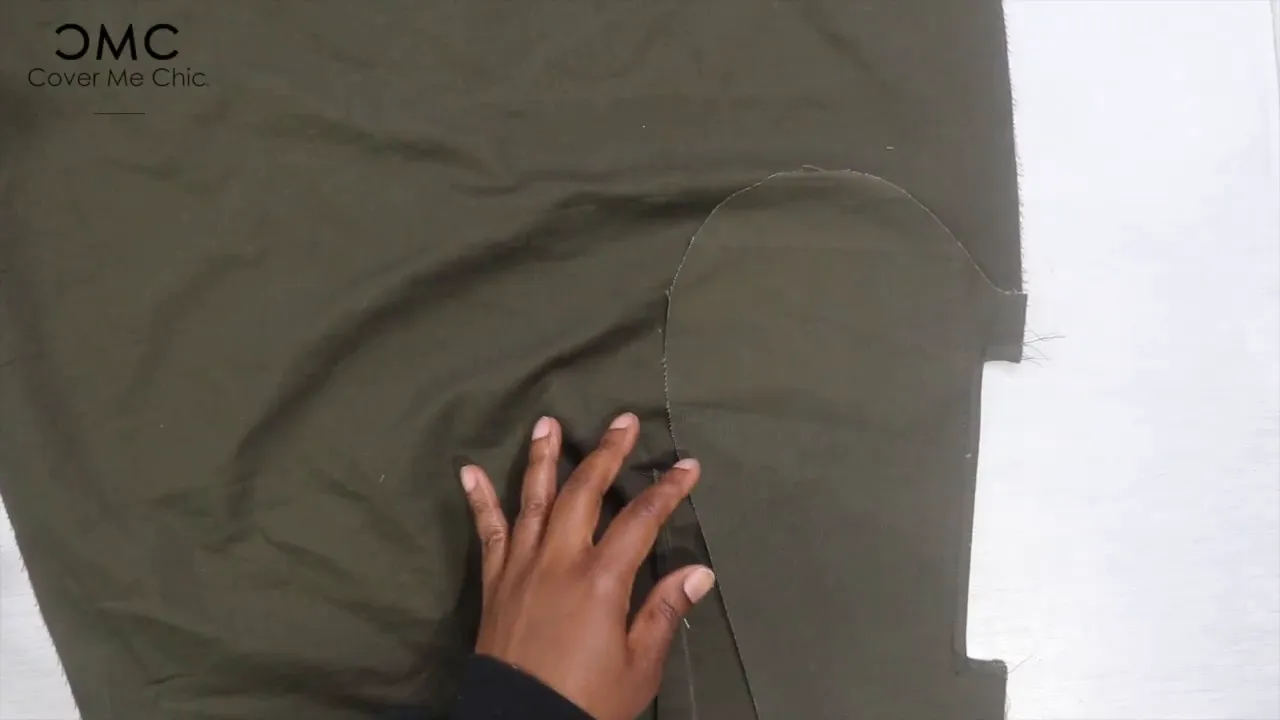
Once you have your fabric and pattern ready, the first step is to cut out all the pattern pieces. Carefully clip all notches to ensure accurate assembly later on. The Nadia dress includes darts placed on the back and front bodice as well as the front and back skirt, which are essential for shaping the garment to your curves.
Marking darts accurately is crucial. Here’s a quick and effective method I use:

This method ensures your darts are symmetrical and precise, setting the foundation for a flattering fit.
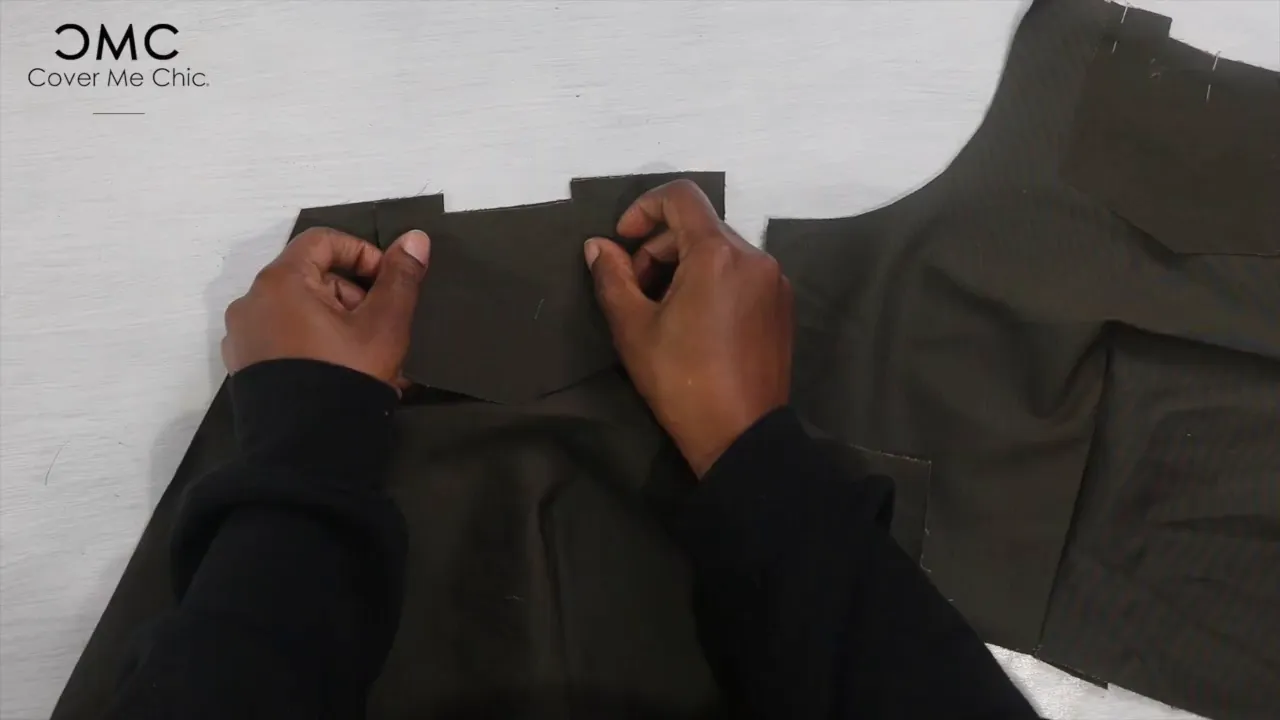
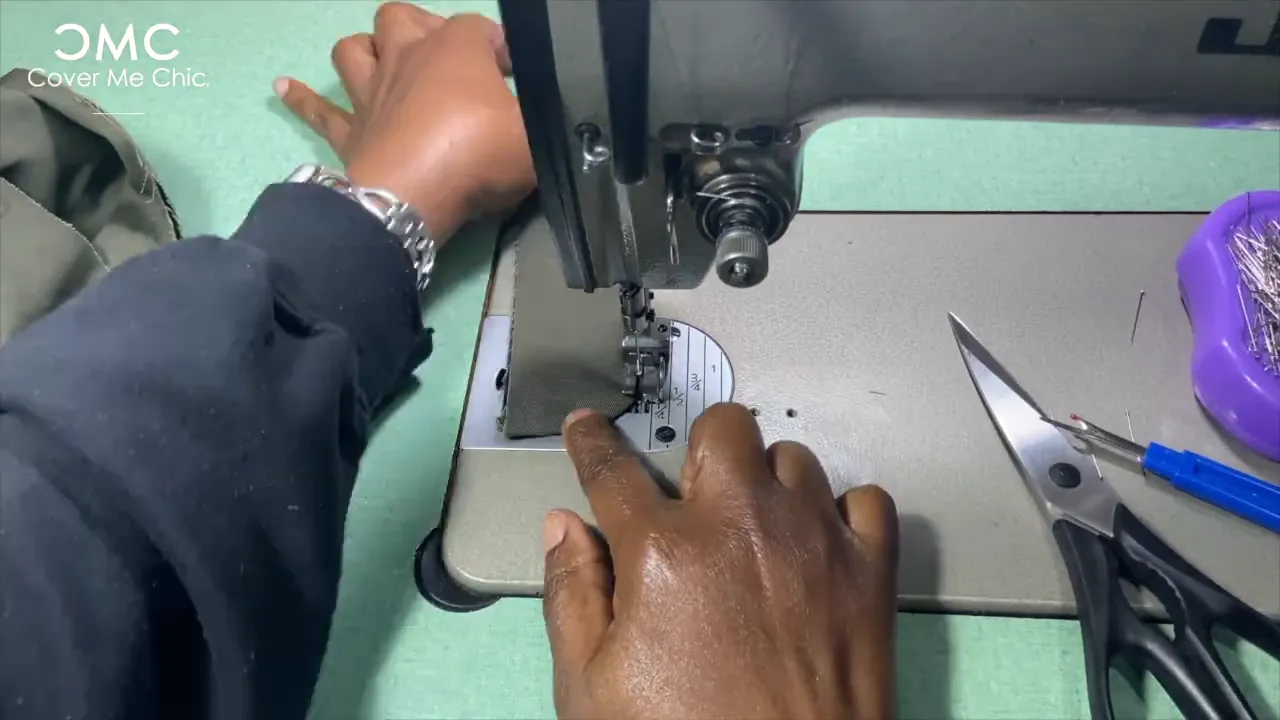
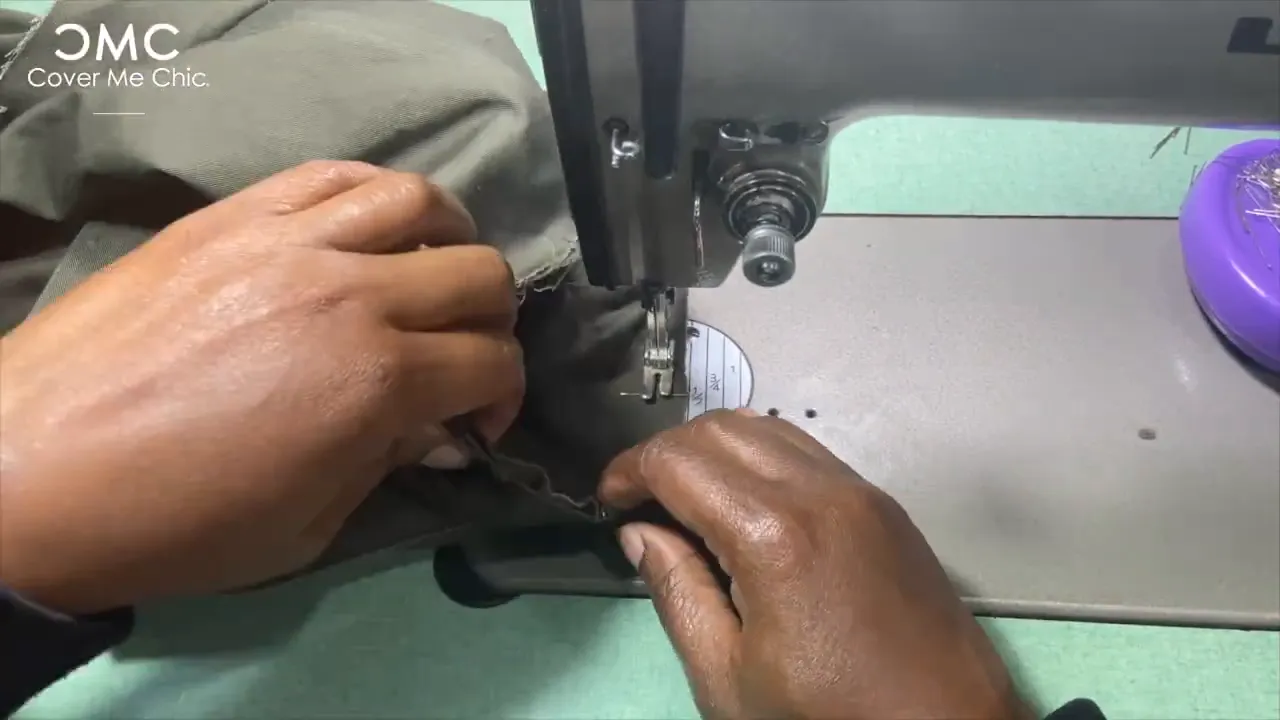
After marking, it’s time to sew the darts. I recommend starting the stitch as close as possible to the tip of the dart to maintain control and precision. Sew along the marked dart lines, then fold the darts towards the center front or center back depending on the location, and press them flat with an iron.
Pressing the darts properly shapes the bodice and skirt, ensuring the dress contours your body comfortably and elegantly.

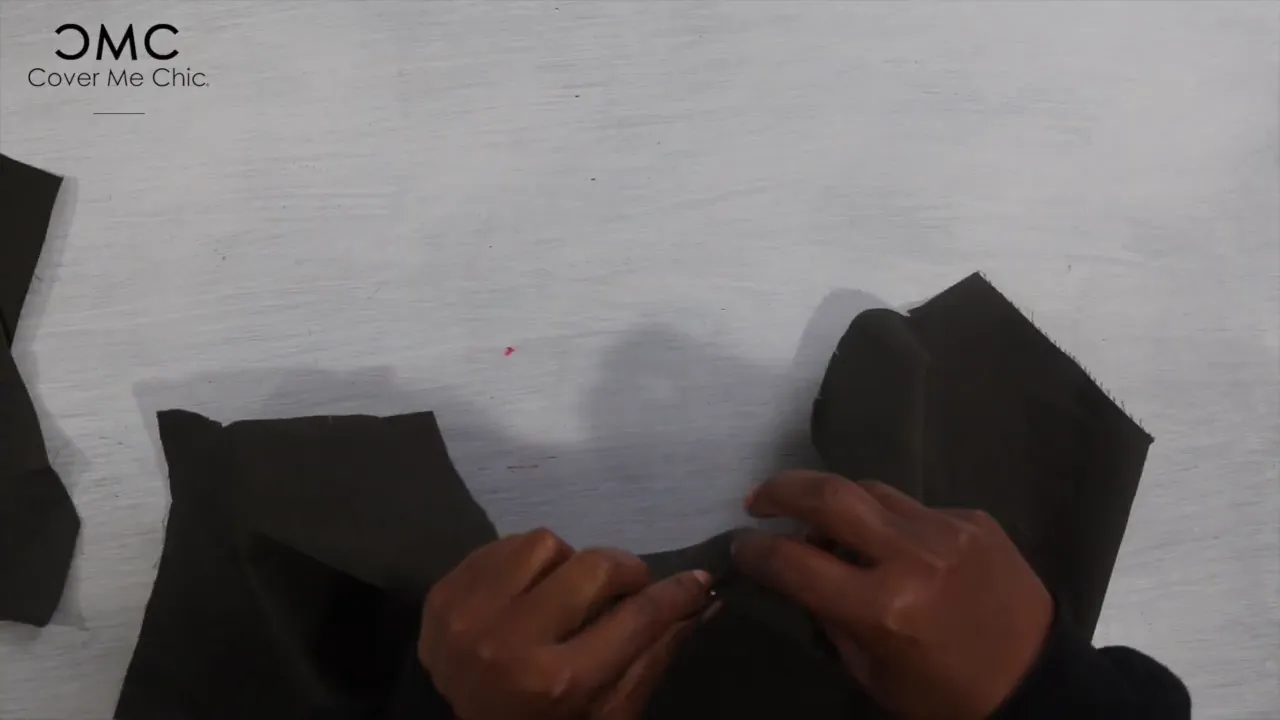
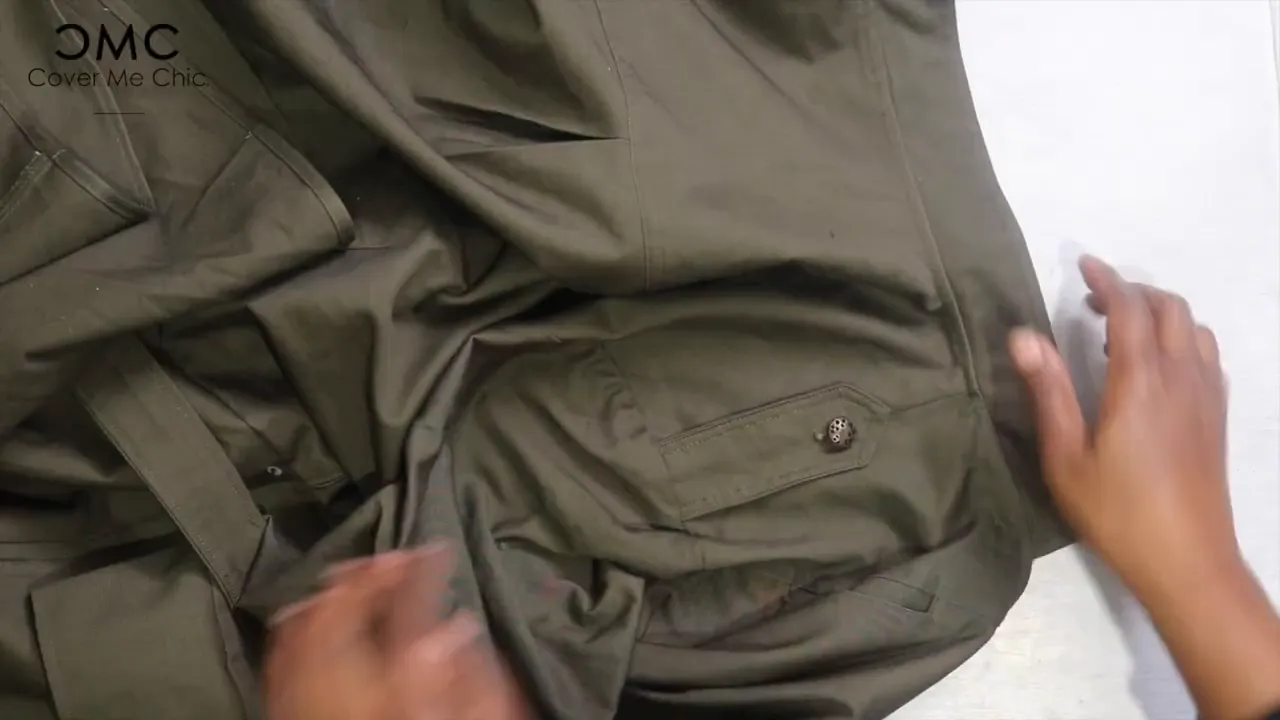
Next, turn the front bodice right side out and attach the pocket facing. Pin the pocket facing right sides together and sew with a 1/2 inch seam allowance around the pocket opening. After sewing, trim the seam allowance to 1/4 inch and clip the corners to reduce bulk. Turn the pocket facing right side out and press it flat.
Meanwhile, the back bodice features a pleat for ease and design detail. To create the pleat, clip the center back fold to mark the pleat placement. Match the notches and pin the pleat in place, distributing it evenly. For a more secure finish, you can stay-stitch the pleat, although this step is optional depending on your preference.
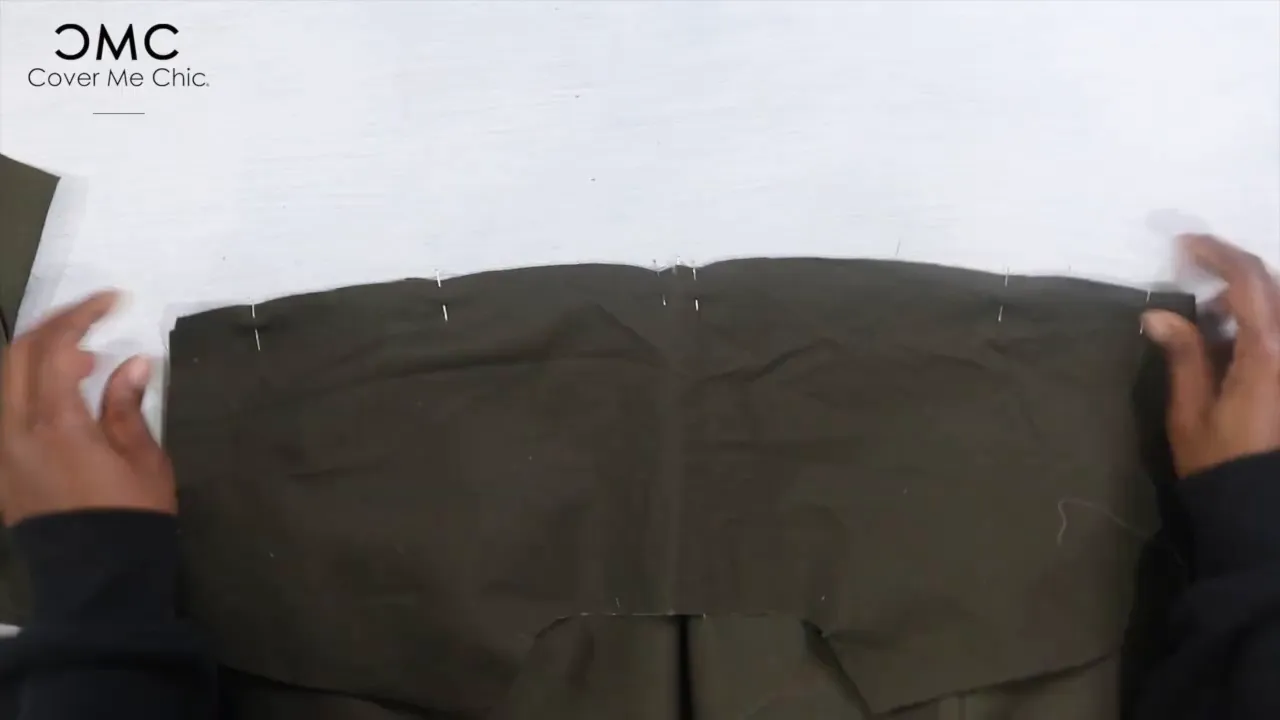
The back yolk is an important design element and structural feature. Pin the back yolk in place, matching the center notch. To save time and ensure accuracy, sandwich the back bodice between the back yolk pieces and sew them all together in one go. This technique provides a clean finish and reinforces the seam.
Once sewn, press the seam flat and prepare for topstitching.
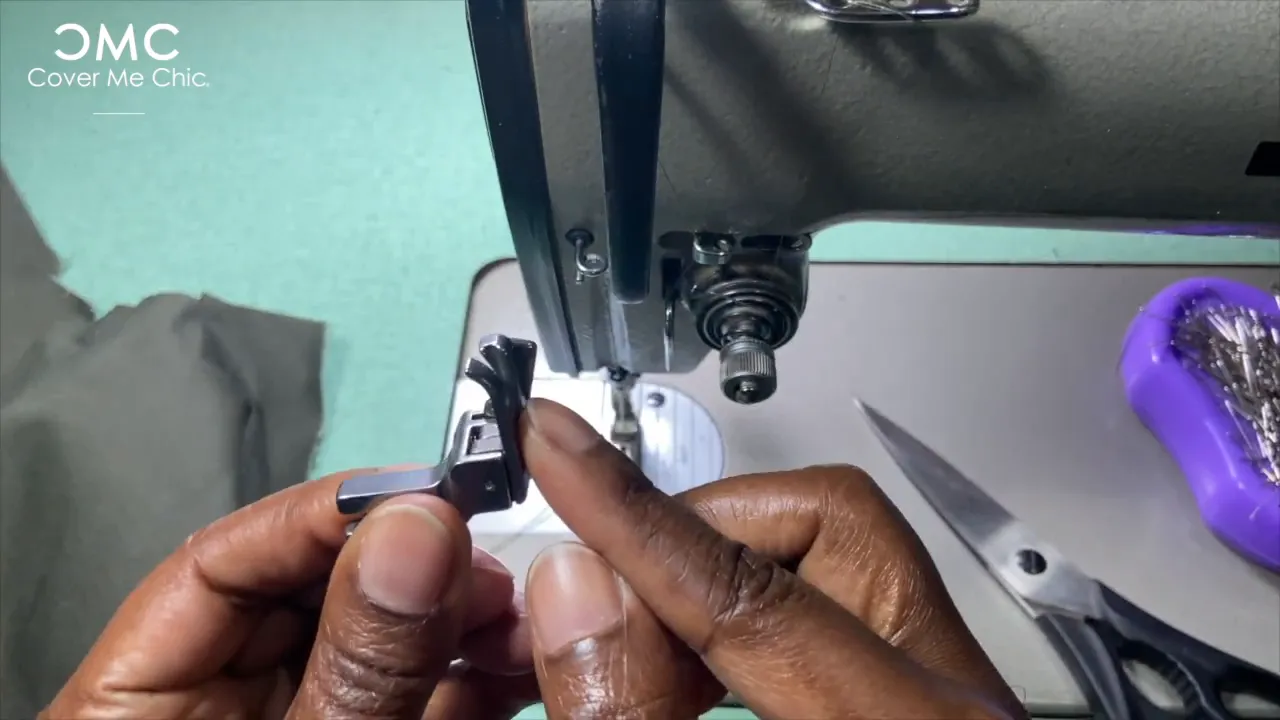
Topstitching adds both durability and a tailored look to your maxi wrap dress. I prefer using a specialized presser foot with guides for a double needle topstitch, which helps keep the lines straight and neat. However, a regular presser foot can also be used; it just requires a bit more care. Topstitching is optional but highly recommended if you want a sharp, military-inspired aesthetic.
After topstitching the pocket opening, pin the actual pocket piece right sides together with the pocket facing, matching all corners. Sew around the pocket edges and finish the seam allowances to prevent fraying.
Next, attach the front yolk bodice to the front bodice, ensuring the pocket lays flat and the edges align perfectly. Pin, sew, and finish the edges before topstitching the seam for added strength and style.
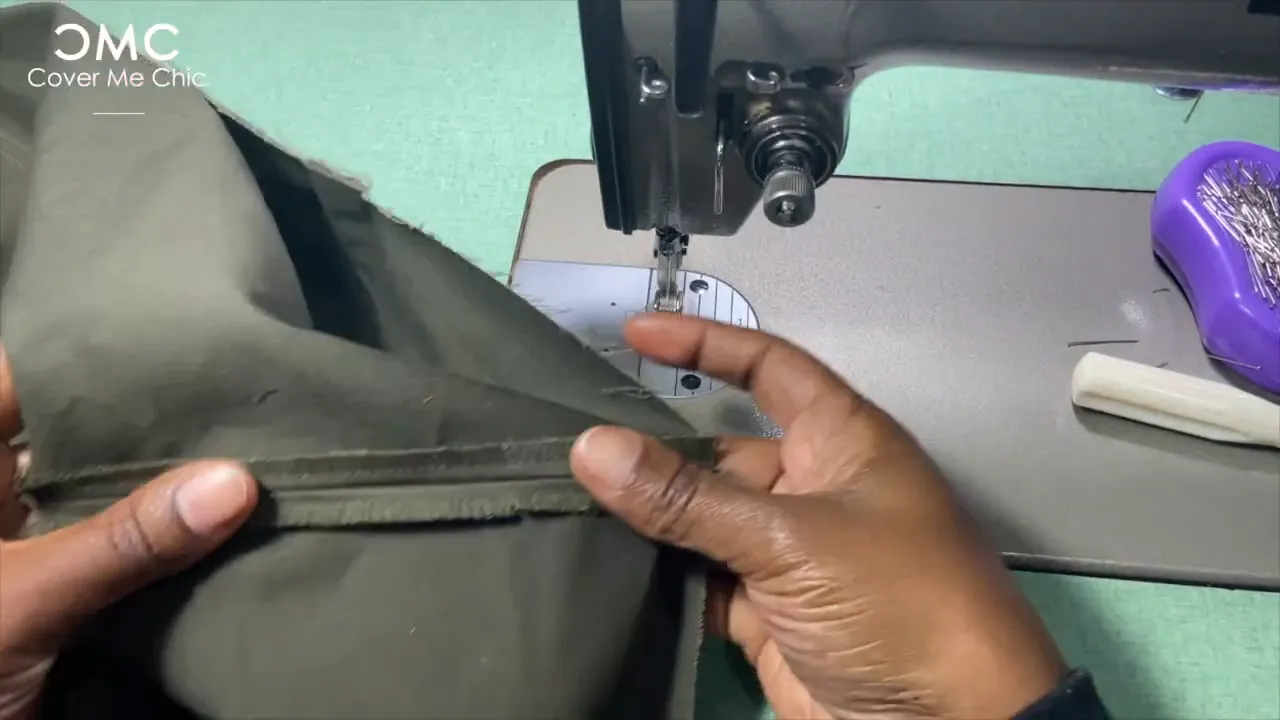
To create a clean and professional shoulder seam, sandwich the front yolk and back yolk right sides together. Pin carefully and sew with a 1/2 inch seam allowance. This sandwich technique hides raw edges inside the seam, giving a polished finish on both sides once turned right side out.
After sewing, remove pins and turn the shoulder seams right side out, pressing flat for neatness.
The shoulder tabs add an elegant detail to the dress. Cut four tab pieces for two tabs on each shoulder. Sew each tab with a 1/2 inch seam allowance around the edges, turn right side out, and press. Then topstitch the edges for a crisp finish.
Mark the buttonhole placement on the tabs carefully, considering the size of the 5/8-inch buttons. I recommend using snips to create the buttonhole openings for precise control.
Pin the tabs centered on the shoulder seams, aligning the edges with the armhole. The tabs will be sewn into the sleeve seam later, so for now, pin securely in place.
The collar is constructed by sewing right sides together with fusible interfacing for stability, then turning right side out and pressing. Topstitch the collar edges with a double needle stitch for a professional look.
Attach the collar to the bodice by matching notches and pinning carefully. Start at the center back notch and work your way around. Stay-stitch the collar to the bodice at a 1-inch seam allowance to reinforce the neckline.
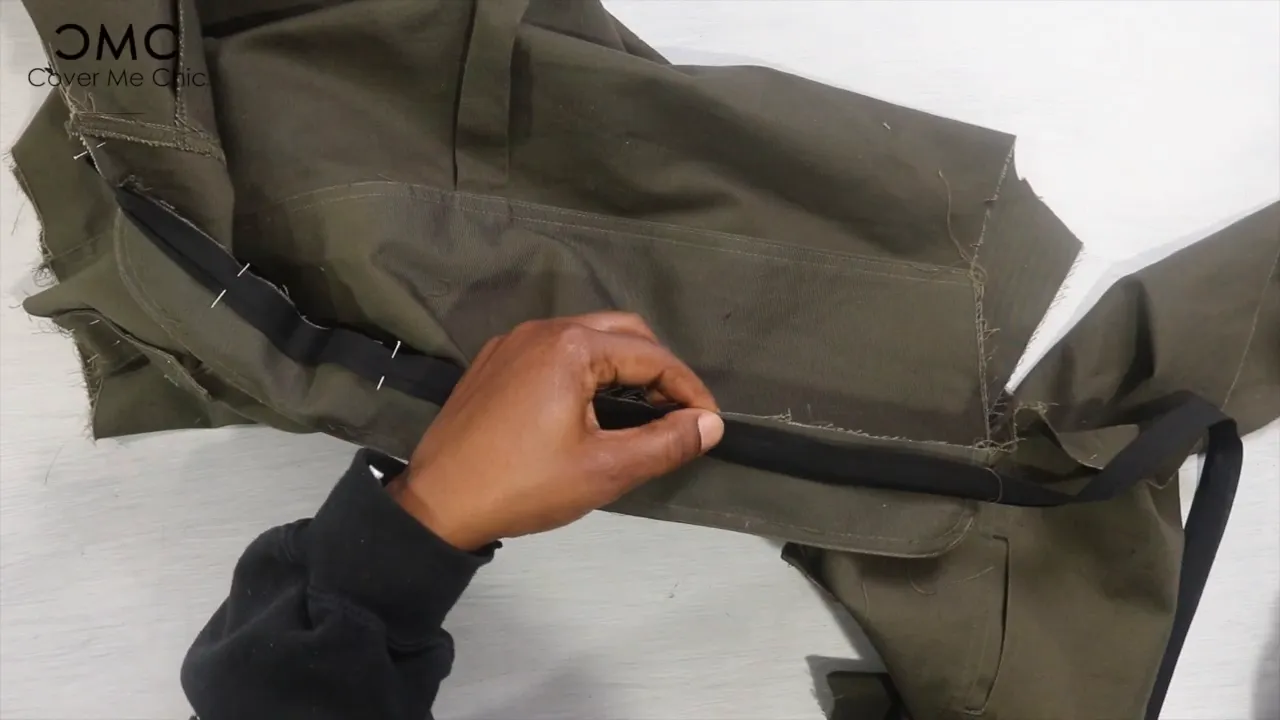
Use single-fold bias tape, pressed open on one side, to finish the front opening of the dress. Pin the bias tape along the opening and sew at a 1/2 inch seam allowance. Then understitch the seam allowance toward the bias tape to keep the facing neatly in place.
Clip the curved edges of the bias tape to allow it to lie flat when turned. Fold the bias tape over the edge, pin, and topstitch about 1/4 inch from the edge for a clean finish.
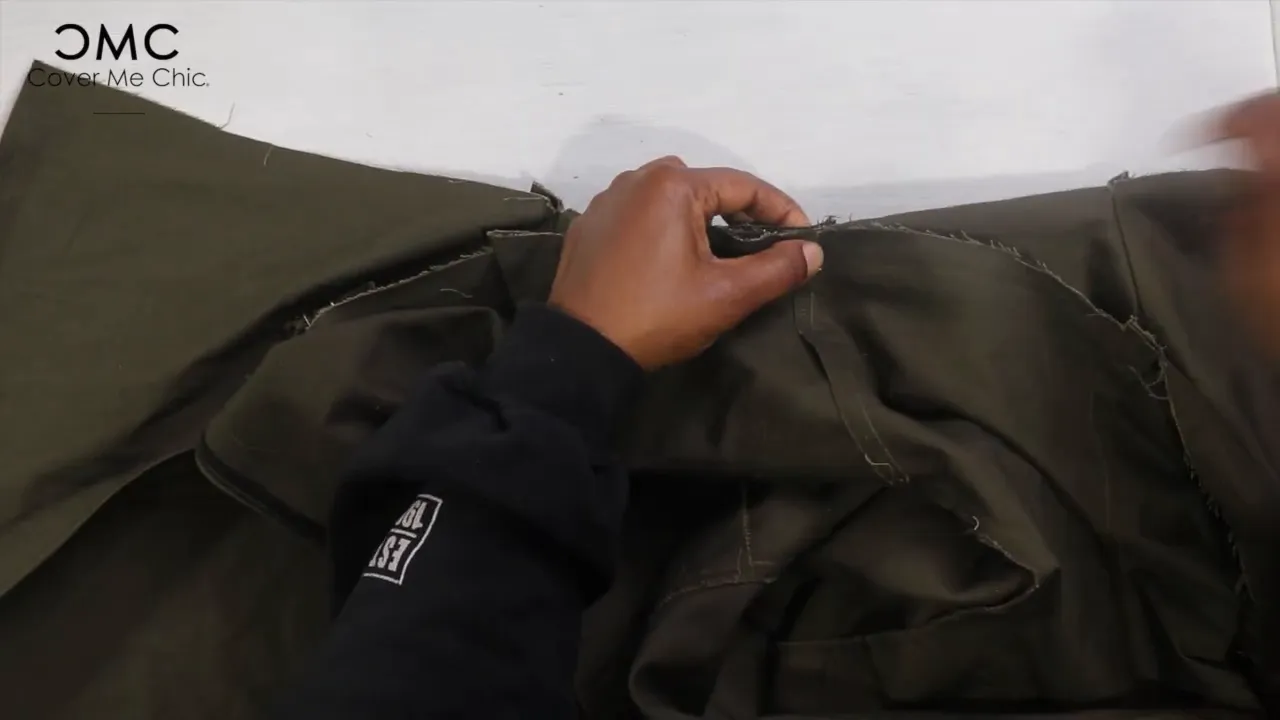
Pin and sew the bodice side seams with a 1-inch seam allowance. Leave an opening where the belt will pass through, marked by dots on the pattern. This opening is essential for the wrap functionality of the dress.
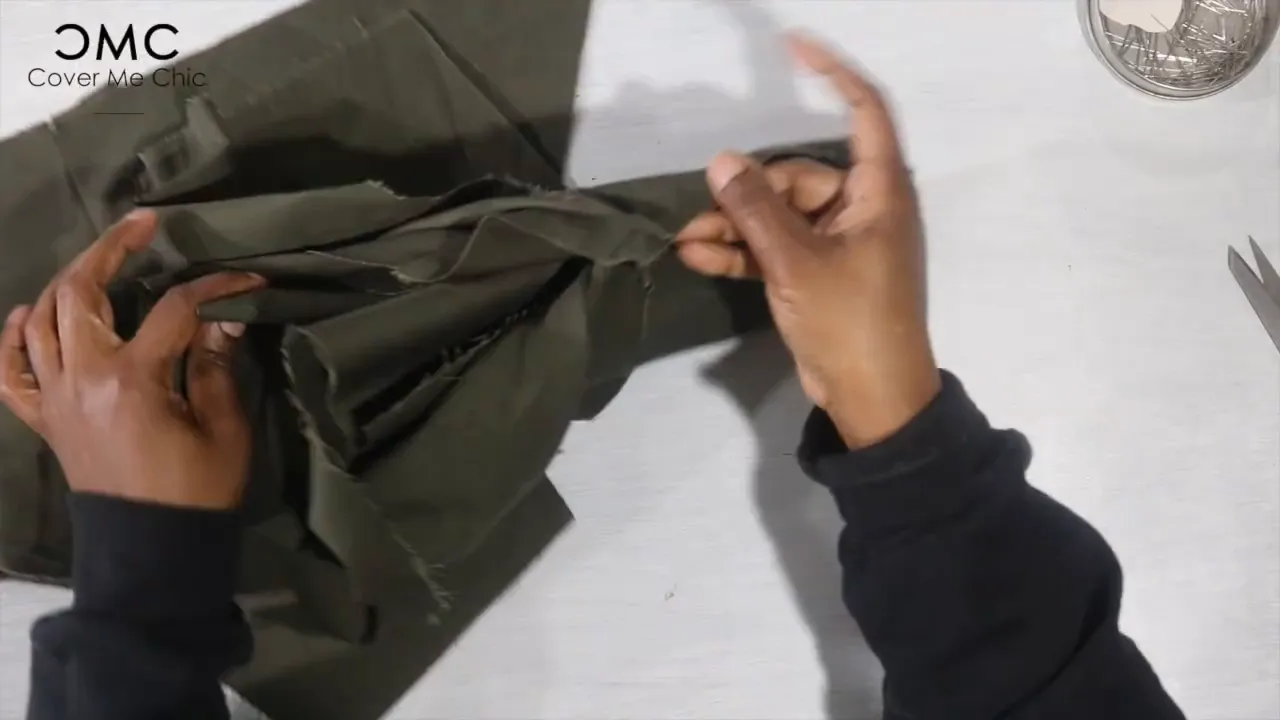
The belt consists of two pieces sewn right sides together along one short side and the length of the belt with a 1-inch seam allowance. Leave an opening to turn the belt right side out.
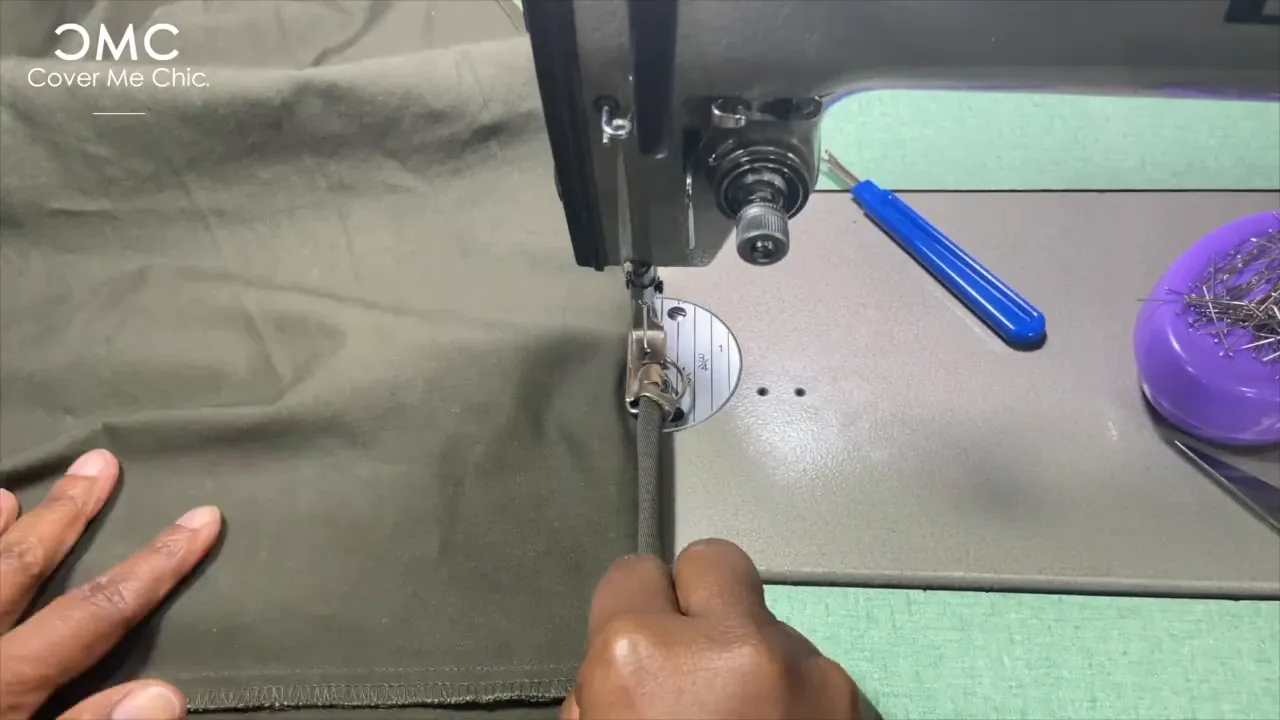
Finish the edges of the belt and press it flat. Use a loop turner to turn the belt right side out quickly, especially helpful for thicker fabrics like twill.
Pin the finished belt to the front bodice edge, leaving room for the seam allowance. This step secures the belt placement before final assembly.
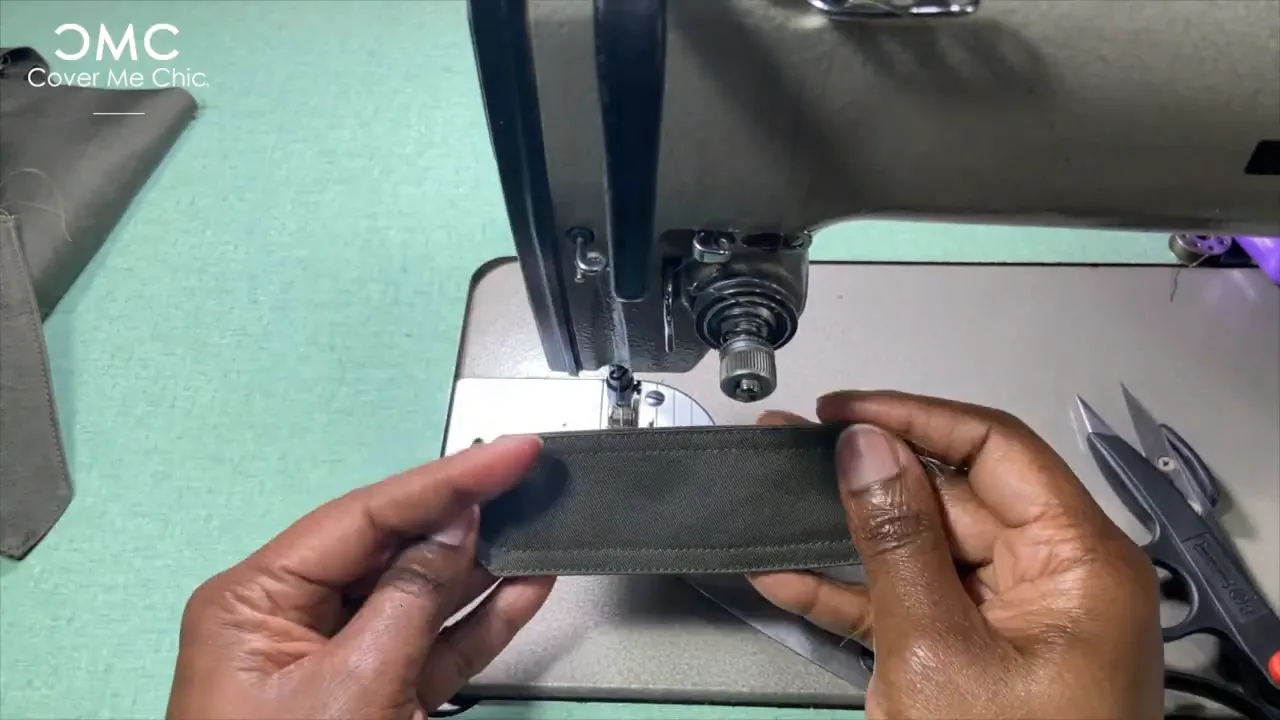
For the sleeves, sew the sleeve cuff by folding right sides together and stitching along the short edges. Then sew the sleeve seam with a 1/2 inch allowance. Press and topstitch the sleeve cuff edges for a refined look.
Close the cuff by matching the angled and not-so-angled sides, aligning the notch, and sewing. Attach the cuff to the sleeve by matching the notches (one notch for the front, two for the back) and pinning right sides together before sewing.
To ease the sleeve cap into the armhole, sew two rows of the widest stitch between the notches and dots. This creates a gathered effect that allows the sleeve to fit smoothly without puckering.
Pin the sleeve into the armhole, matching front and back notches and the shoulder seam dot. Sew the sleeve in place, press the seam, and finish the inside seam allowances for durability and comfort.
Attach the pocket facing to the front skirt piece by pinning right sides together and sewing. After turning the pocket facing right side out and pressing, topstitch the opening with a double needle stitch to match the bodice pocket detail.
Pin the pocket piece to the pocket facing, sew around the edges, and finish the seam allowances. This creates a functional and stylish pocket for your maxi wrap dress.
Pin and sew the side seams of the skirt, matching notches precisely. Then sew the back seam by aligning the three back notches and stitching with a 1-inch seam allowance. Finish all seam edges to prevent fraying.
Match the side seams of the bodice and skirt carefully. Because of the thick twill fabric, gather excess fabric slightly to ensure smooth alignment. Match the darts on the bodice and skirt for a seamless transition.
Pin thoroughly, making sure the pocket faces forward and the front edges align perfectly. When sewing, avoid catching the belt in the seam allowance to keep it free for wrapping.
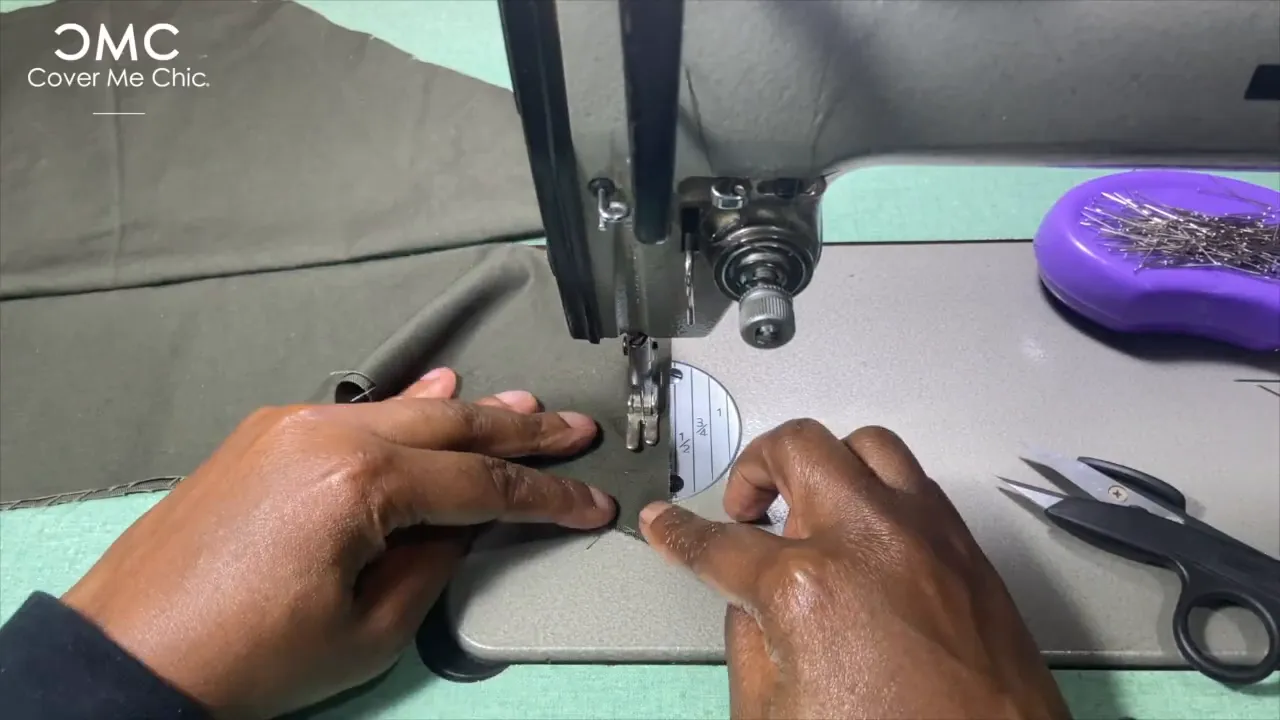
Switch your presser foot to a 1/4-inch foot for a narrow hem. Hem the bottom of the skirt with a 1/4-inch seam allowance, adjusting the stitch length and tension as necessary to accommodate the thick fabric.
To reduce bulk in the seams, clip the seam allowances at an angle where needed. Press the hem flat for a crisp edge.
Finish the front skirt opening with single-fold bias tape, just like the bodice front. Pin the bias tape, sew with a 1-inch seam allowance, understitch, and then fold and topstitch the bias tape for a clean finish.
Mark the placement of buttons on the shoulder tabs carefully. The button should align with the buttonhole and allow easy fastening without stretching the fabric.
Sew the buttons securely onto the tabs, then fasten them through the buttonholes. Repeat for both shoulders to complete the fastening system.
And there you have it — your very own Nadia maxi wrap dress, tailored to fit and flatter your curves with practical pockets, elegant 3/4 sleeves, and a comfortable wrap design. This dress is perfect for modest fashion enthusiasts seeking style and sophistication.
If you enjoyed this sewing project and want to explore more, be sure to check out these helpful resources and related tutorials:
* Some links are affiliate links, meaning I earn a small commission if you make a purchase. It won’t cost you extra, and I’ll use that coffee money to keep supporting you on your sewing journey!
Sewing a maxi wrap dress like the Nadiyah pattern is a rewarding project that combines functionality, style, and a flattering fit for curvy figures. By carefully following each step—from marking and sewing darts, constructing the bodice and skirt, finishing seams, to adding buttons and topstitching—you can create a beautiful garment tailored to your body.
This dress is more than just clothing; it’s an expression of personal style and modest fashion that empowers you to look and feel your best. Whether for everyday wear or special occasions, your handmade maxi wrap dress will be a versatile addition to your wardrobe.
Happy sewing, and remember to embrace your unique style!
Download your free how to Measure your body Tool Kit.
There was a problem reporting this post.
Please confirm you want to block this member.
You will no longer be able to:
Please note: This action will also remove this member from your connections and send a report to the site admin. Please allow a few minutes for this process to complete.