
Today we’re diving into the world of fitting with a focus on making a full bust adjustment without darts. This tutorial is designed especially for fuller women in the chest area, ensuring that your garments fit beautifully. Let’s get started!
The first step in making a full bust adjustment is to take two key measurements:
For example, on my dress form, the measurement from the shoulder to the apex is about 10 inches, and the apex to apex is around 8 inches.

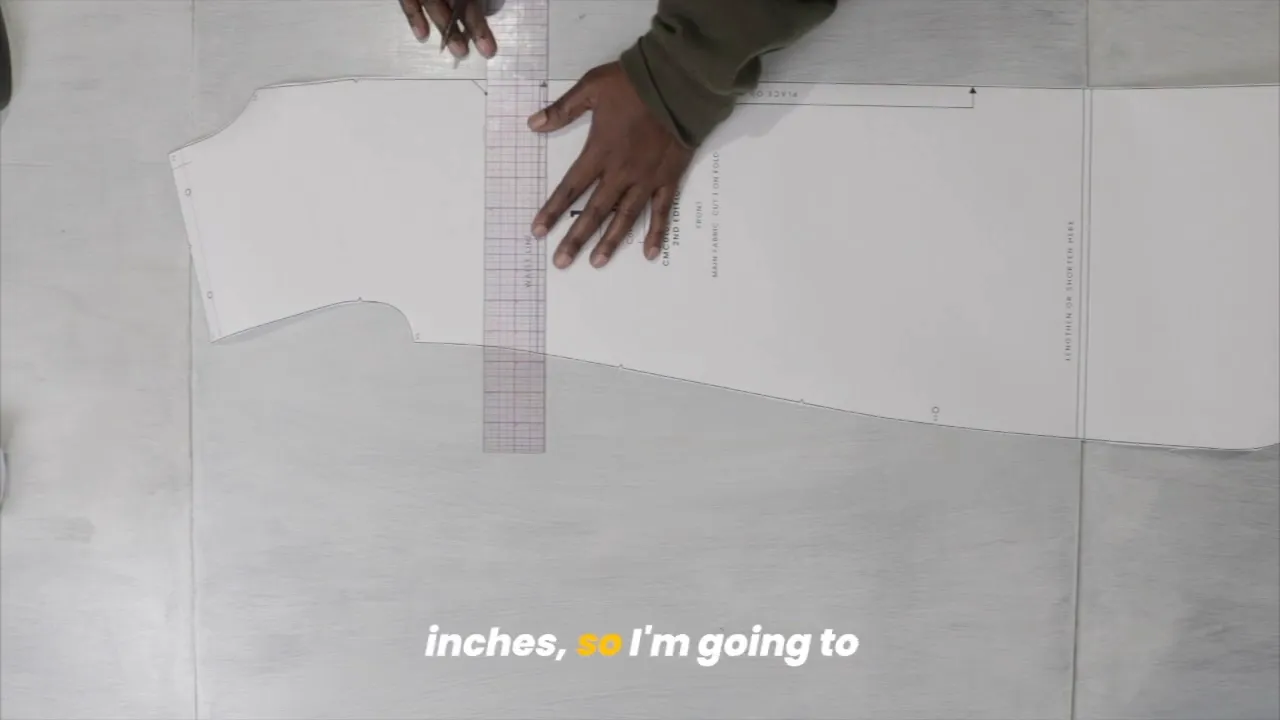
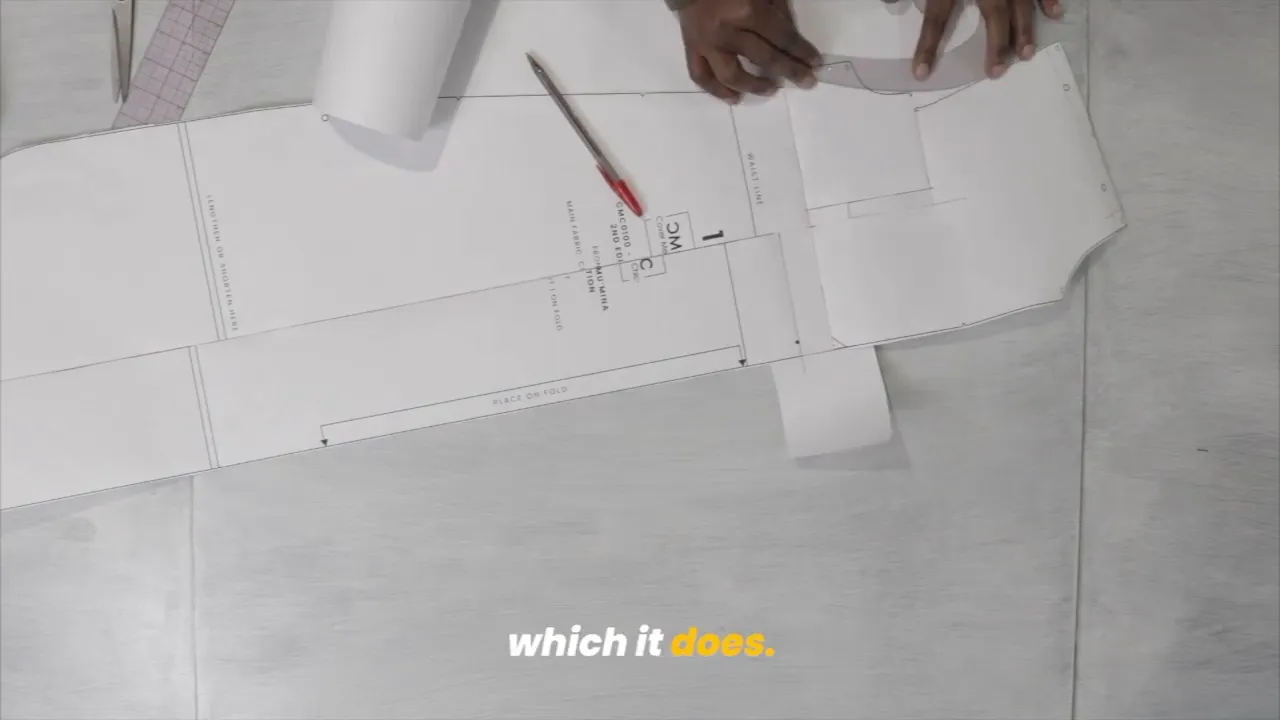
Now that we have our measurements, it’s time to transfer them to your sewing pattern. I’m using the Mu’mina shirt dress pattern for this example. First, ensure you account for seam allowance—typically 1 inch. Measure down 10 inches from the high point of the shoulder and draw a parallel line from the center front.
Next, take the apex to apex measurement (8 inches) and divide it by 2, which gives you 4 inches. Mark this point on your pattern.
Draw a perpendicular line from the apex point downwards. Extend this line to the notch on the armhole. This method allows you to add the necessary width and length to the front of your pattern.
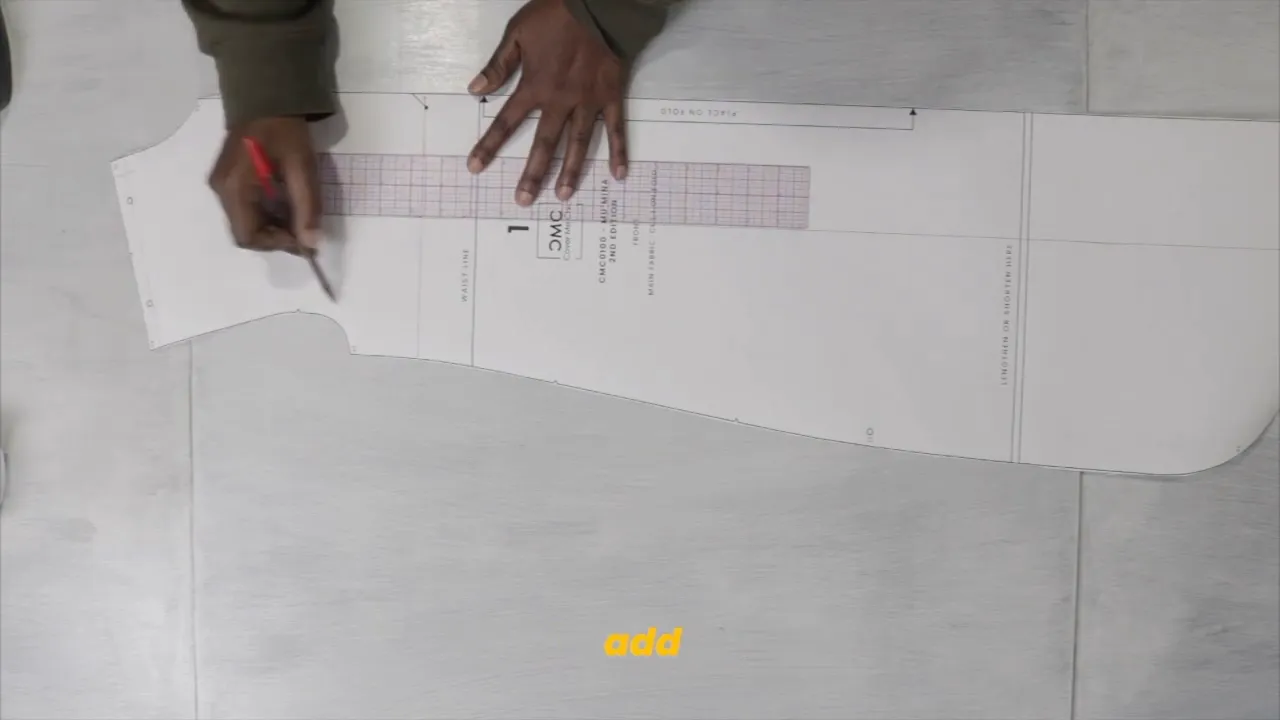
If your garment tends to hike up in the front, you’ll want to add length. A good rule of thumb is to add as much length as the amount it hikes up. For instance, if it’s hiking up an inch, add an inch to your measurement. Avoid adding more than 2 inches at once to prevent skewing the pattern.
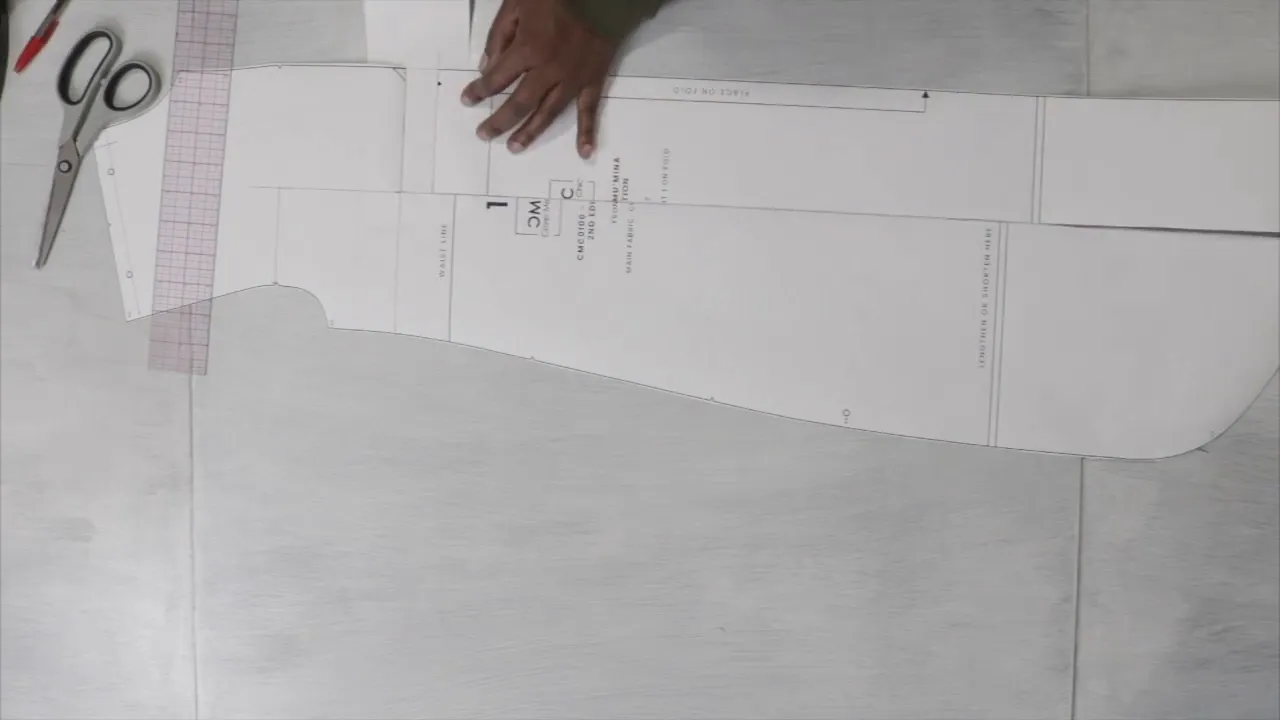
Next, we’ll add width to accommodate your bust. For this example, I’m adding a half inch to the bust area. It’s generally advisable not to exceed 3/4 inch to maintain the pattern’s integrity. If more width is needed, make the adjustment gradually to avoid distortion.
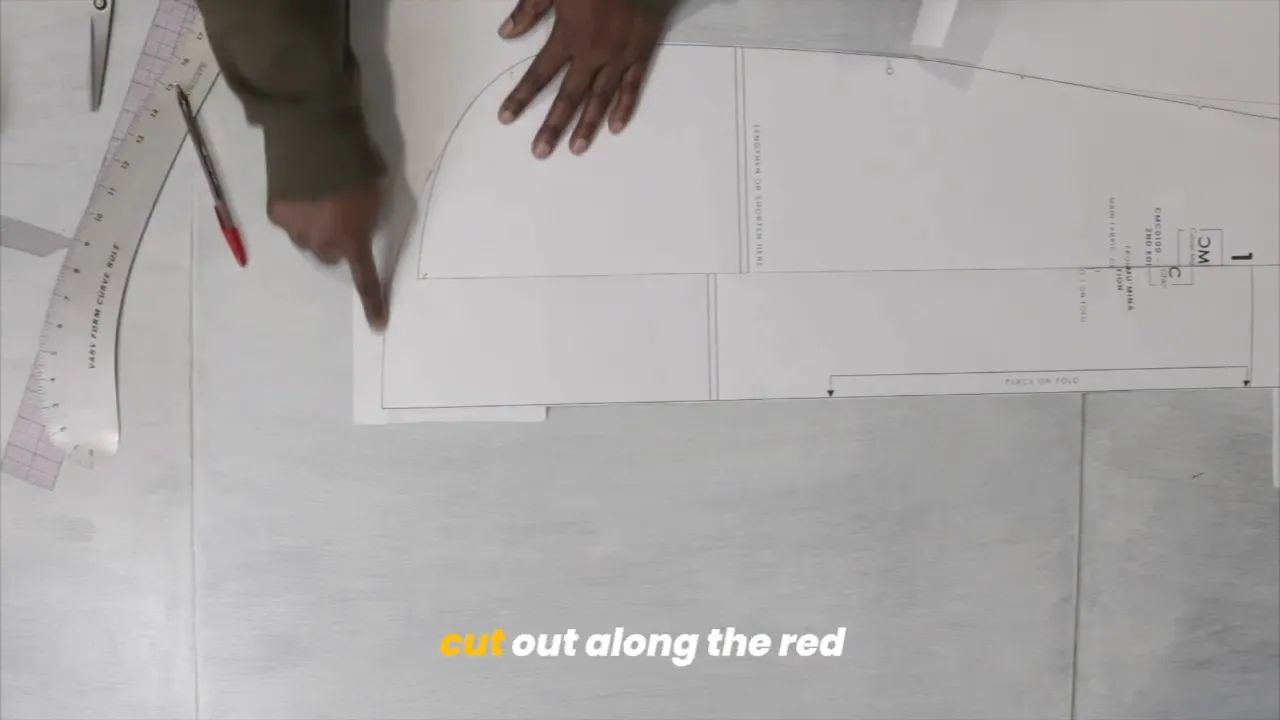
After making adjustments, it’s essential to true up your pattern. This means smoothing out any lines and ensuring there are no bubbles or ripples in the paper. Use a hip curve or armhole curve to help create smooth lines.
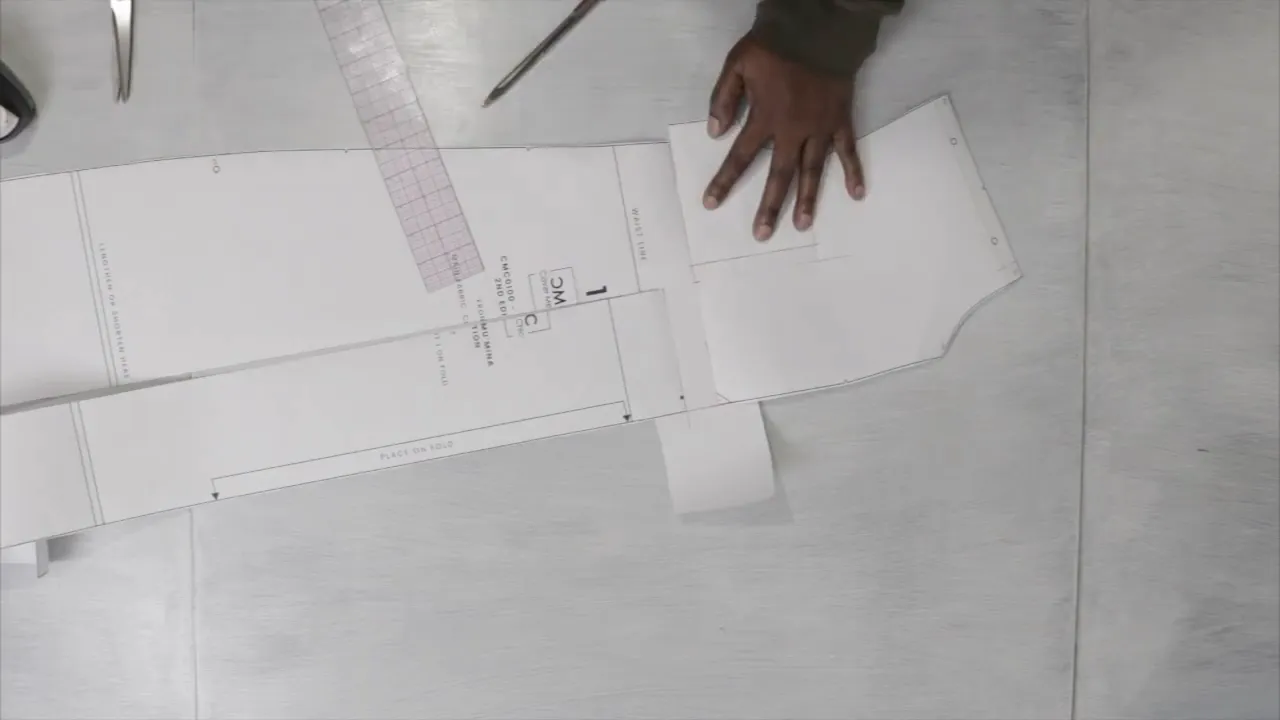
Finally, after making your adjustments, cut out along the adjusted lines. Make sure to transfer any notches or markings necessary for the pockets or seams. Although the pattern may look unusual, rest assured that when worn, the fullness of the bust will make it fit beautifully.
If you follow these steps carefully, you should be able to perform a full bust adjustment with ease. Remember, the key is to take accurate measurements and make gradual adjustments to your pattern. If you have any questions or need further clarification, feel free to ask in the comments below. Happy sewing!
Download your free how to Measure your body Tool Kit.
There was a problem reporting this post.
Please confirm you want to block this member.
You will no longer be able to:
Please note: This action will also remove this member from your connections and send a report to the site admin. Please allow a few minutes for this process to complete.