
Are you looking for a stylish way to protect your hair while making a fashion statement? A gaylay (head wrap) is the perfect solution! This traditional headwear has become increasingly popular for its versatility and beauty. In this tutorial, I’ll show you how to sew a head wrap in under 30 minutes with just basic sewing skills.
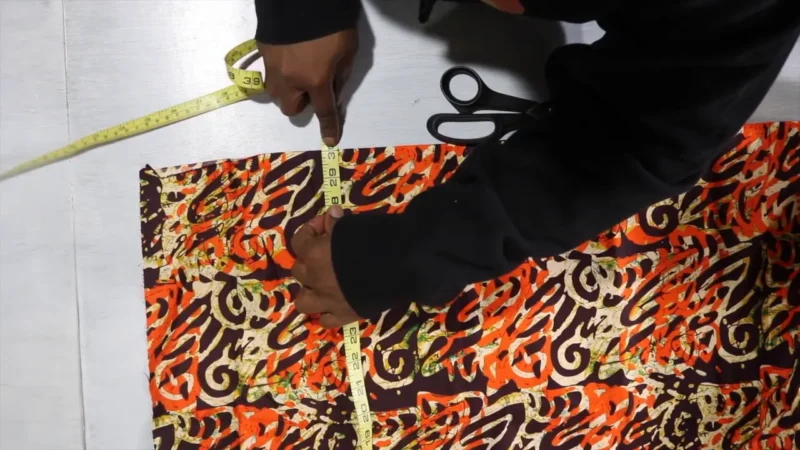
When selecting fabric to sew a head wrap, breathability is key. I recommend using cotton (like I did in this tutorial), silk, or other natural fibers that allow your hair to breathe. If possible, choose a fabric with a slight stretch for comfort and ease of styling.
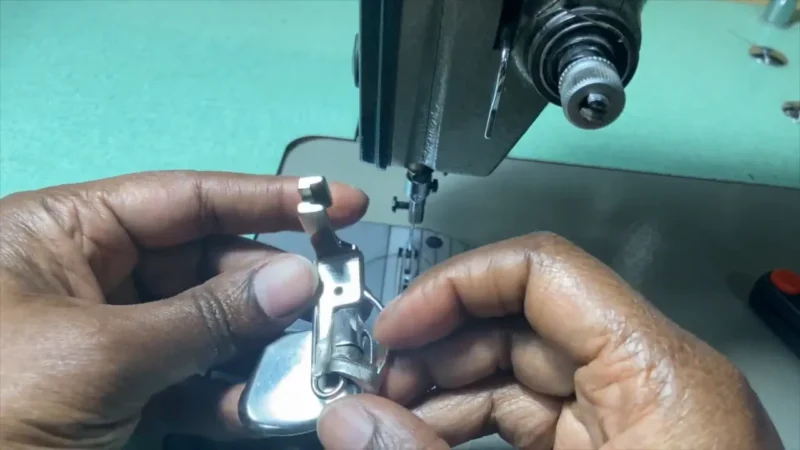
For a professional finish, I recommend using a narrow hem foot. This fantastic attachment creates a perfect ¼” hem in one smooth operation.
If you don’t have one you my recommendations are below:
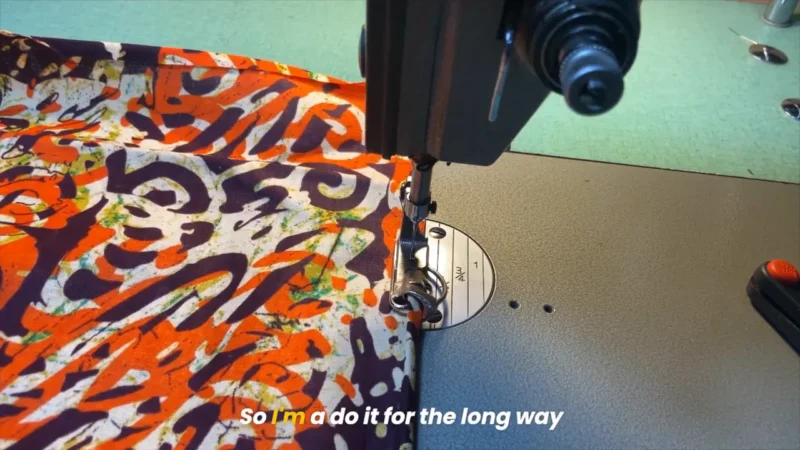
Don’t worry if you don’t have this specialty foot! You can still create a beautiful hem:
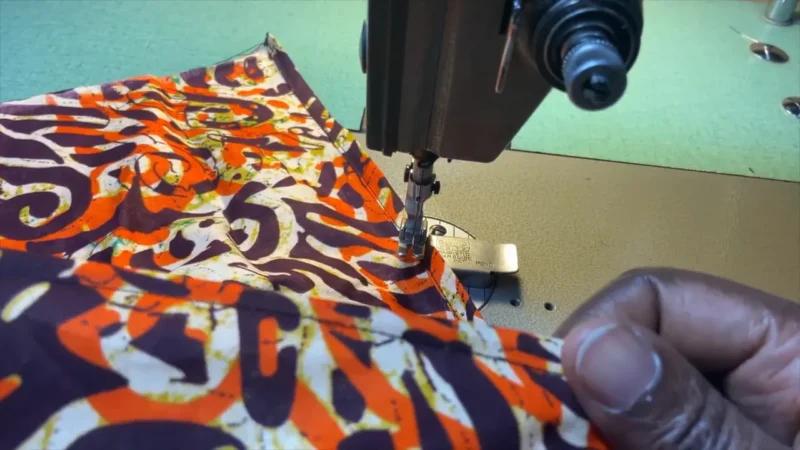
Once you’ve hemmed all raw edges (leaving the selvage edge unfinished is fine), trim any loose threads, and your gaylay is complete! The entire project takes about 10-15 minutes with a narrow hem foot, or slightly longer using the regular method.
There are countless ways to style your new head wrap! You can:
Want to see styling techniques? Let me know in the comments, and I’ll create a follow-up tutorial showing different ways to wear your handmade gaylay!
Creating your own head wrap allows you to:
This simple sewing project is perfect for beginners and experienced sewists alike. With just one straight seam to worry about, it’s nearly impossible to mess up!
Have you made your own head wrap before? Share your experience in the comments below! And don’t forget to like and subscribe for more sewing tutorials for curvy women.
Other post that you may find interesting:
* Some links are affiliate links, meaning I earn a small commission if you make a purchase. It won’t cost you extra, and I’ll use that coffee money to keep supporting you on your sewing journey!
Download your free how to Measure your body Tool Kit.
There was a problem reporting this post.
Please confirm you want to block this member.
You will no longer be able to:
Please note: This action will also remove this member from your connections and send a report to the site admin. Please allow a few minutes for this process to complete.