
If you’re on the hunt for the perfect a line maxi dress with sleeves, look no further! In this blog, we will guide you through the process of creating your own stunning A-line maxi dress that combines style, comfort, and functionality. Using the Yaxza PDF sewing pattern from Cover Me Chic, you can craft a dress that fits beautifully, flatters your figure, and keeps you stylishly modest.
The Yaxza maxi dress is designed with several standout features:
Before diving into the sewing process, gather all necessary materials. Here’s what you’ll need:

Now that you have everything ready, let’s walk through the steps to create your A-line maxi dress.
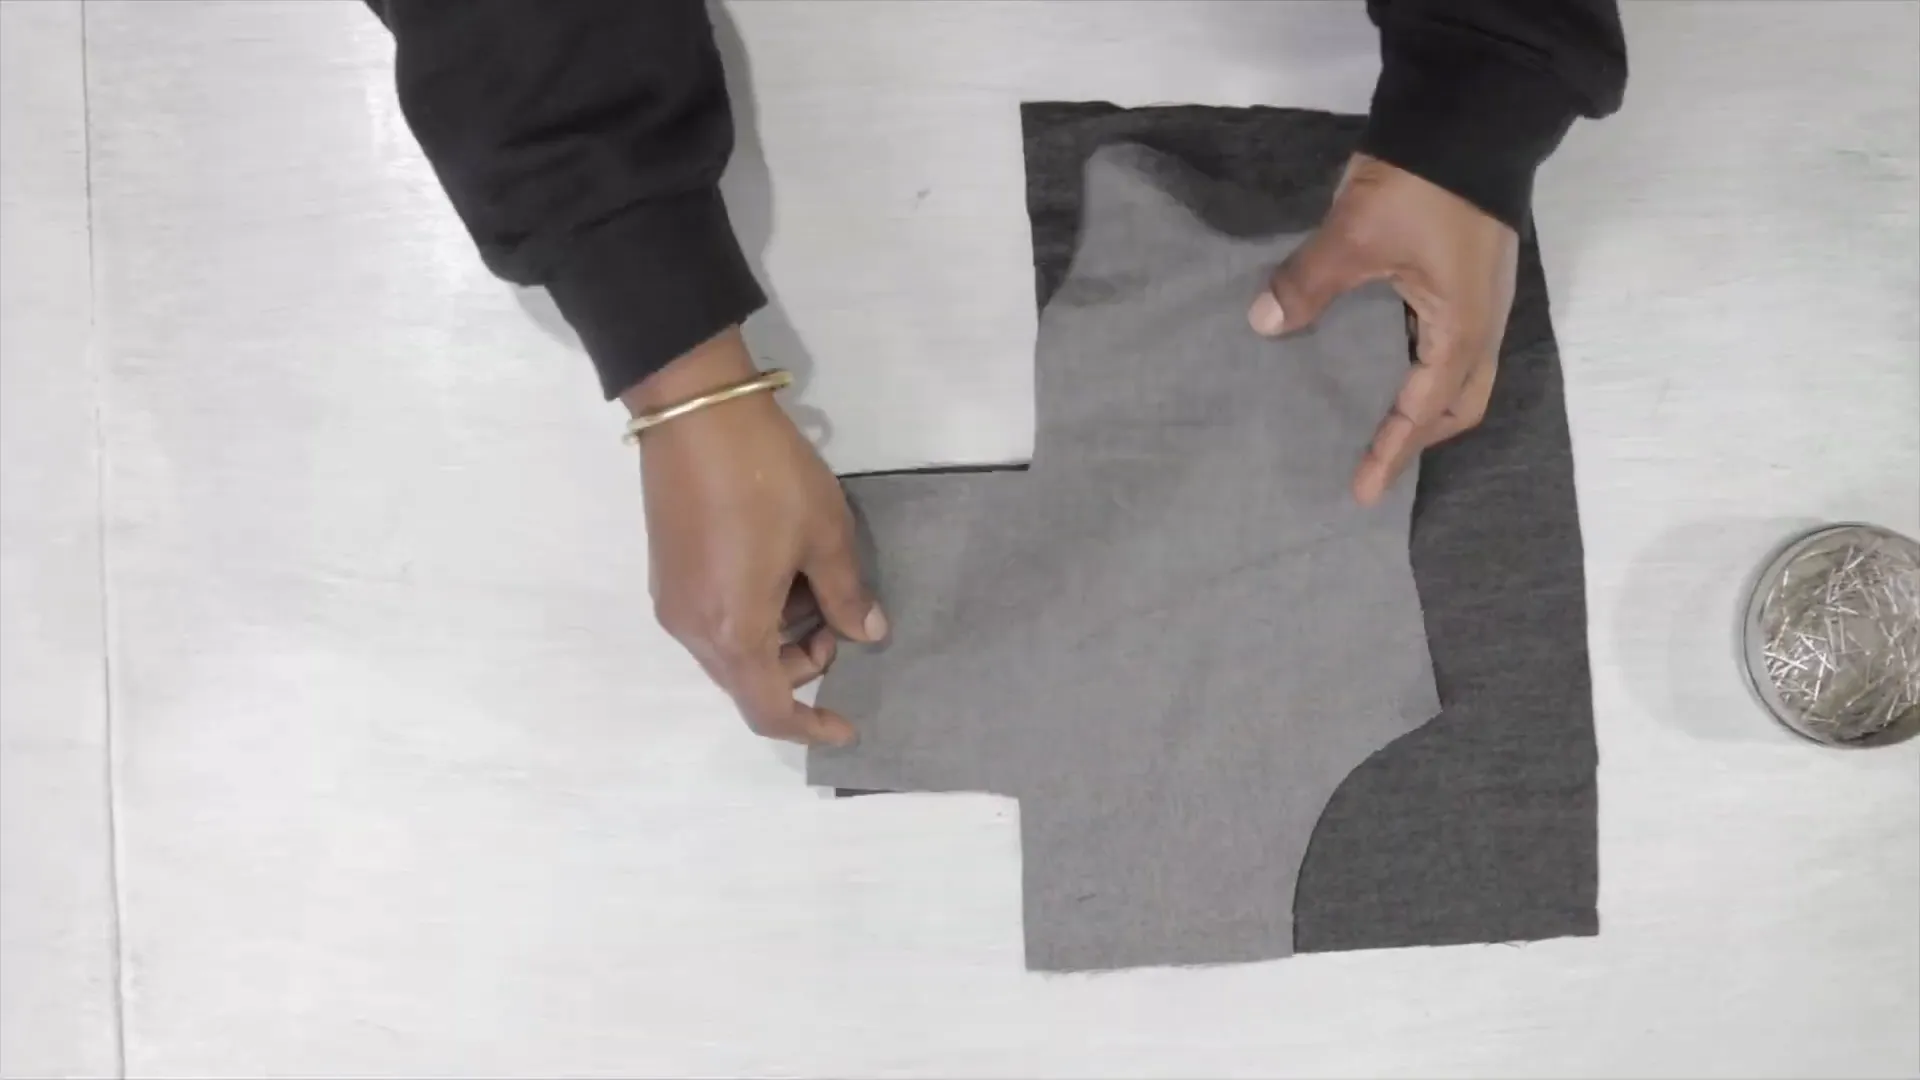
Start by cutting out all the pieces as per the pattern instructions. For this guide, we will be making View A, excluding the belt.
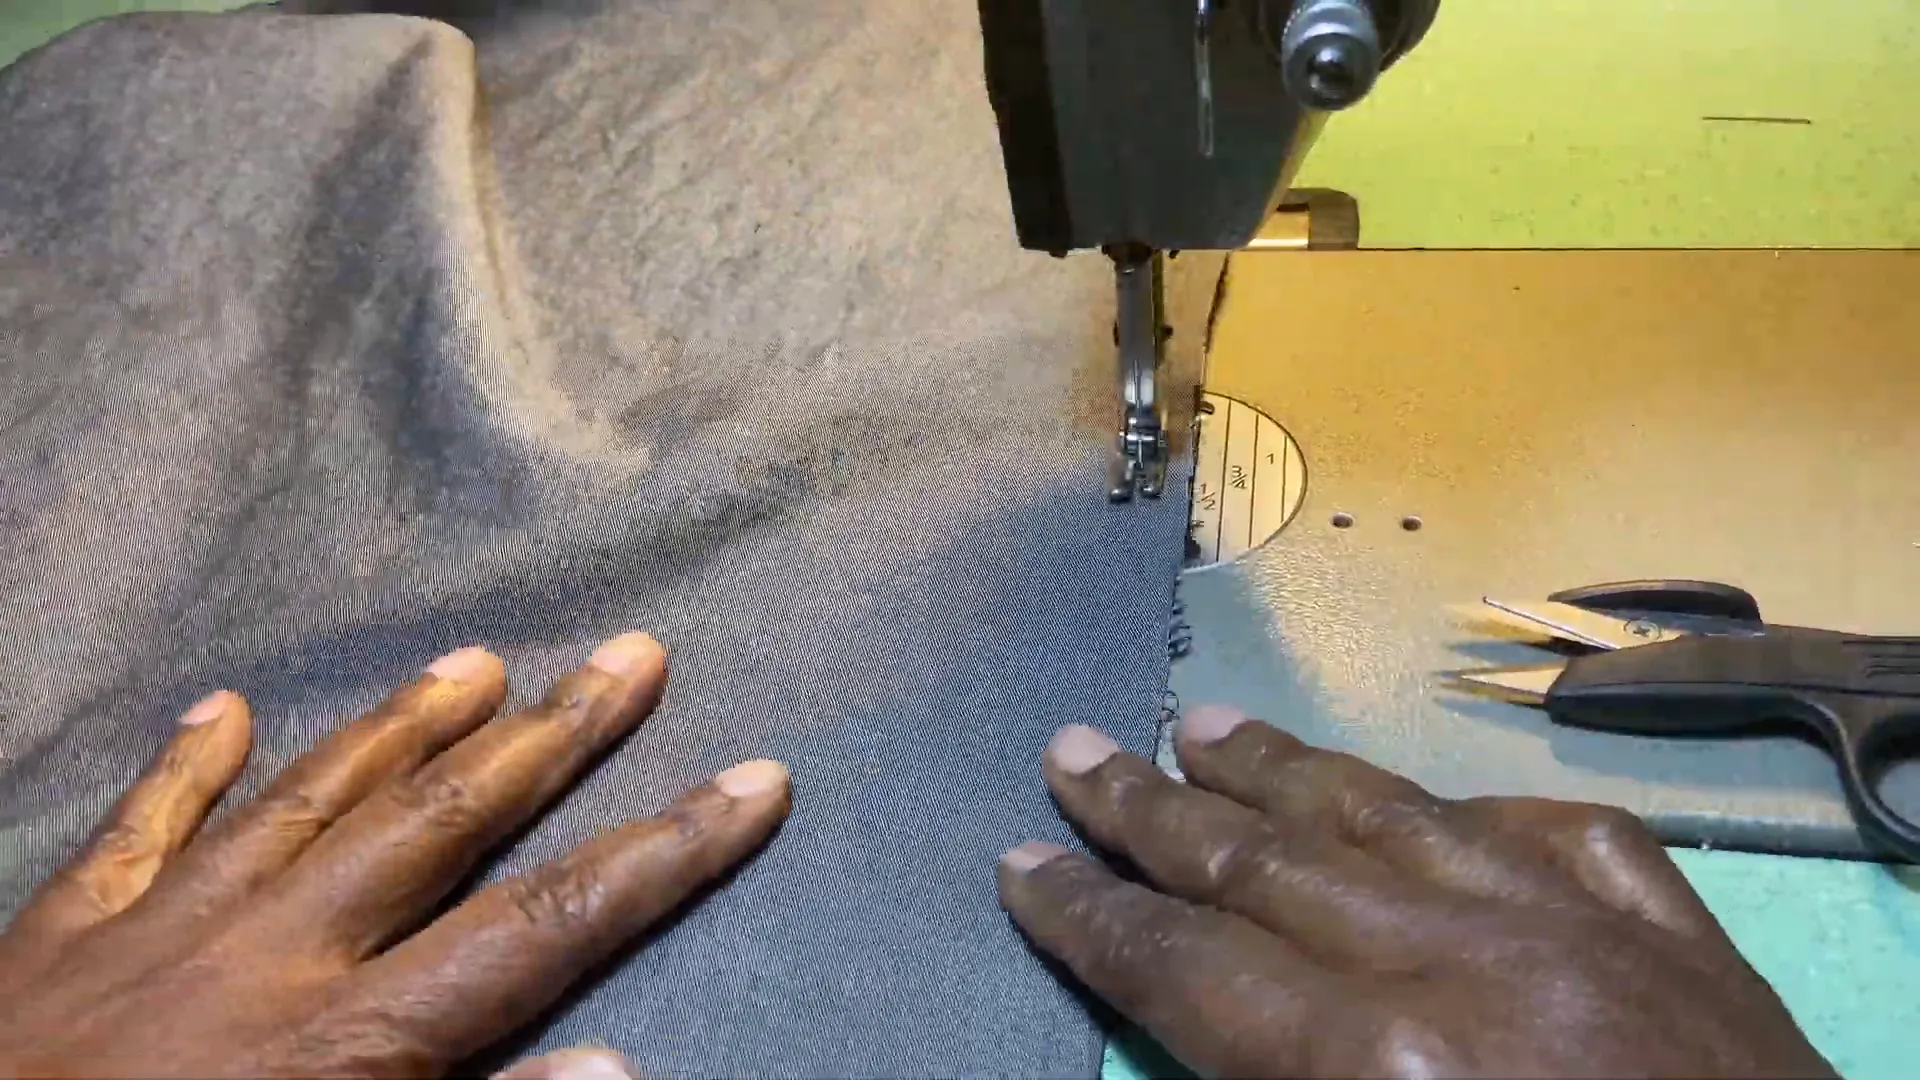
With the front bodice pieces (top and bottom) right sides together, finish the edges before pressing them flat. Pin the bodice pieces together and top stitch at an eighth of an inch from the edge.
Pin the facing to the bodice, matching all seams and notches. Sew the neckline seam at a half-inch seam allowance, then trim to a quarter of an inch. Understitch to keep the facing in place.

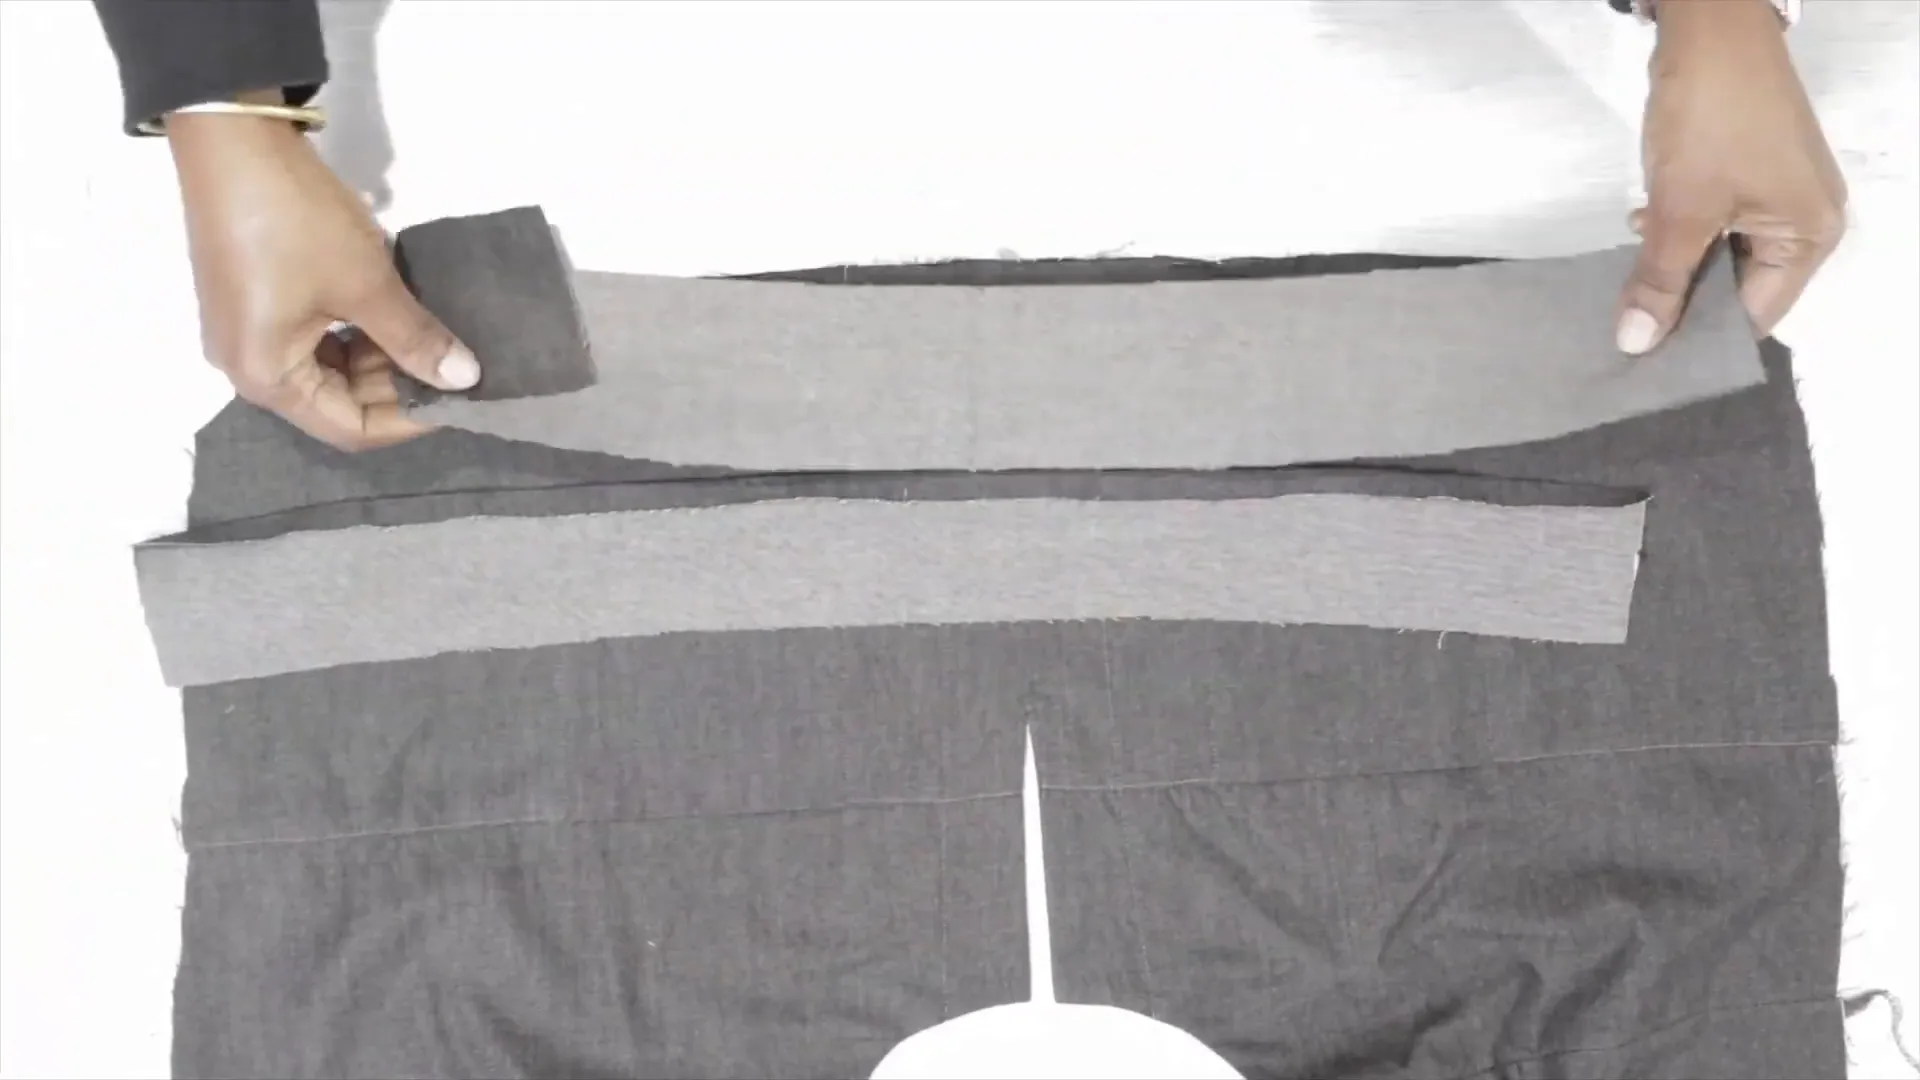
For the waistband, fold one piece in half and press. Pin it to the back, matching notches, then sandwich the bodice between both waistbands. Repeat the same for the back waistband.
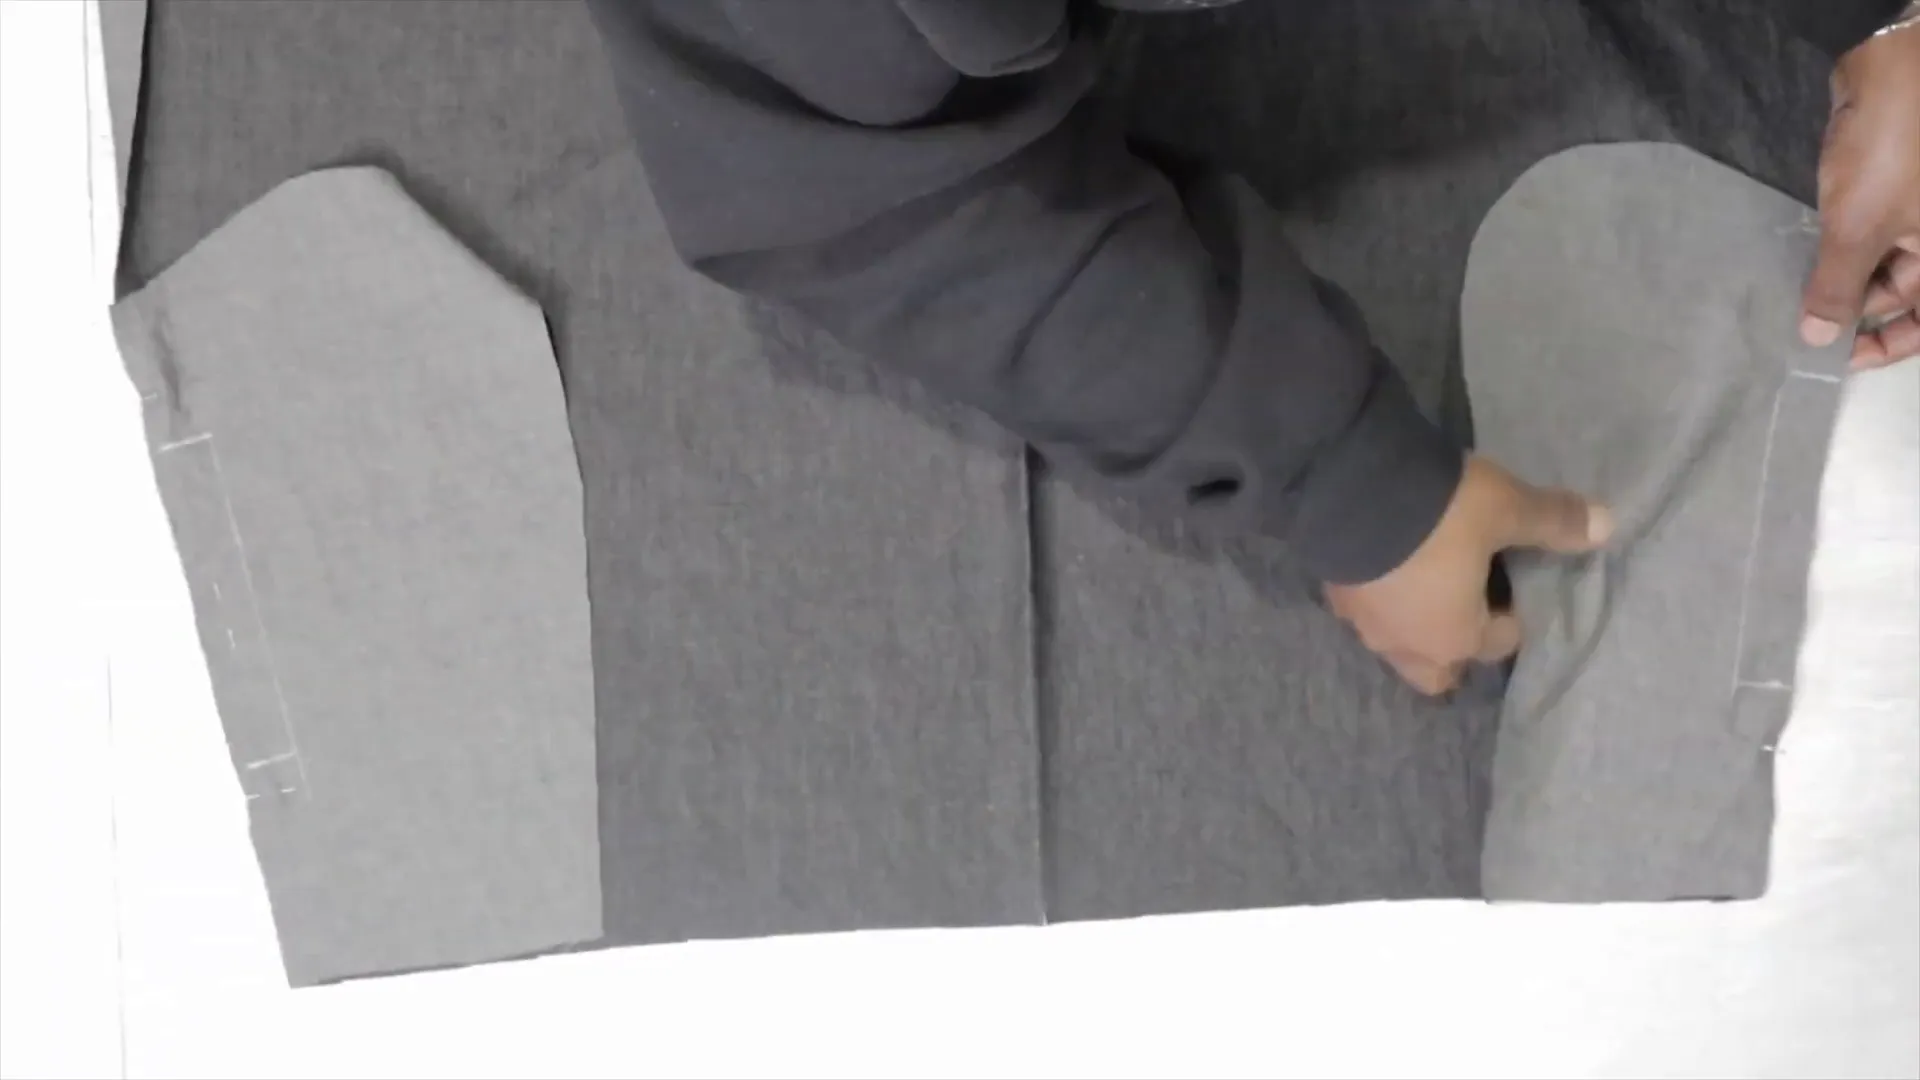
Pin the back skirt pieces right sides together for the center back seam and sew. Finish all seams with a serger for a clean look. Press all seams flat.
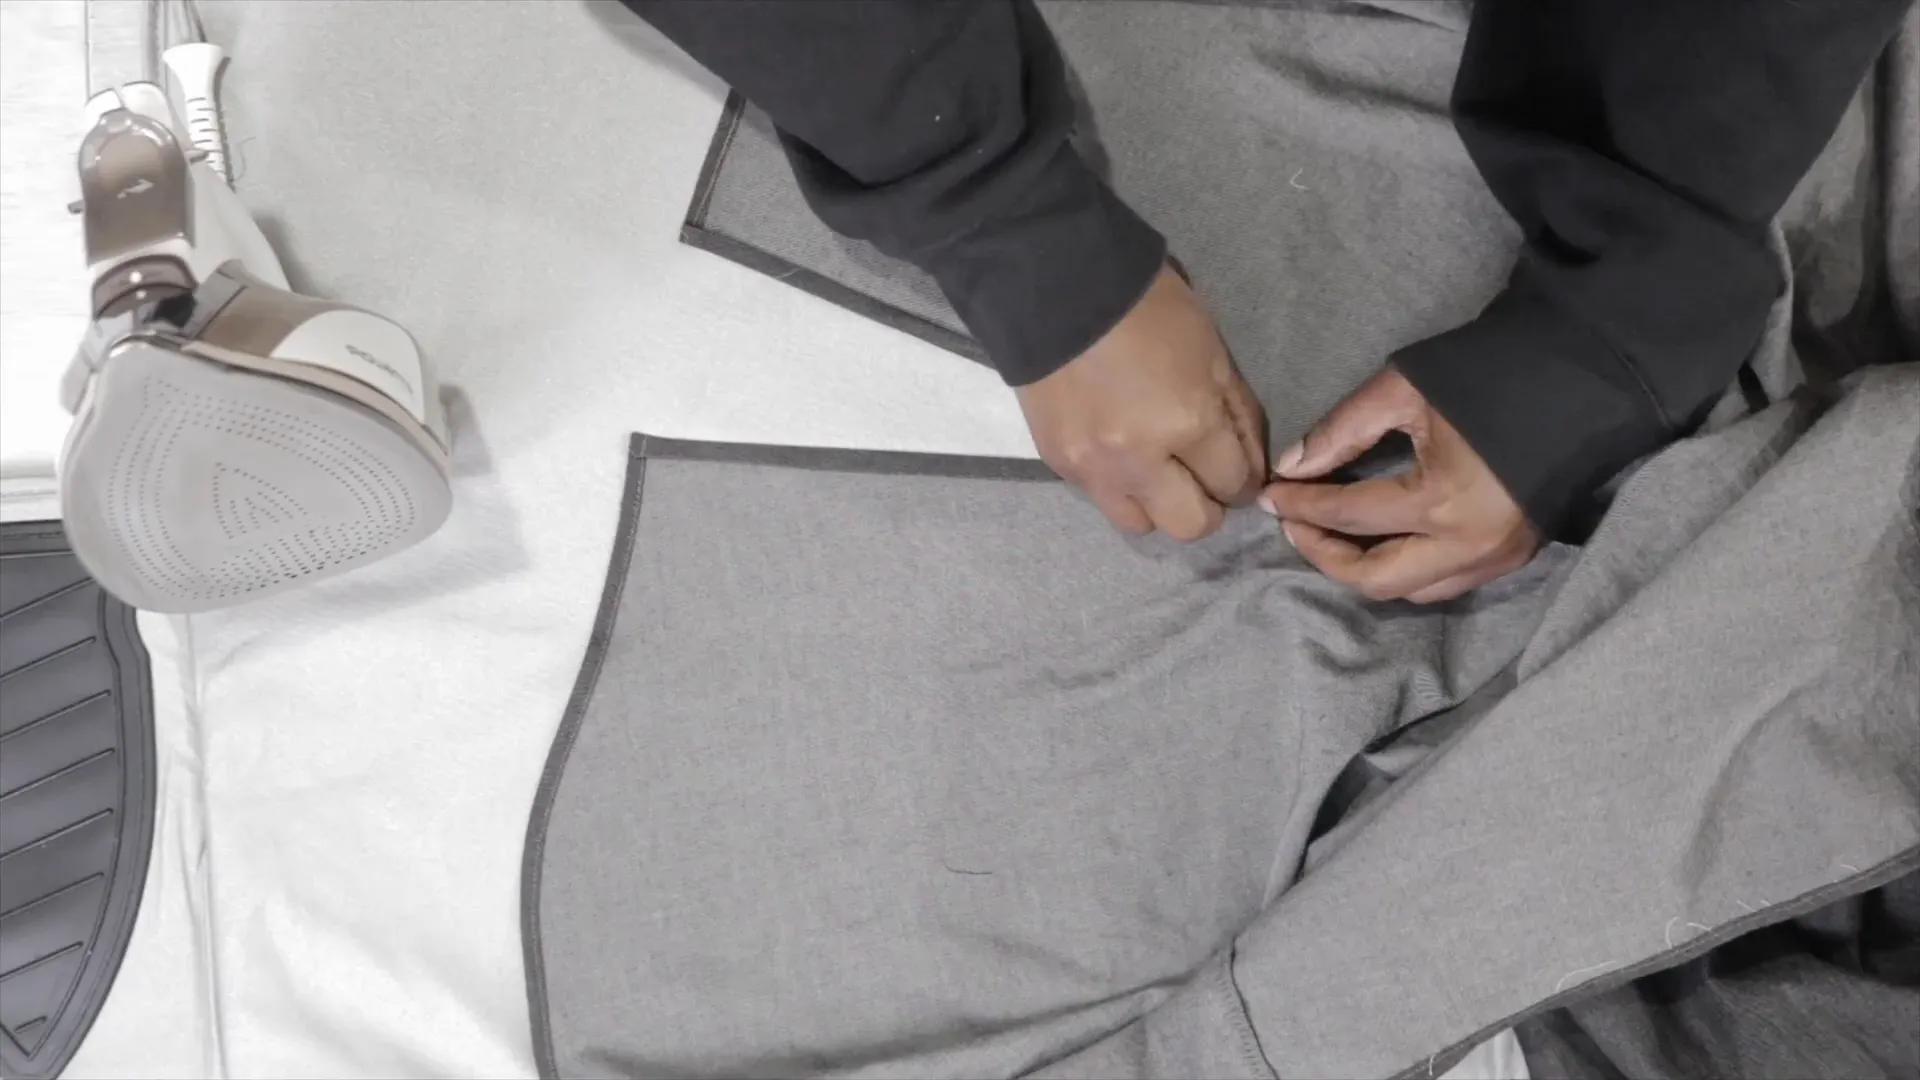
To add pockets, follow the markings on the pattern. Transfer the markings to the fabric, sew the pocket openings, and finish the edges for a polished look.
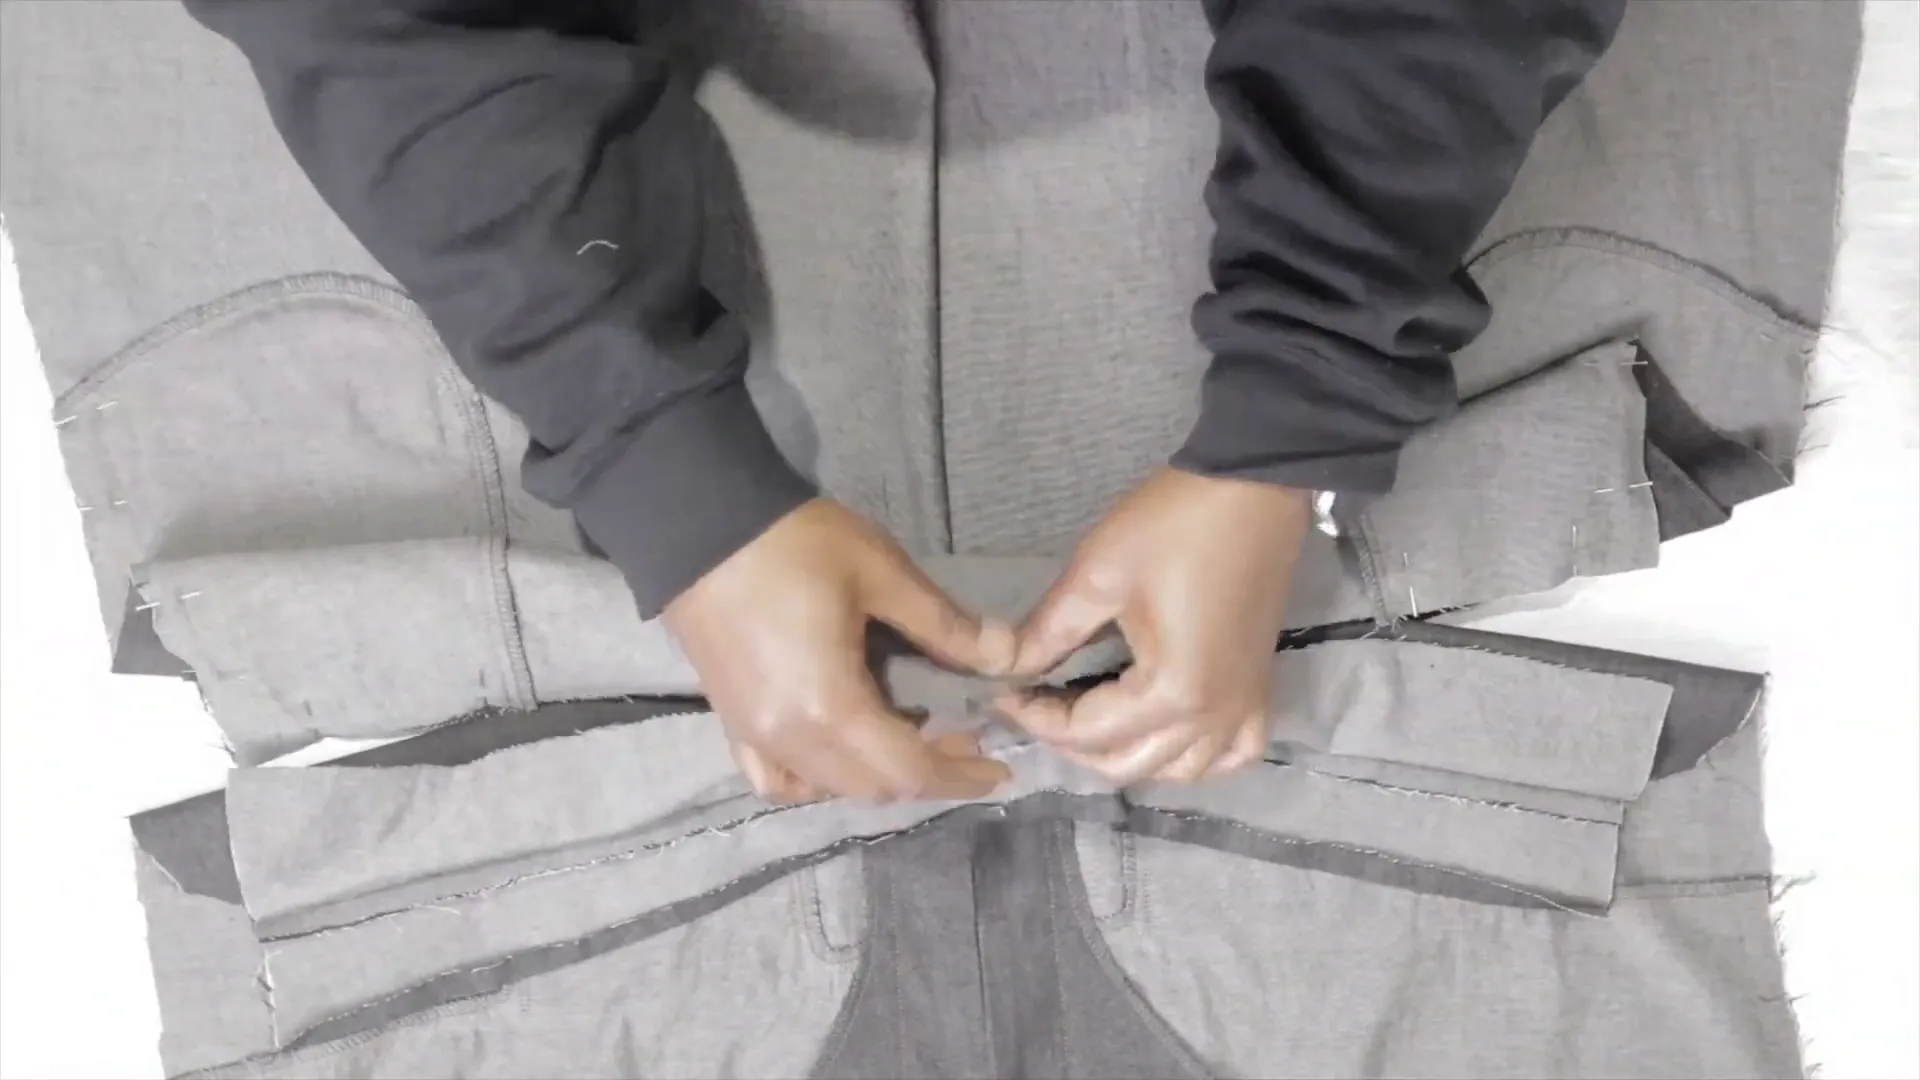
Pin the bodice to the skirt, ensuring all notches are matched. Sew the waistband to the skirt, taking care to catch all layers.
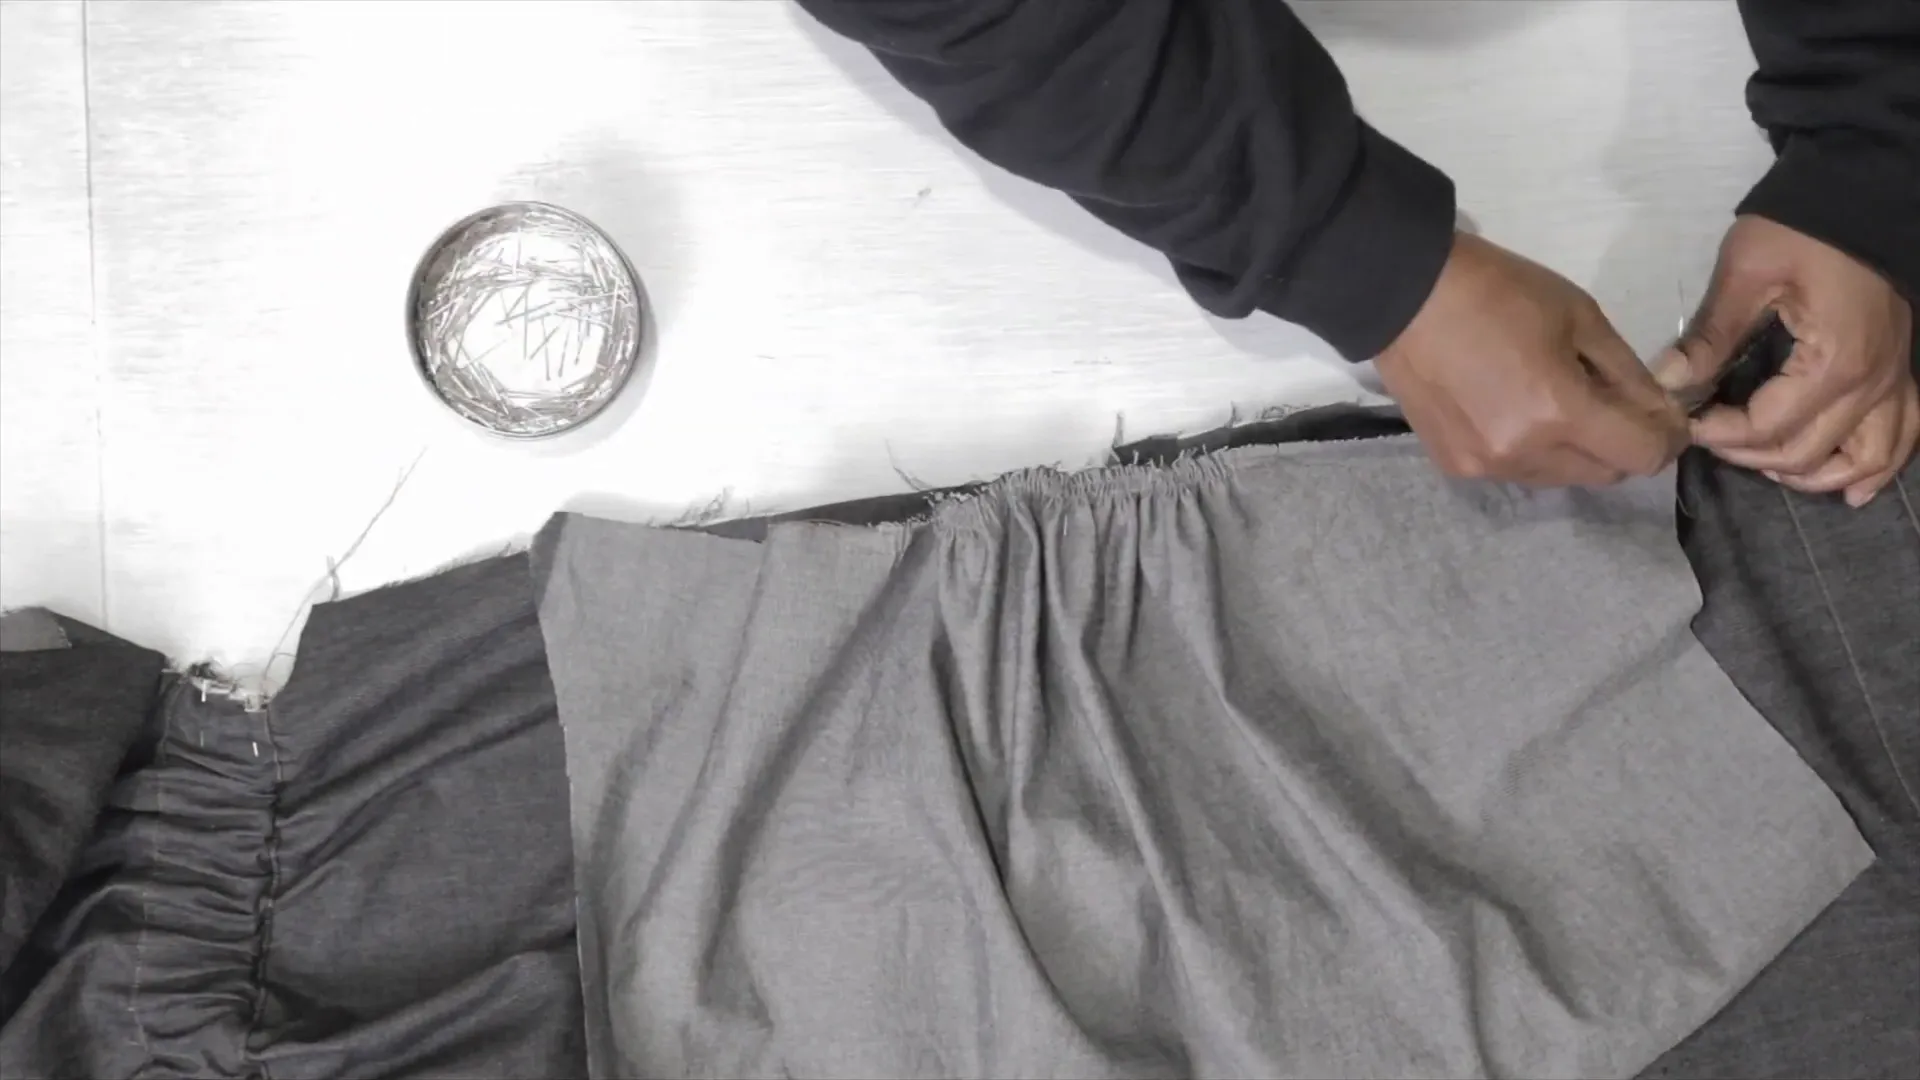
For the sleeves, gather the fabric and match the sleeve dot to the shoulder seam. Ease the gathers so everything aligns nicely and sew at a half-inch seam allowance.
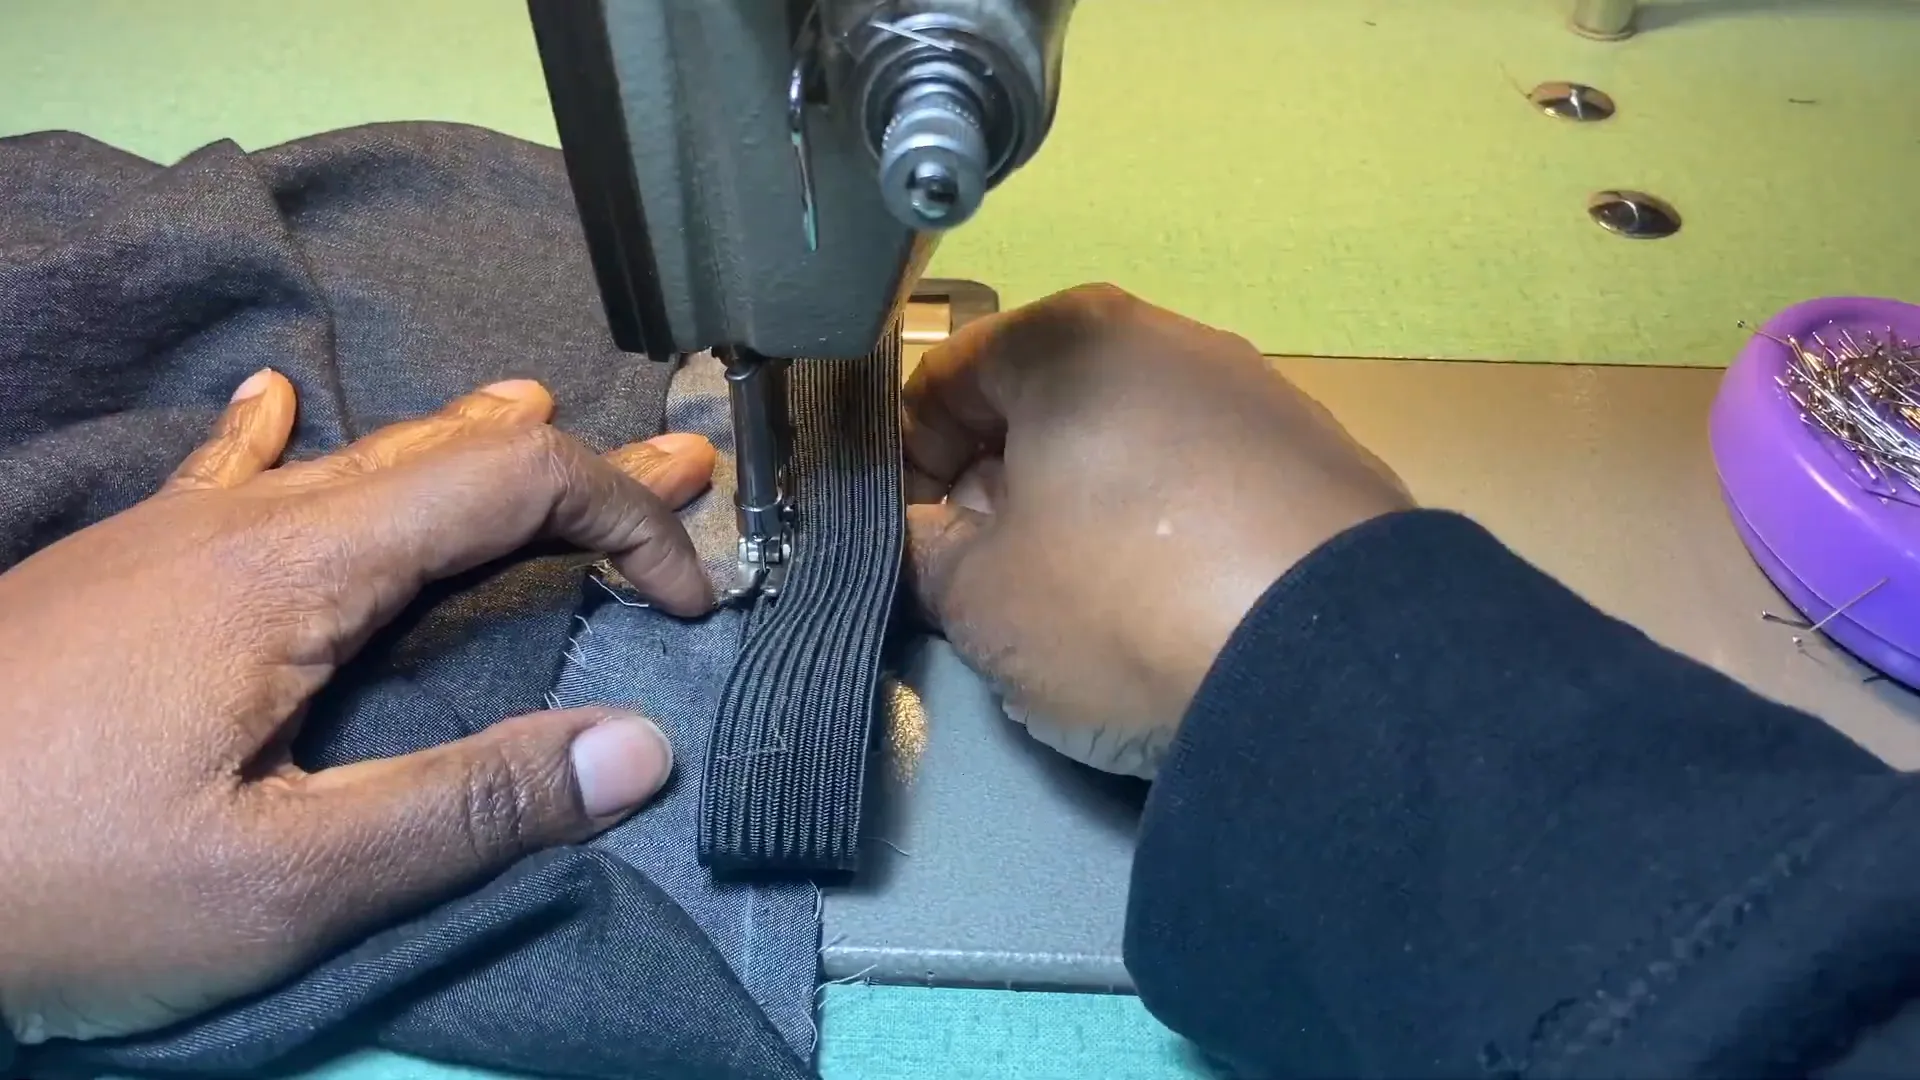
Mark where the elastic will go, ensuring it’s evenly distributed. Sew the elastic in place, then fold the sleeve over to create a finished edge.
Once everything is sewn together, give your dress a good press. Fold the slit edges, then sew to finish the hem. Your Yaxza A-Line Maxi Dress is now complete!
Congratulations on creating your own a line maxi dress with sleeves! This versatile piece is perfect for any occasion, whether casual or more formal. Don’t forget to share your creations on social media and tag us @covermechic. Follow us on Instagram, Pinterest, and other platforms for more sewing inspiration!
If you enjoyed this tutorial, check out some of my other posts for more sewing tips and tricks:
Happy sewing, and remember to share your creations with the community!
Download your free how to Measure your body Tool Kit.
There was a problem reporting this post.
Please confirm you want to block this member.
You will no longer be able to:
Please note: This action will also remove this member from your connections and send a report to the site admin. Please allow a few minutes for this process to complete.