If you’re looking to create a modest, stylish, and loose-fitting blouse with professional details like sleeve tabs, pocket flaps, and a belt, this guide on how to make a blouse with a belt is for you. Using the Amira Top sewing pattern, you’ll learn how to sew a polished blouse that fits beautifully and flatters your silhouette. Whether you’re a beginner or an experienced sewist, these detailed steps will help you master techniques such as understitching, creating buttonholes, and attaching belt loops to elevate your sewing skills.
This guide on how to make a blouse with a belt will walk you through the process in detail. You’ll discover how to make a blouse with a belt that is both fashionable and functional. Follow along to learn how to make a blouse with a belt that suits your style perfectly.
In this tutorial, we will explore how to make a blouse with a belt that enhances your wardrobe. No matter your skill level, you’ll find that this process of how to make a blouse with a belt is straightforward and enjoyable.
The Amira Top pattern is available for download, and I’ll walk you through each stage from cutting your fabric to finishing your blouse with a clean, professional hem. Let’s dive into how to make a blouse with a belt that you’ll love to wear and show off!
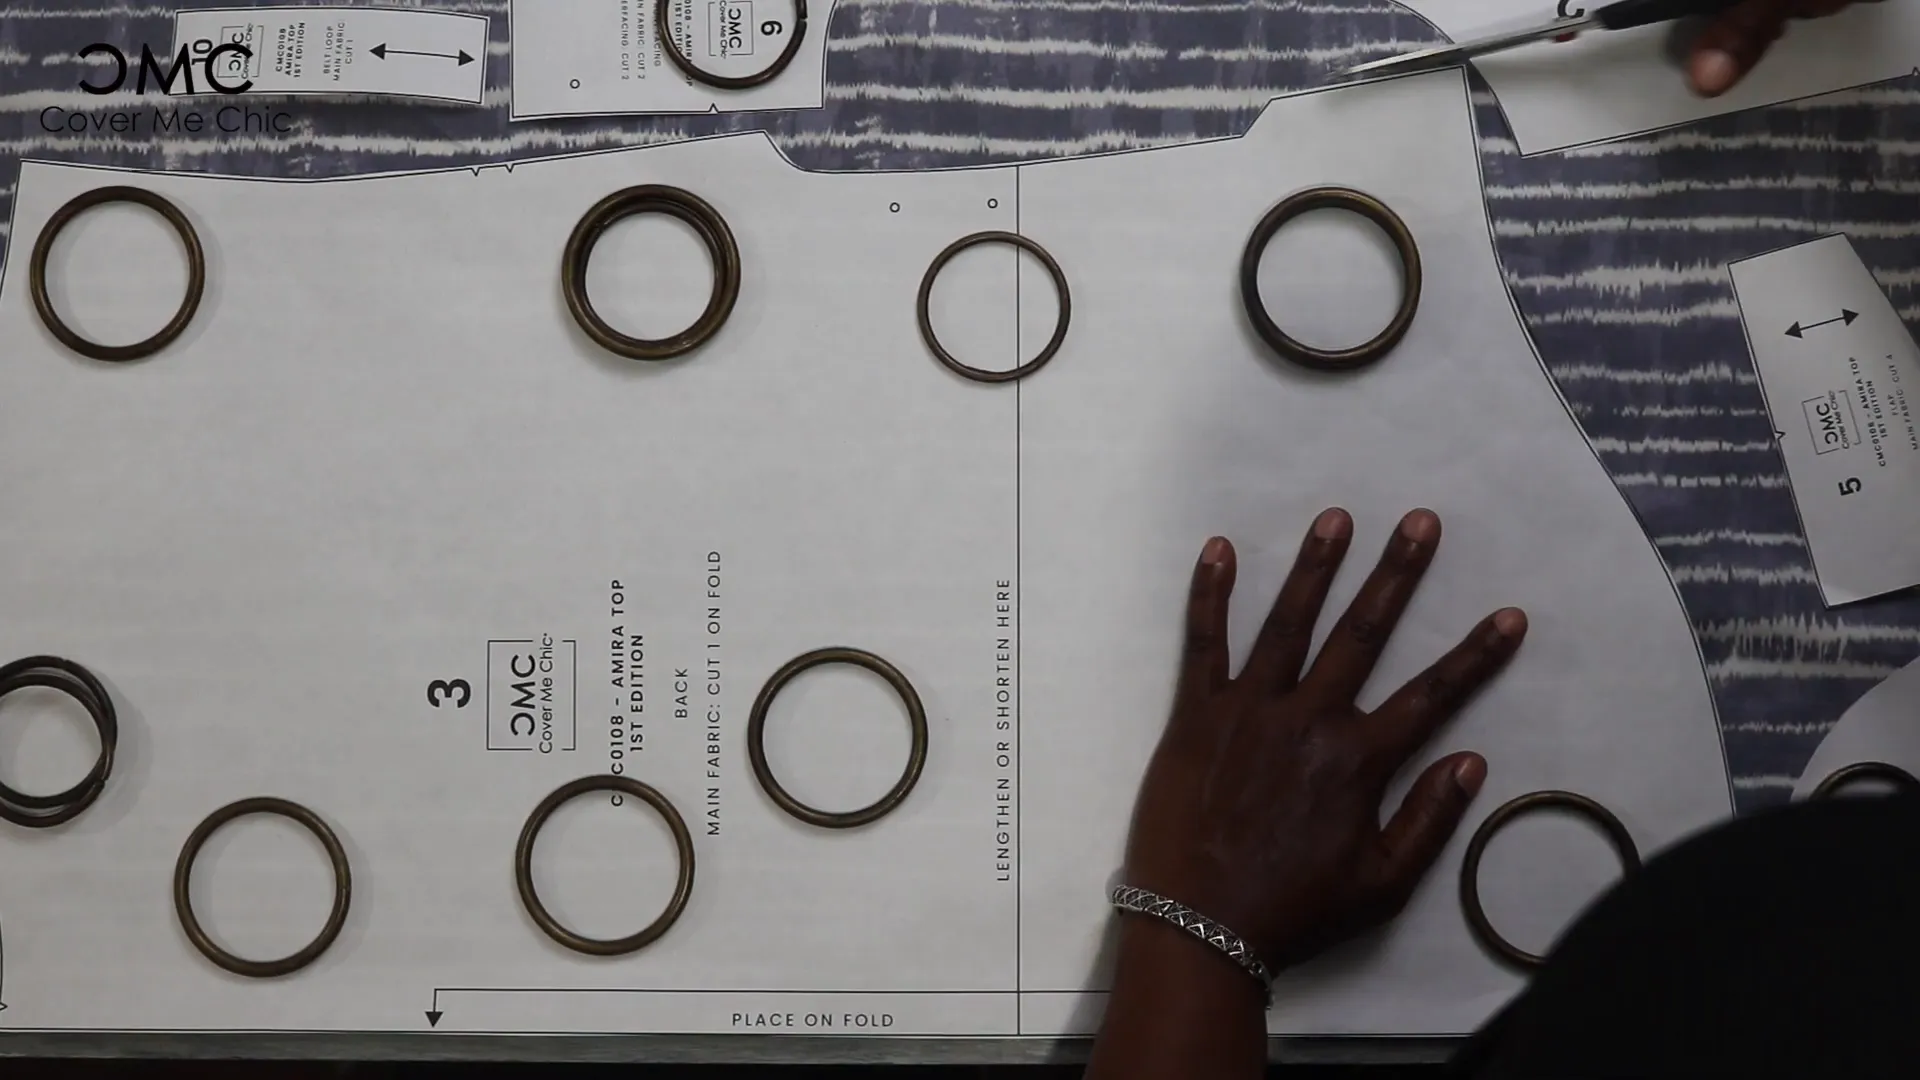
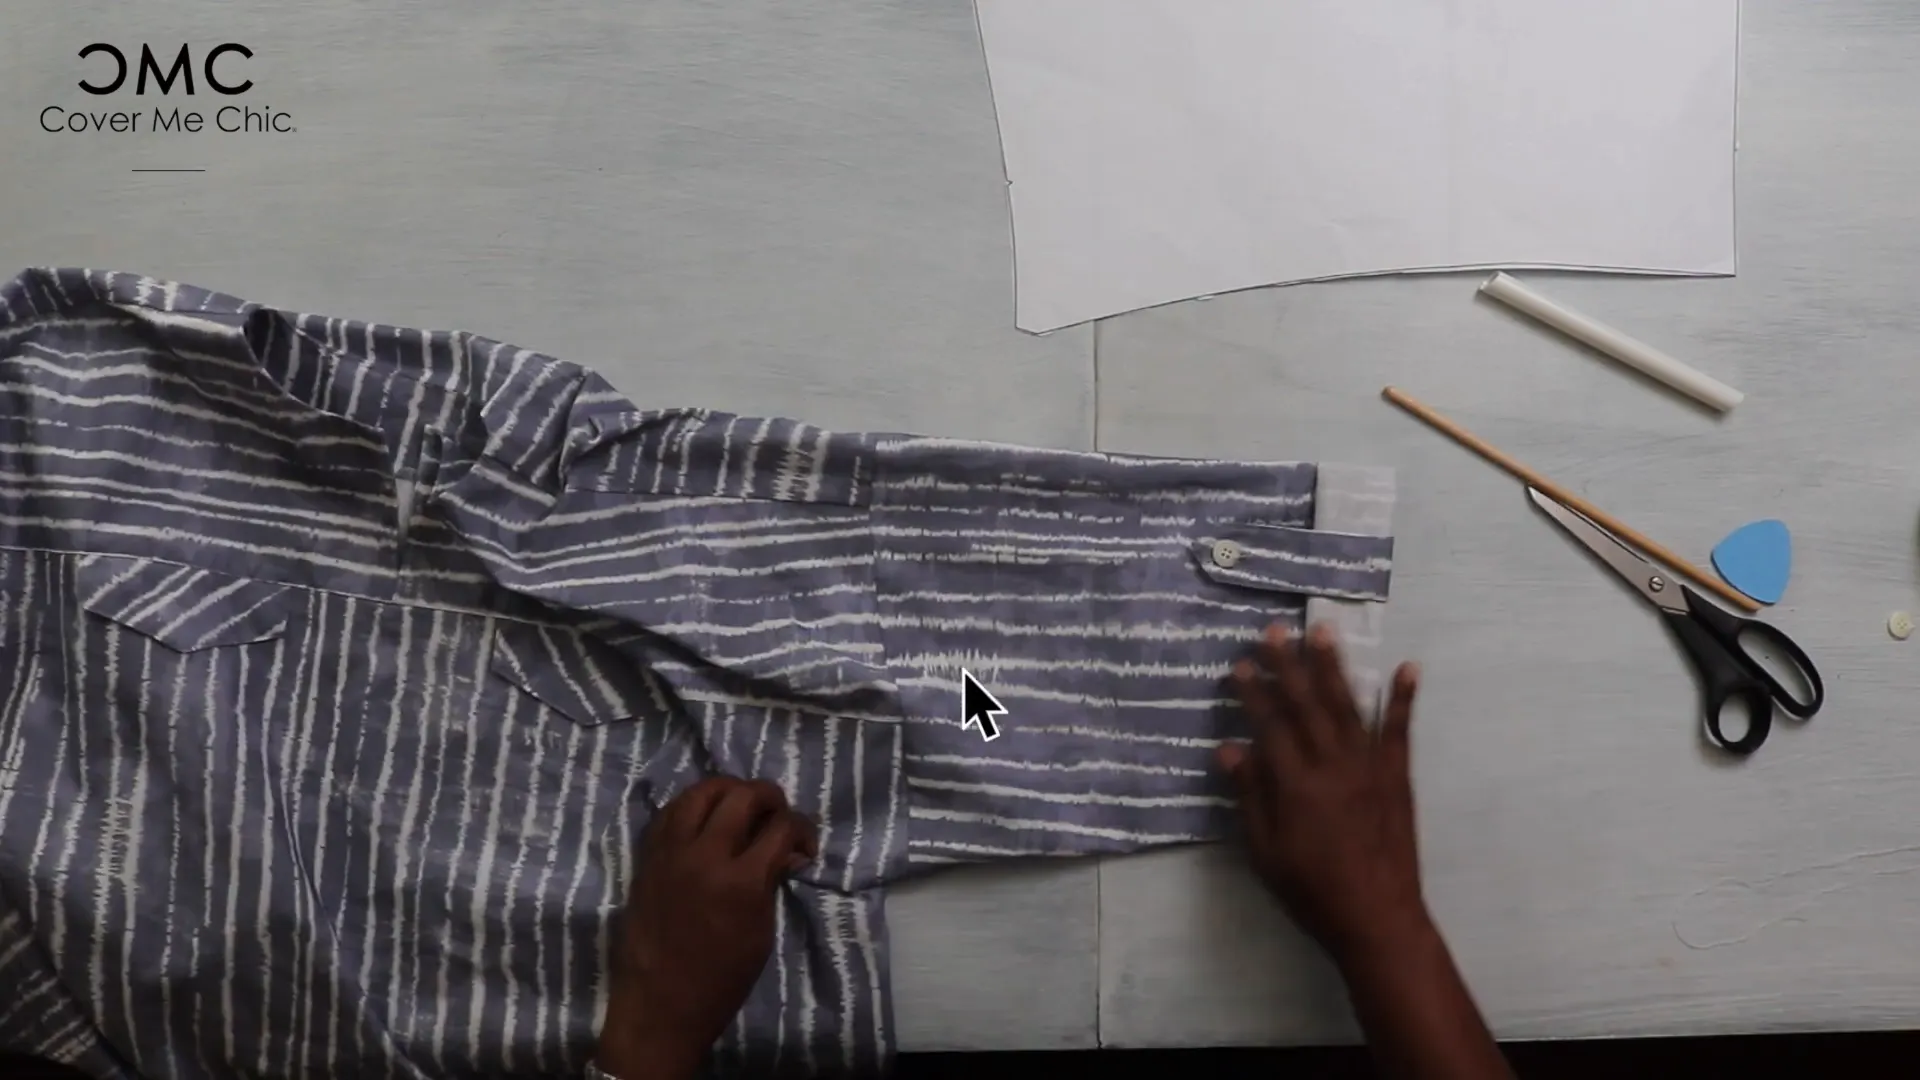
Begin by laying out your fabric flat and positioning the pattern pieces using weights to keep them in place. Follow the instructions carefully as you cut out each piece, and be sure to mark all notches and circles on your fabric. These markings are crucial for matching seams and assembling the blouse correctly.
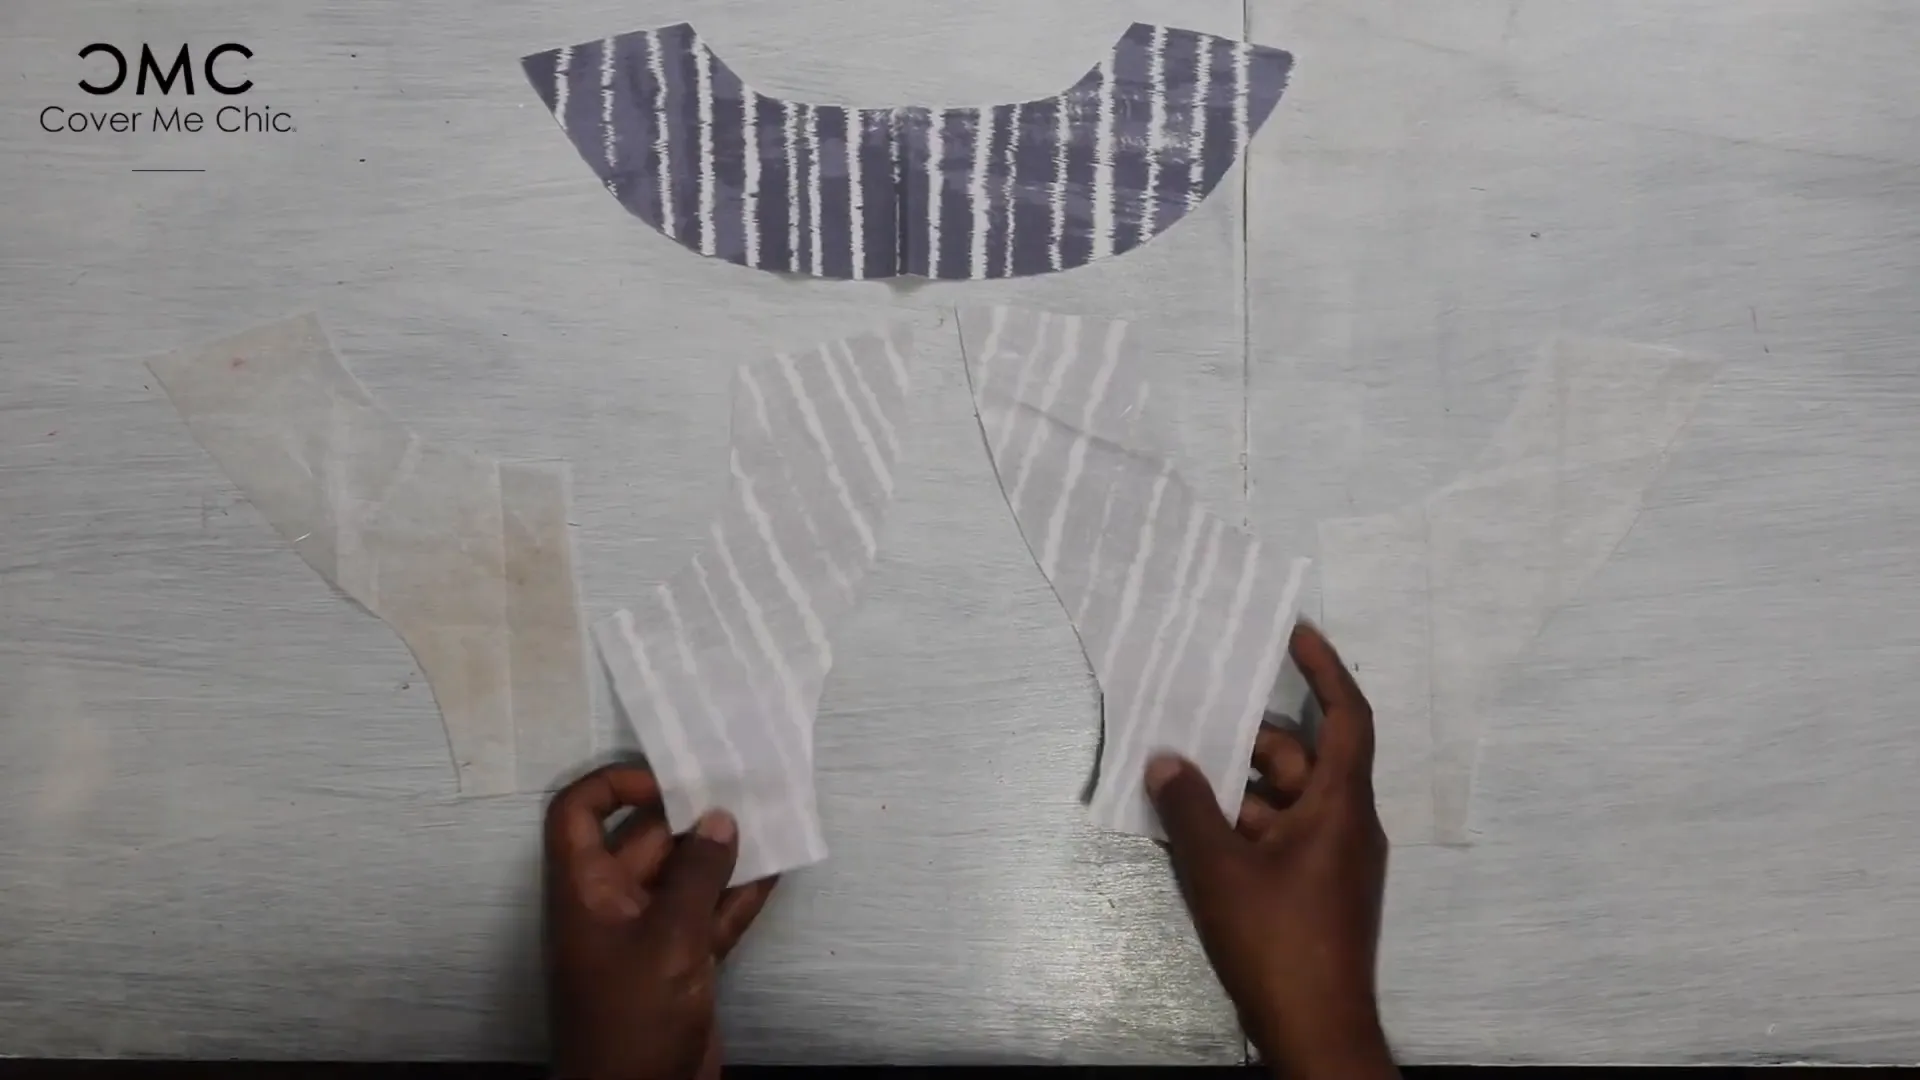
With all pieces cut, fuse the interfacing to the front and back facings. Trim the edges neatly. Pin the front facing to the shoulder seams, matching the marked dots on the pattern.
Repeat the process for the front yoke, pinning it to the back at the shoulder seam. Always match the shoulder notches first before pinning the rest of the seam to ensure perfect alignment on both sides.
Next, sew the front facing and yoke to the back at the shoulder seams using a half-inch seam allowance. This step sets the foundation for the blouse’s structure.
Once sewn, finish all seam edges to prevent fraying. Attach the fused front and back facings to the back piece and the front yoke, carefully matching all notches and shoulder seams. Pin securely and sew with a half-inch seam allowance.
To keep the facings from rolling out, understitch them by sewing about an eighth of an inch from the seam, stitching through the facing only. This technique helps the facing lay flat inside the garment for a clean finish.
Trim the seam allowance to a quarter of an inch and clip the curved edges to reduce bulk. Press the seams flat, ironing towards the facing. This preparation ensures a smooth neckline and yoke area.

For those wondering how to make a blouse with a belt, remember that the key lies in the details. Each step in this tutorial is designed to help you understand how to make a blouse with a belt effortlessly.
As you learn how to make a blouse with a belt, consider experimenting with different fabrics. This flexibility allows you to truly personalize how to make a blouse with a belt that reflects your unique style.
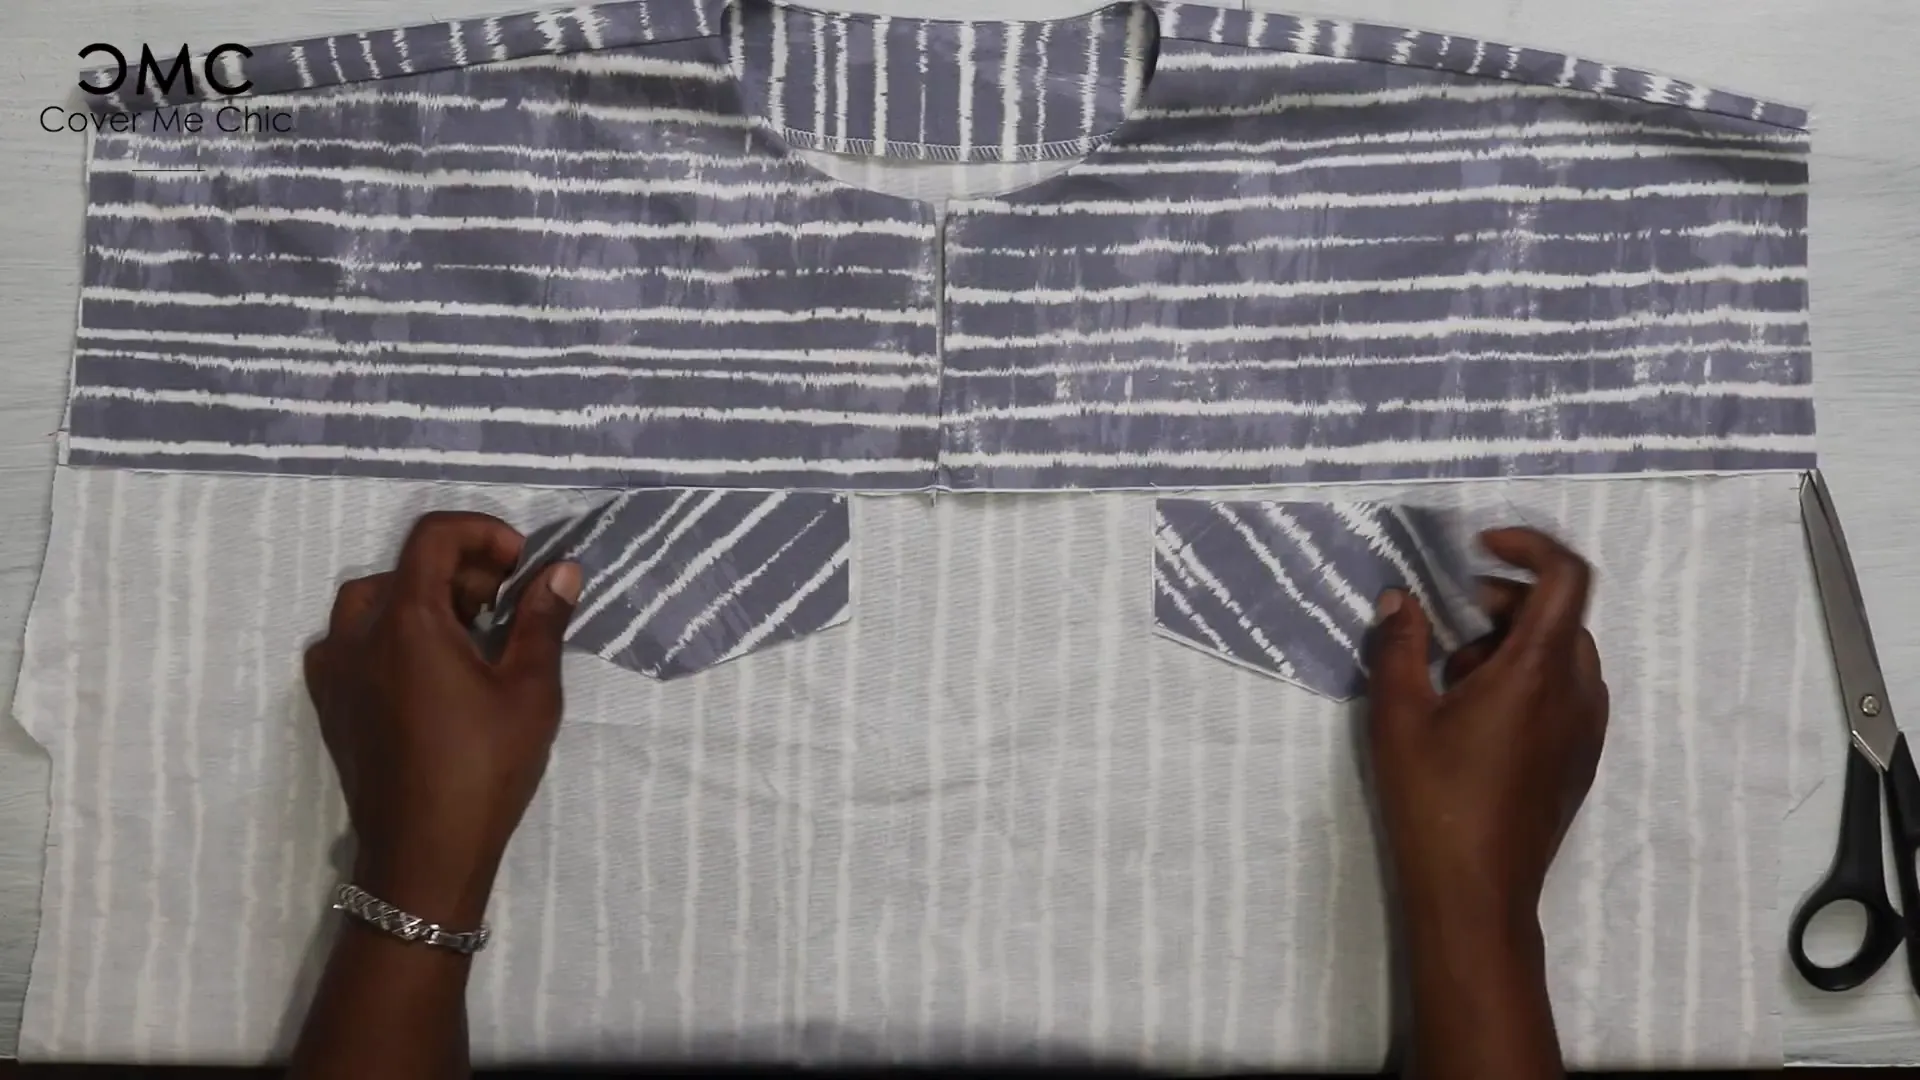
The Amira Top features charming faux pocket flaps that add interest and detail. Cut the flaps at a 45-degree angle, especially if working with striped fabric, to enhance visual appeal.
Sew the flap pieces together with a half-inch seam allowance, then trim the edges and clip the corners. Turn them right side out and press flat. Optionally, topstitch about an eighth of an inch from the edges to help the flaps lay neatly.
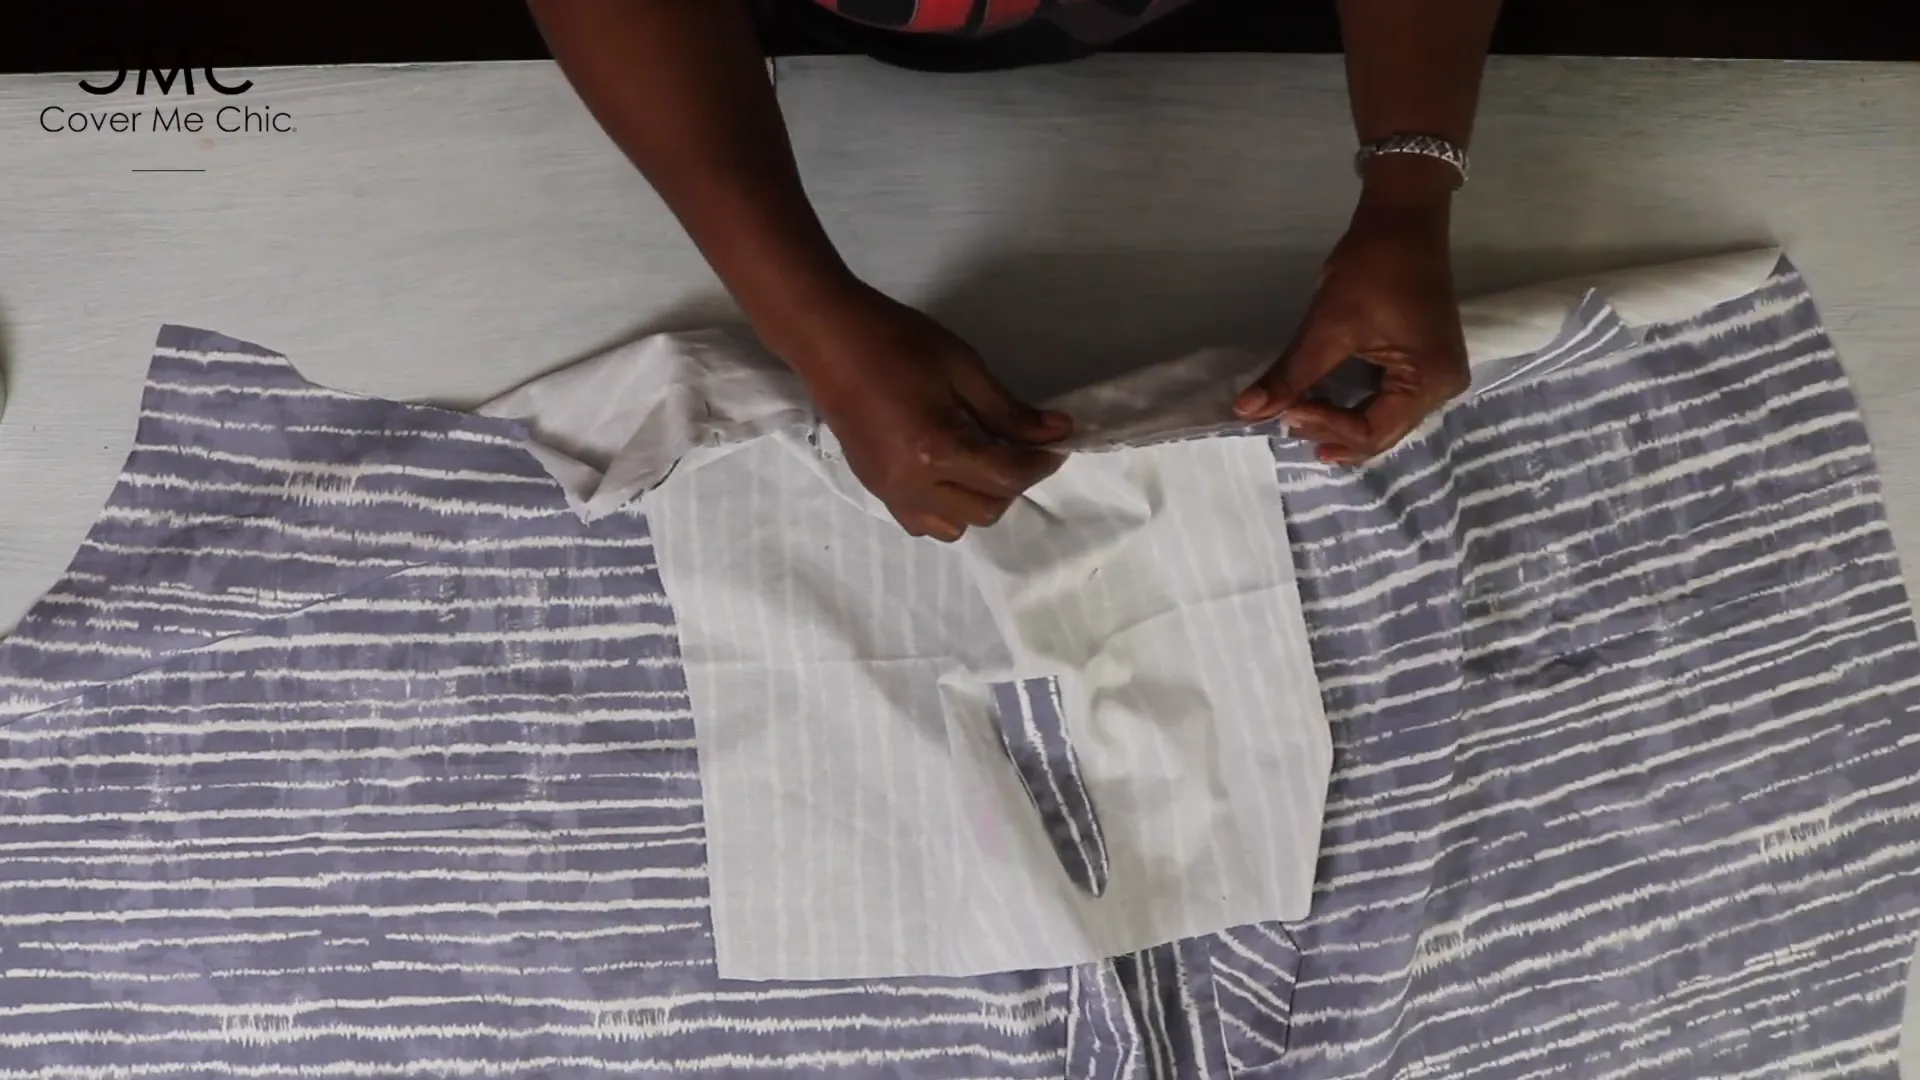
Match the notch on the top yoke to the corresponding notch on the flap, pin in place, and sew the flap to the front yoke. Then sew the front yoke to the bottom front piece, finishing edges and topstitching as done with the flap for a polished look.
To add a stylish and functional detail, the blouse includes sleeve tabs. Place the two sleeve tab pieces right sides together and sew along the edges with a half-inch seam allowance.
Trim the seam allowance to a quarter inch, clip the corners, turn the tabs right side out, and press. Topstitch close to the edges to keep the tabs crisp and flat.
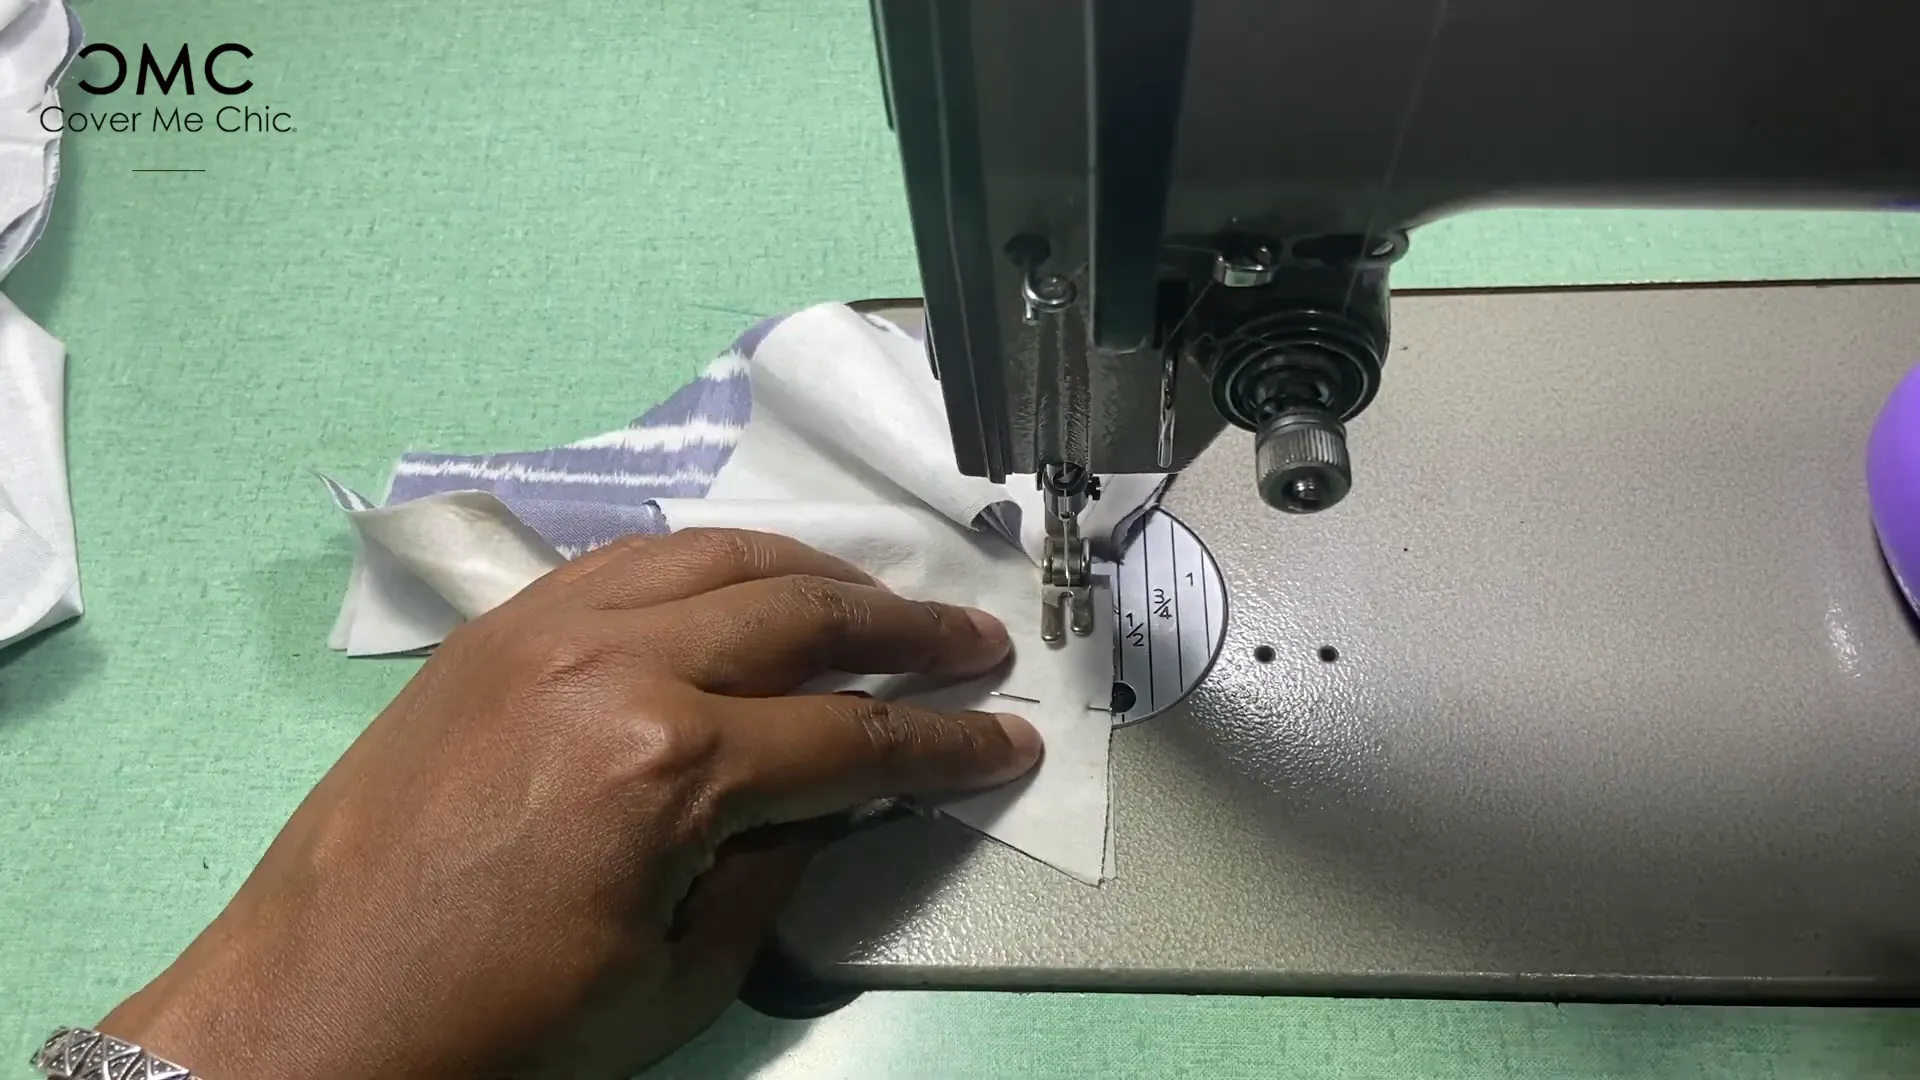
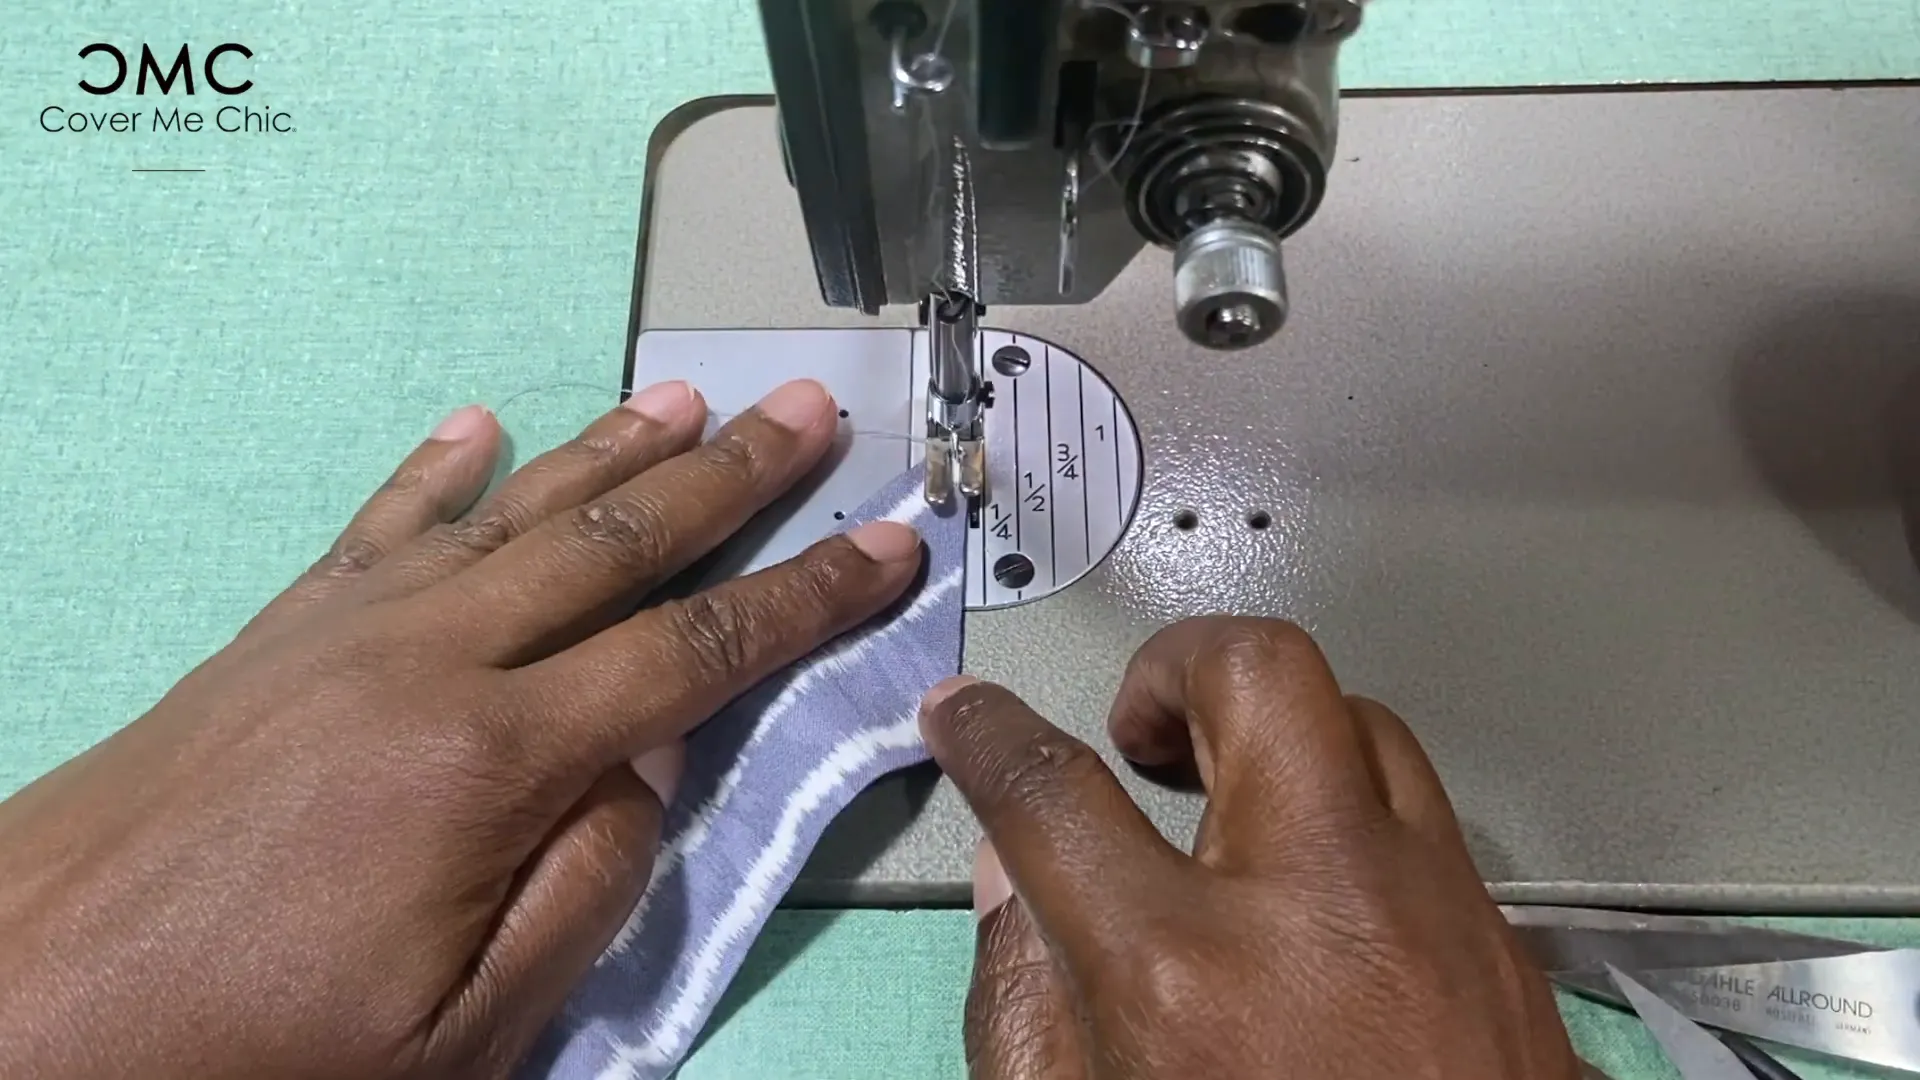
Next, create buttonholes on the sleeve tabs, centering them carefully and measuring to ensure the buttonhole fits the button size. Mark the position of the sleeve tabs on the wrong side of the sleeve and sew the tabs into place. Fold and sew edges neatly for a clean finish.

Pin the sleeves to the blouse body by matching all notches, including the front notch on the sleeve to the front notch on the blouse, and the sleeve dot to the shoulder seam. Sew at a half-inch seam allowance.
Finish the sleeve seams and side seams by sewing them together, carefully matching the sleeve seam at the front and back with the side seam dots where the belt loops will be placed.
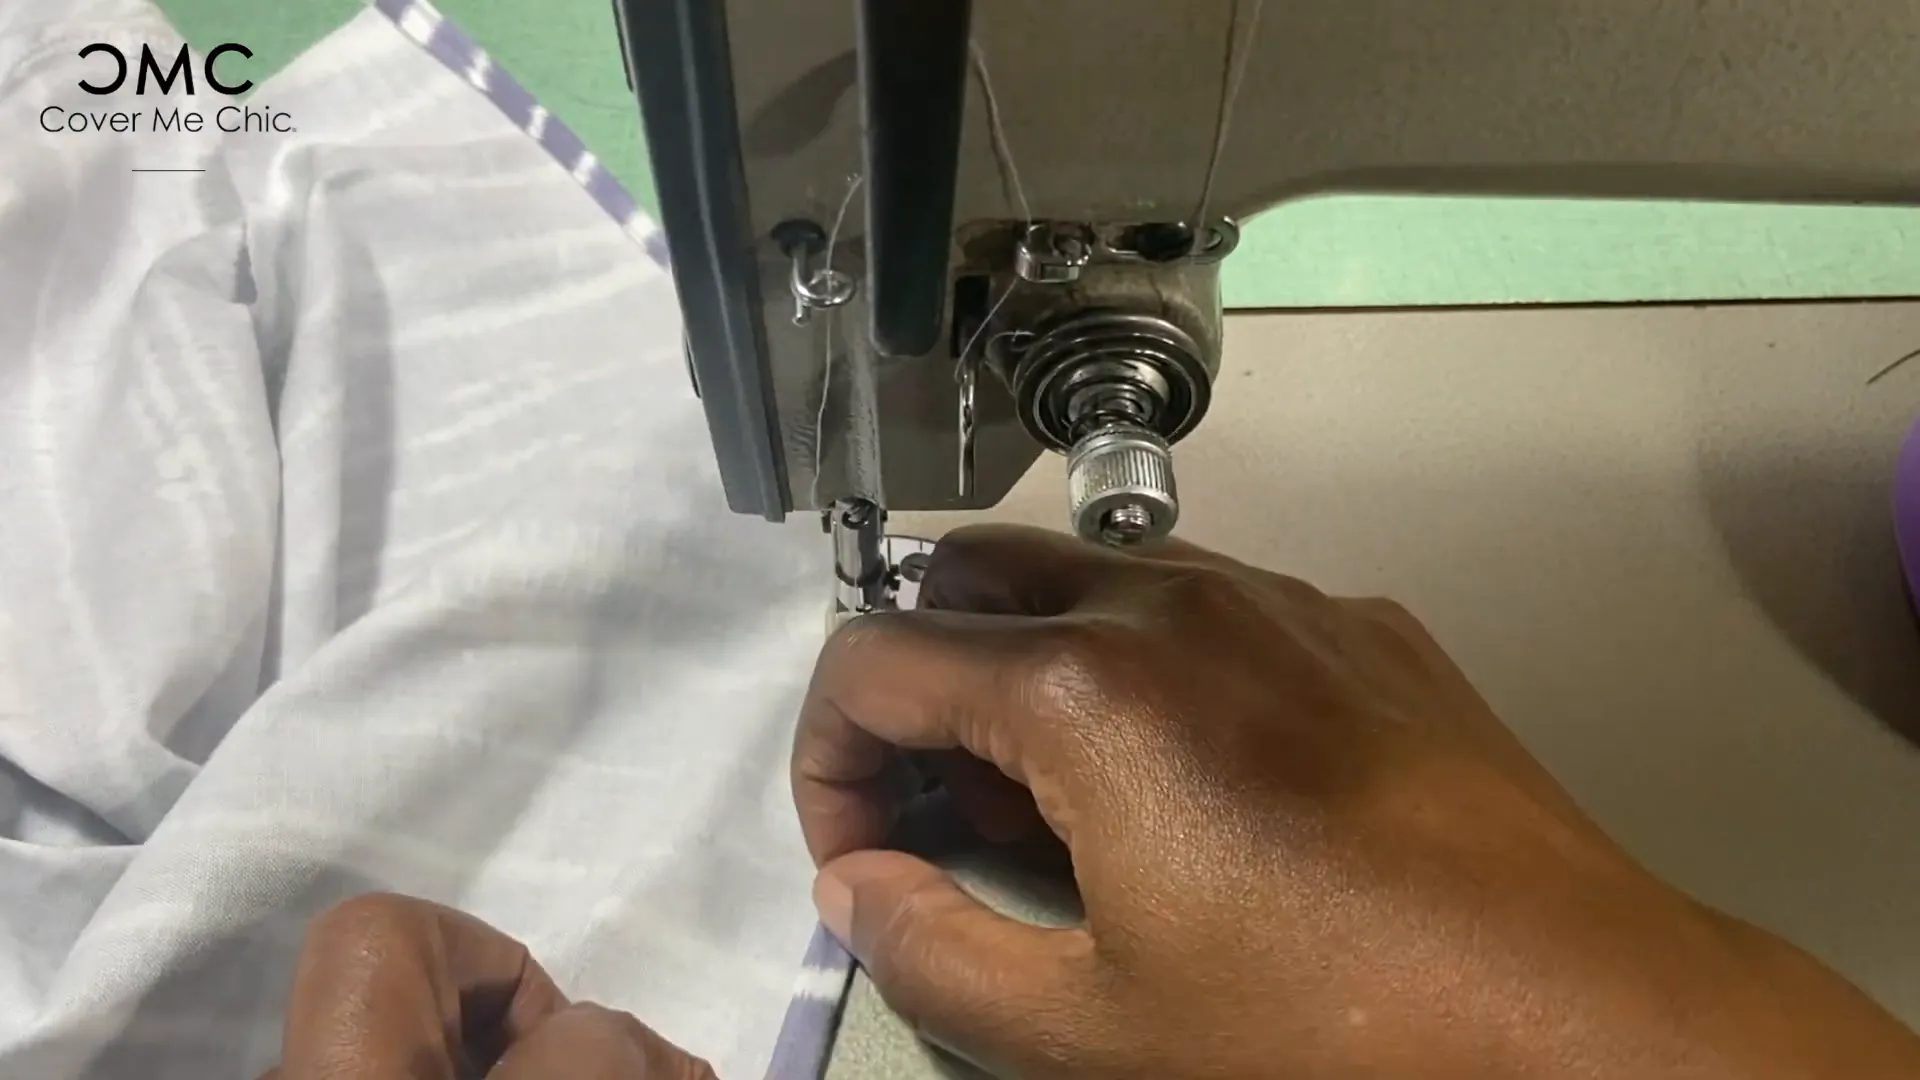
For a clean, polished hem, I recommend using a ¼-inch hem foot attachment on your sewing machine. This tool allows you to fold the fabric twice neatly and sew a consistent hem, even on curved edges.
Fold the hem ¼ inch twice, feed it through the hem foot, and sew. This technique gives your blouse a professional finish and saves time compared to hand-rolling hems.
Mark the belt loop placement on the side seams using the pattern dots. Fold the belt loops over an inch to align with the marks, pin, and topstitch securely, backstitching to reinforce the seams.
To sew the belt, pin the belt pieces right sides together and sew along the edges with a half-inch seam allowance, leaving an opening of about an inch to an inch and a half for turning.
Trim the seam allowances, clip corners, and turn the belt right side out using a loop turner (or similar tool). Press the belt flat, then topstitch around the edges for a crisp, finished look.
Finally, as you finish your blouse, think about how to make a blouse with a belt that can be paired with various outfits. Mastering how to make a blouse with a belt opens up numerous styling possibilities.
Mark button placement with tailor’s chalk and sew buttons onto the sleeve tabs by hand. Once the buttons are attached, fold the hem three times for extra durability and finish the sleeve hems by folding twice and topstitching on the right side.
Finally, tack down the facing at the shoulder seam allowance to prevent it from flipping out while wearing your blouse. This small detail ensures a neat interior finish and enhances comfort.
Congratulations! You’ve successfully sewn a beautiful, modest loose-fit blouse with detailed sleeve tabs and a belt using the Amira Top sewing pattern. This blouse combines comfort, style, and professional sewing techniques to create a garment you’ll enjoy wearing.
If you’re inspired to continue your sewing journey, explore other modest fashion sewing tutorials and patterns that fit and flatter your unique body shape. For more inspiration and resources, check out how to sew your own clothes and how to make your sewing look professional.
Ready to start your next project? Download the Amira Top pattern through the link provided, and happy sewing!
Download your free how to Measure your body Tool Kit.
There was a problem reporting this post.
Please confirm you want to block this member.
You will no longer be able to:
Please note: This action will also remove this member from your connections and send a report to the site admin. Please allow a few minutes for this process to complete.