
Creating your own shirt dress can be a fun and rewarding project! The Mu’mina shirt dress is not only stylish but also a versatile addition to your wardrobe. In this guide, we’ll walk you through each step of the sewing process, from cutting your fabric to the final touches. Let’s get started!
Before you dive into sewing, you need to gather all the necessary materials. Here’s what you’ll need:
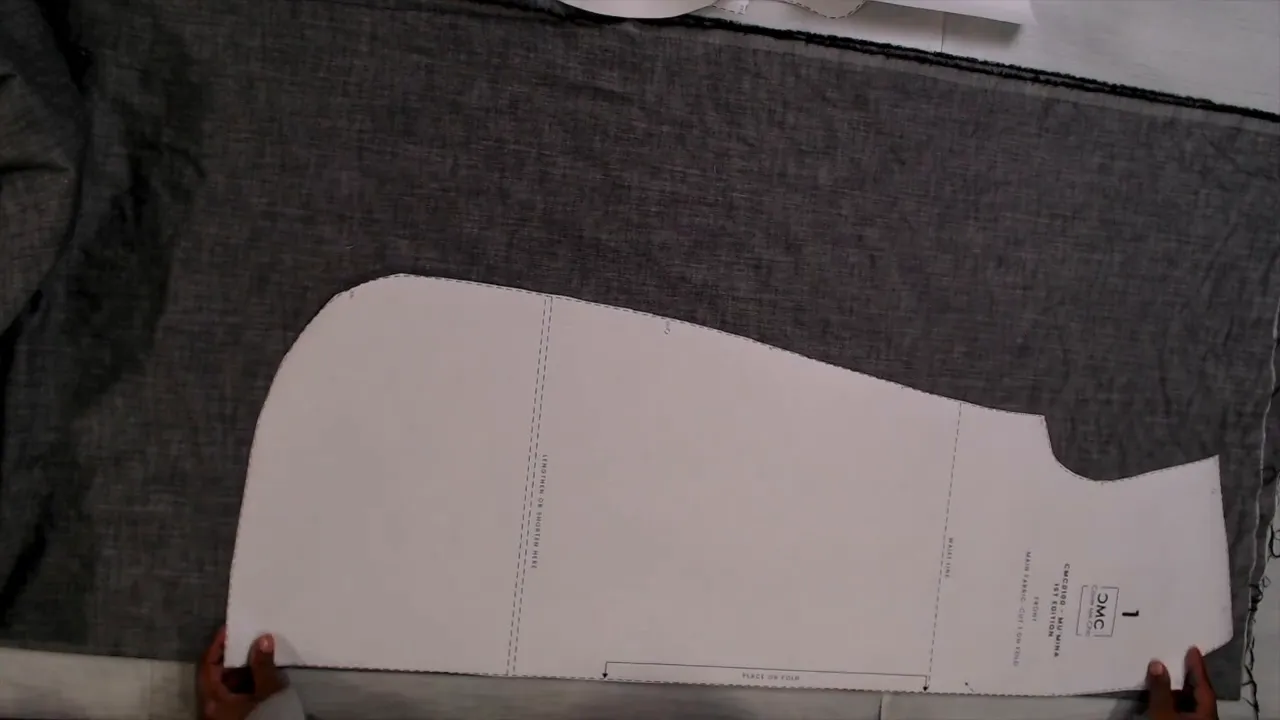
Now that you have your materials ready, it’s time to cut your fabric. Begin by laying out your fabric on a flat surface. Make sure to cut all the pieces according to the pattern, which includes:
Ensure you cut on the straight grain and clip all notches. Don’t forget to cut out one piece of interfacing for the placket and collar as well.
After cutting your fabric, the next step is to fuse the interfacing to the placket and collar. This will give these areas added stability and structure.
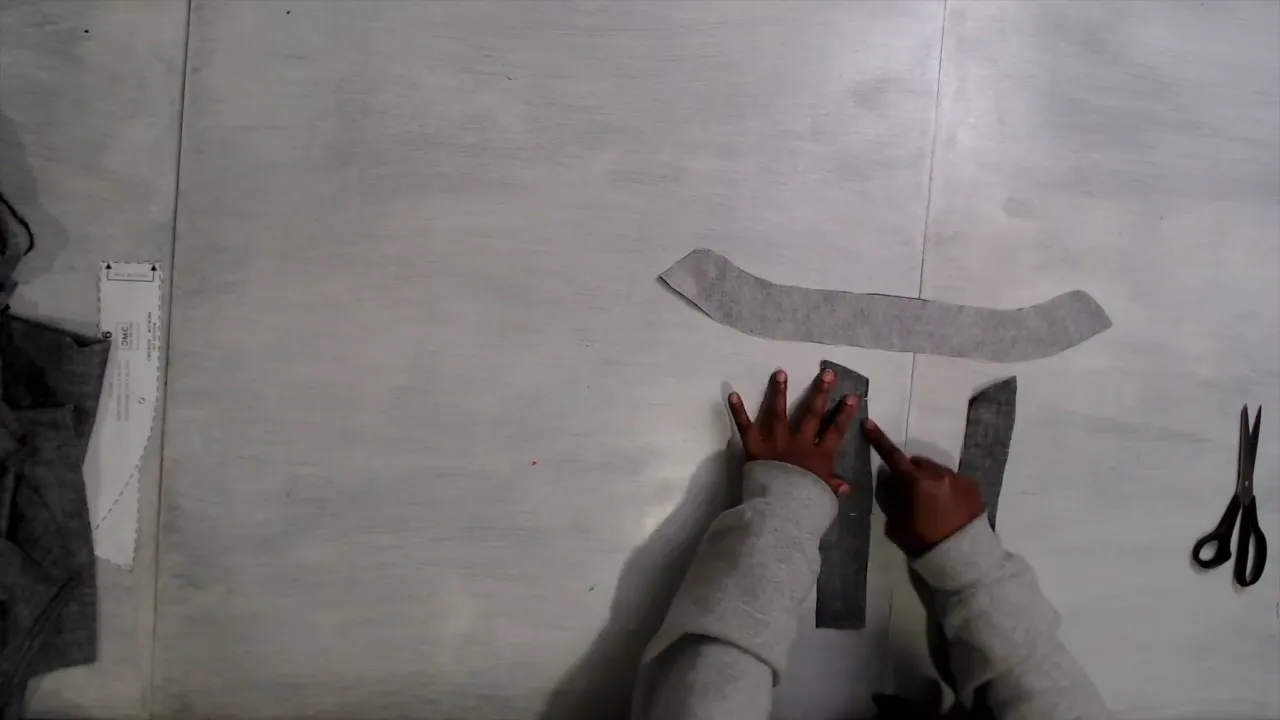
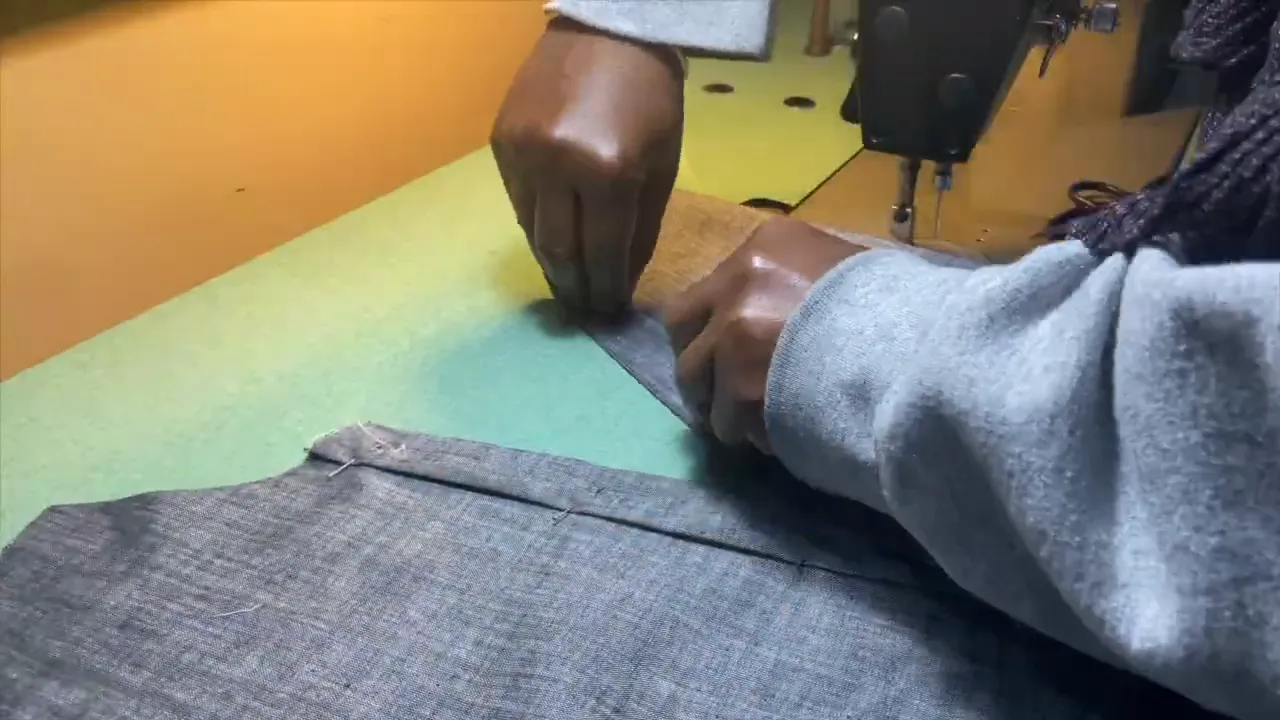
Now, let’s focus on the placket. Begin by sewing the placket pieces together and pressing them flat. Match the notch on the front where it’s slitted, and sew the placket to the front. Make sure to start at the slit and sew at a half-inch seam allowance.
Ensure the placket lies flat, only sewing one side at a time. Repeat the same process for the other side. Once both sides are sewn, press towards the placket and finish the inside by pinning it down and topstitching the front.
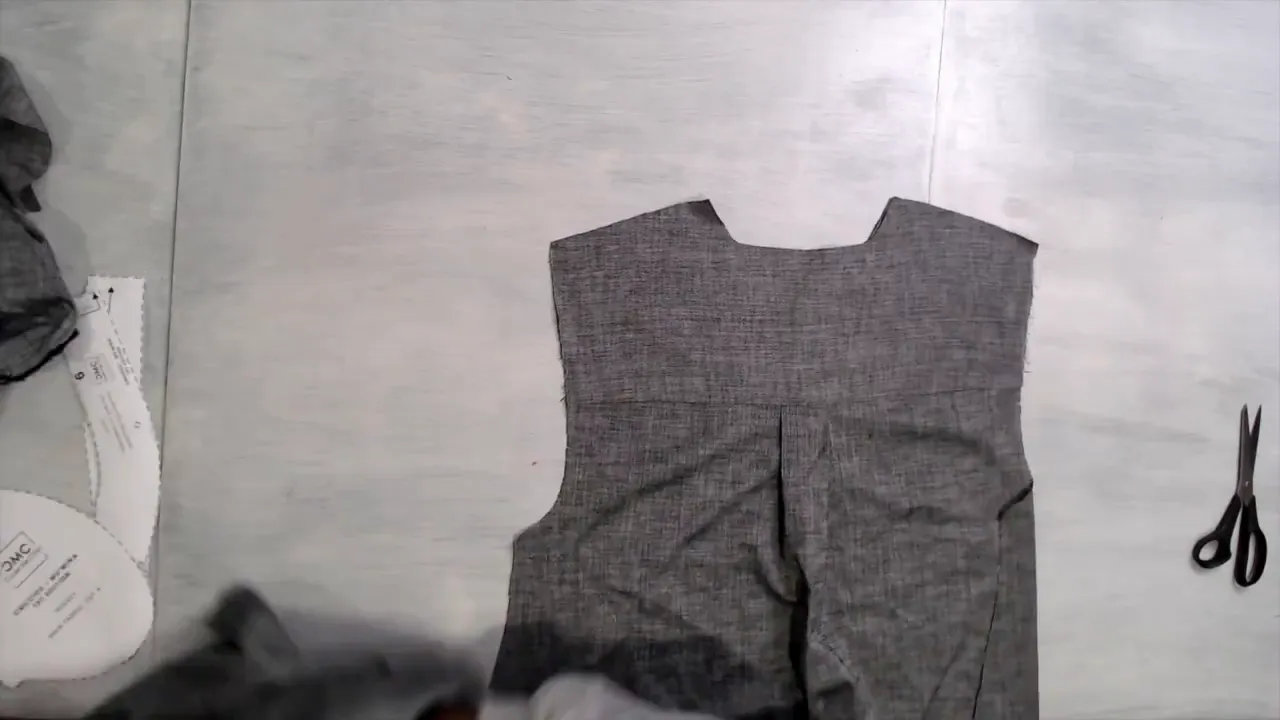
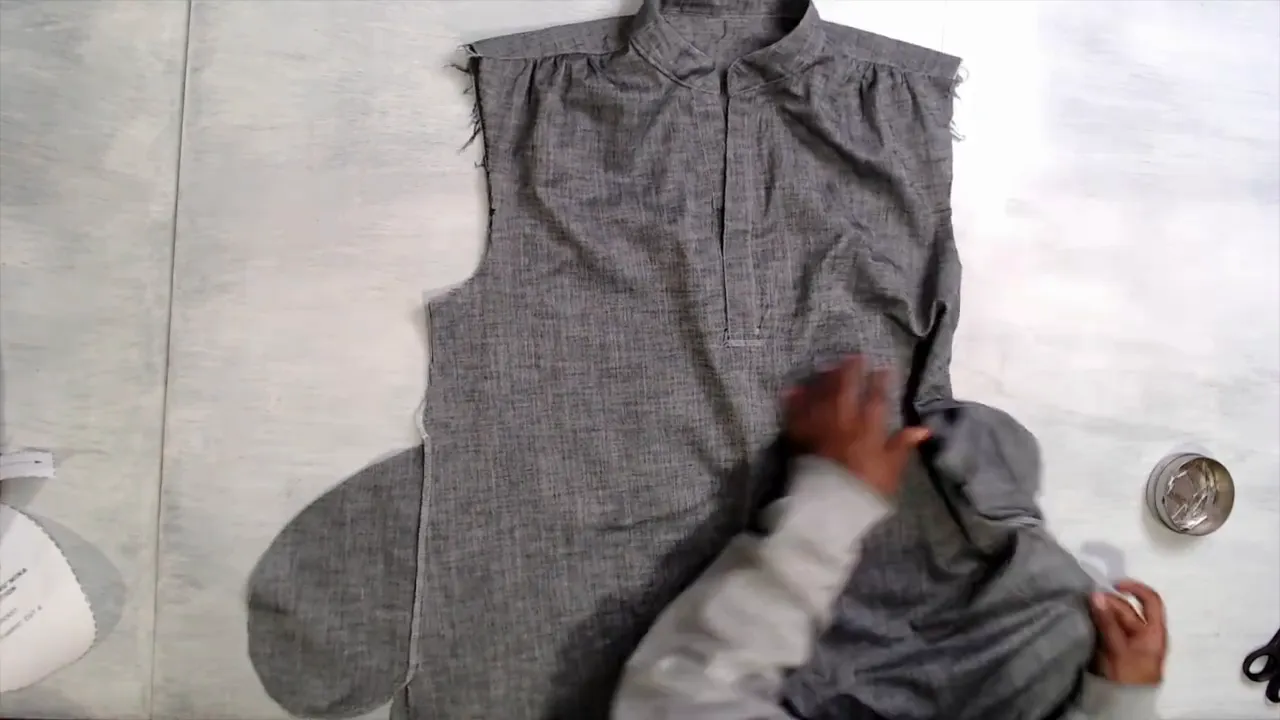
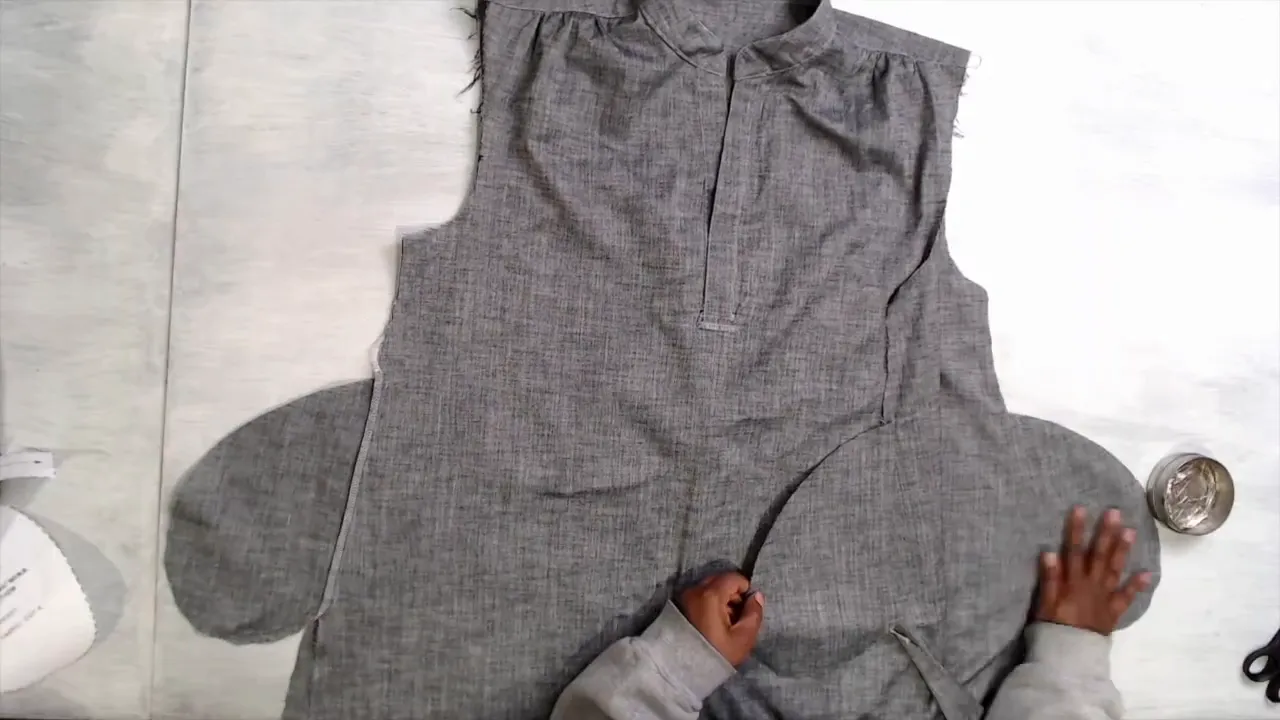
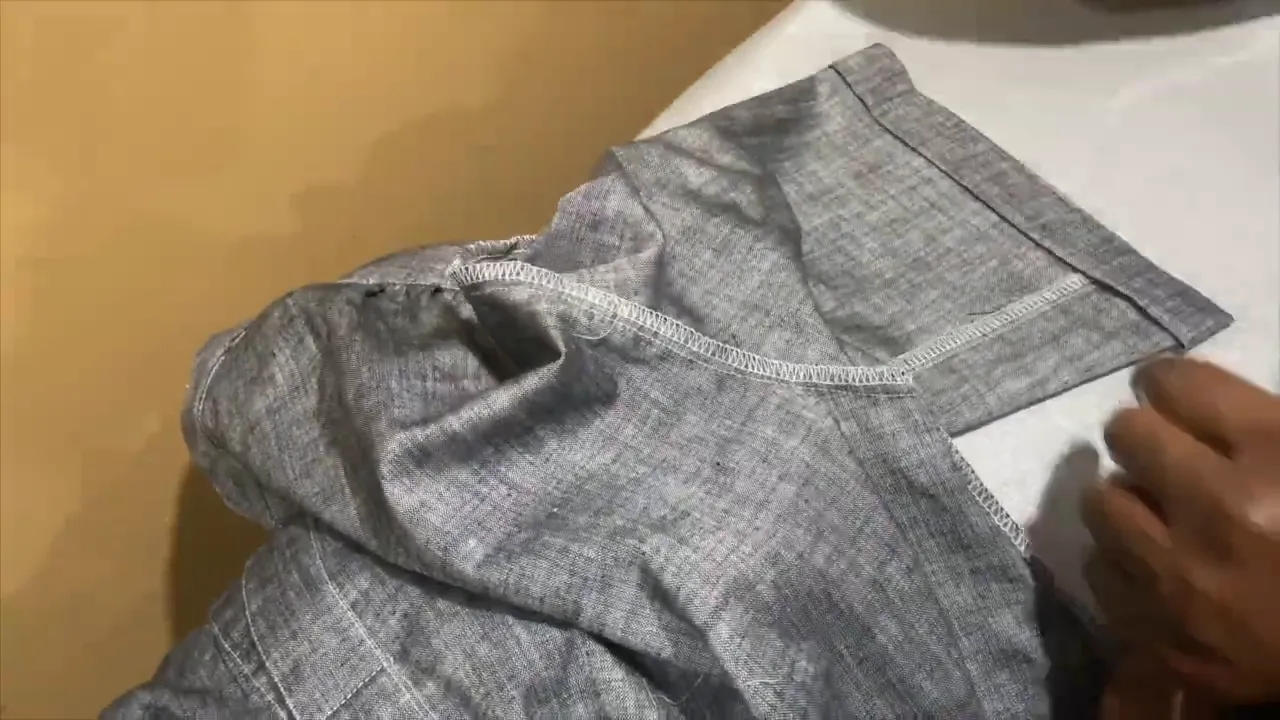
Now, let’s move on to the back piece. Start by creating a pleat on the back by matching the notches and pinning them together. Fold evenly and pin again. You can stay stitch this if you prefer, but pinning is usually sufficient. Next, add the yoke to the back piece, ensuring to match the notches.
Pin all layers together and sew them at a half-inch seam allowance. This will create a clean finish for your back yoke.
For the front, use the widest stitch to sew two rows of stitches between the small circles. Gather it slightly and pin it to the back yoke, only pinning the self-fabric to the shoulder seams for now. Sew at a half-inch seam allowance.
Next, pin the lining to sandwich it in, ensuring the seams are hidden. Match the notches and sew over the seam you just completed. Once done, turn everything right side out and press the seams flat.
Now it’s time to create the collar. Pin the collar pieces together, lining to self, and sew at a half-inch seam allowance. After sewing, trim the seam allowance down to about a quarter of an inch to ensure it turns properly. Press the collar and attach it to the shirt, matching the notches.
When sewing, make sure to add a half-inch seam allowance. Once attached, fold over the collar lining and pin it in place. You’ll sew this on the right side, catching the other side at about an eighth of an inch from the edge.
Let’s move on to the pockets! Pin the pockets to both the front and back at the side seams, ensuring to match the notches. Once pinned, take it to the sewing machine and sew at a quarter-inch seam allowance, then press the seams and finish them as you prefer.
With the pockets attached, it’s time to sew the side seams. Pin the side seams together and sew at a half-inch seam allowance. Be sure to finish the bottom of the placket before proceeding.
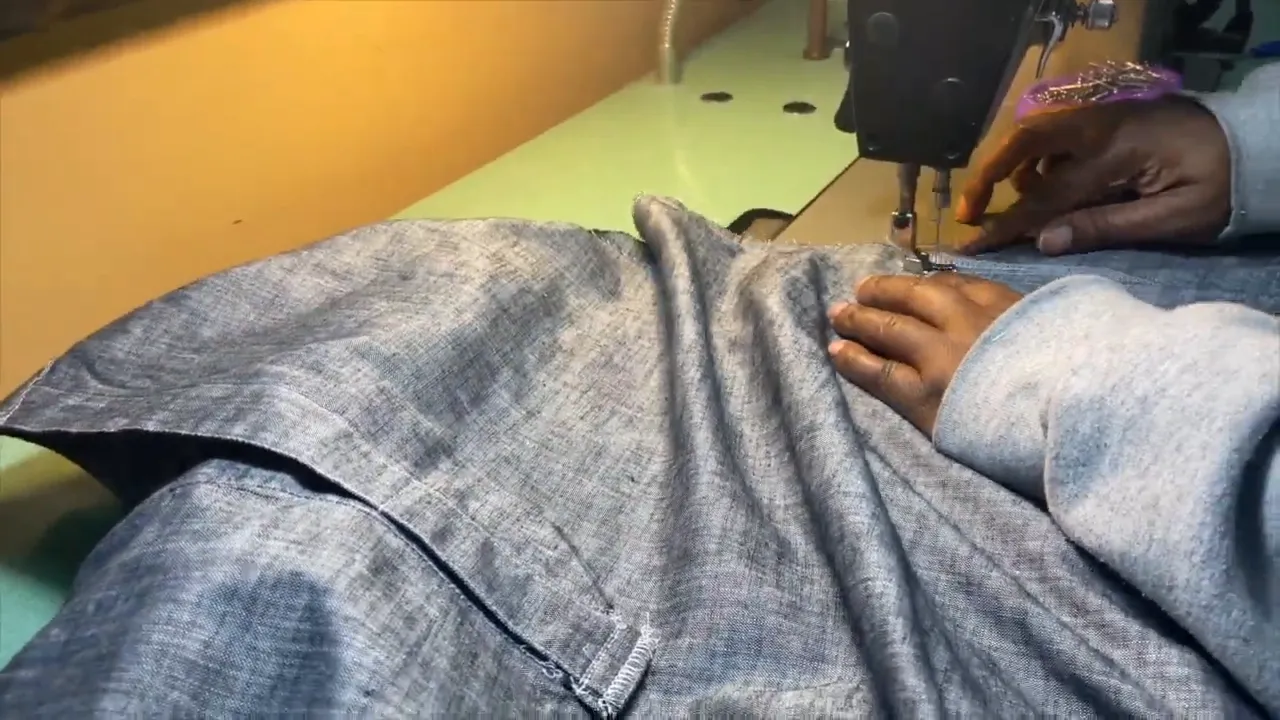
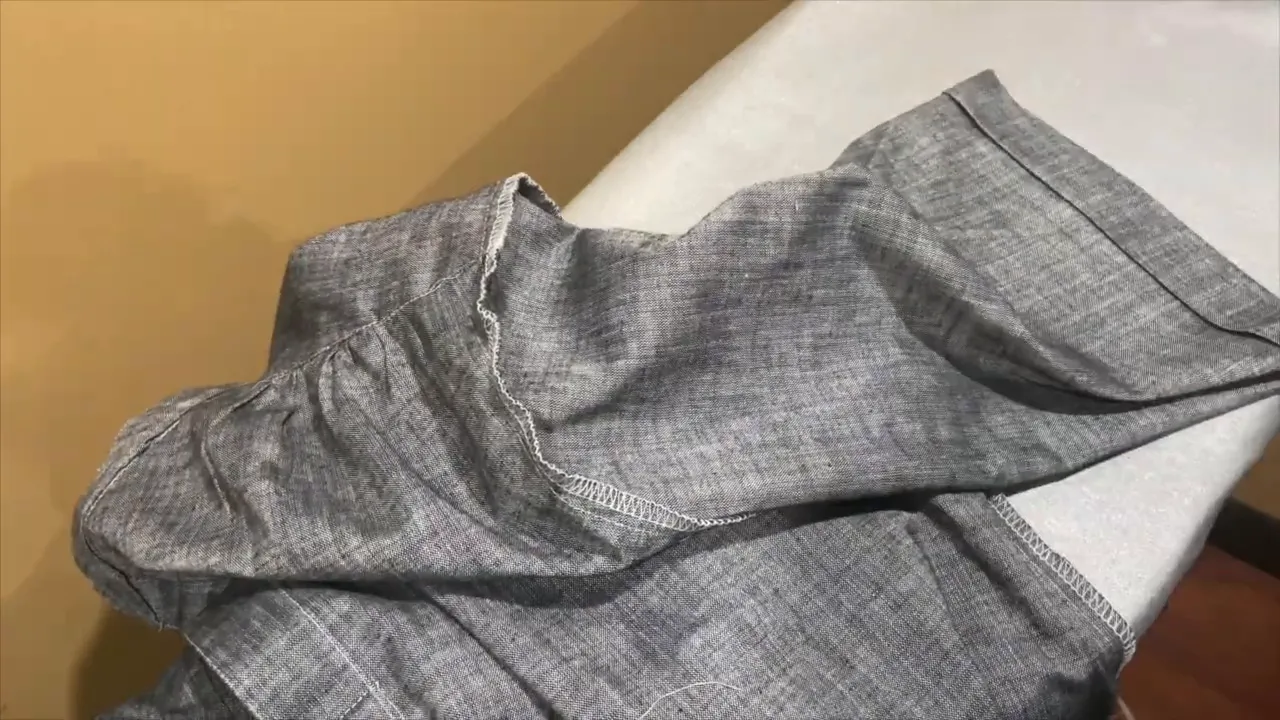
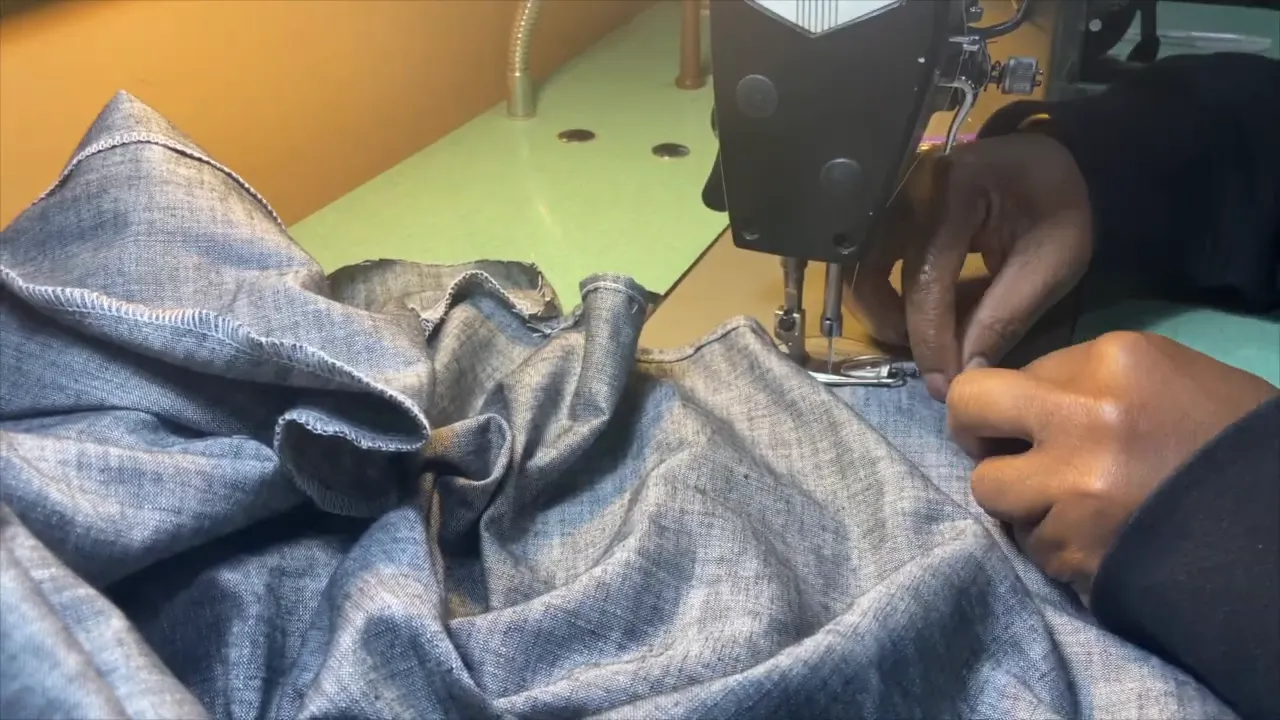
Now, let’s work on the sleeves. Put two rows of ease stitch between the notches on each sleeve piece. Fold the sleeve in half, right sides together, and sew the sleeve seam at a half-inch seam allowance. Finish the edges and then attach the sleeves to the shirt body, matching the front and back notches.
Ease in the sleeve cap while pinning both sides, then sew at a half-inch seam allowance and finish with a serger.

For the sleeves, create a two-inch hem by folding it over, pressing, and folding again for a finished one-inch hem. Topstitch this on the right side, one inch from the edge, catching both sides securely.
Now it’s time to hem the bottom of the dress. I recommend using a hem foot for a narrow hem that finishes at a quarter of an inch. This will give you a clean finish all the way around. Once finished, press the hem to set it.
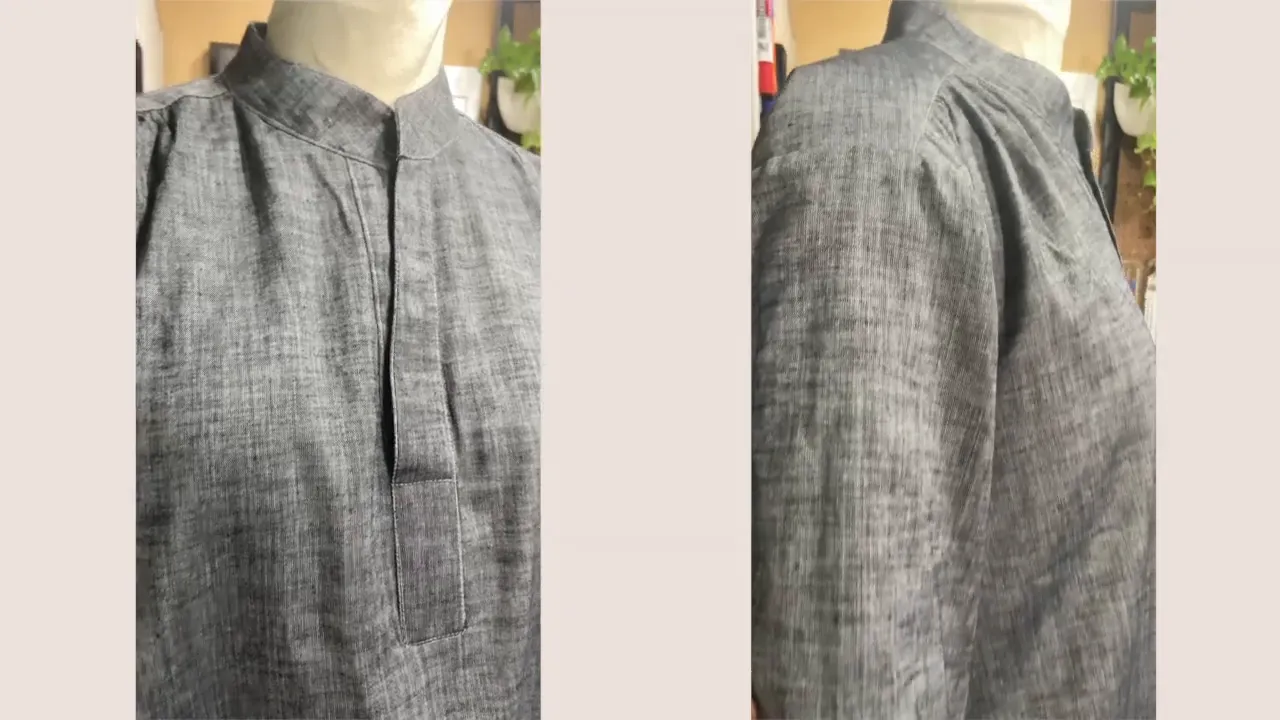
Congratulations! You’ve completed your Mu’mina shirt dress! This stylish and modest piece can be paired with jeans or leggings for a chic look. Whether you’re dressing it up or down, this shirt dress is sure to become a staple in your wardrobe.
Don’t forget to like and subscribe for more sewing tutorials. Happy sewing!
Download your free how to Measure your body Tool Kit.
There was a problem reporting this post.
Please confirm you want to block this member.
You will no longer be able to:
Please note: This action will also remove this member from your connections and send a report to the site admin. Please allow a few minutes for this process to complete.