
At Cover Me Chic, we know that bodies are beautifully unique—and that’s exactly why most sewists find themselves grading between sizes when using sewing patterns. If your measurements fall across more than one size on our chart, don’t worry! Grading between sizes is a normal—and empowering—part of getting a garment to fit you just right.
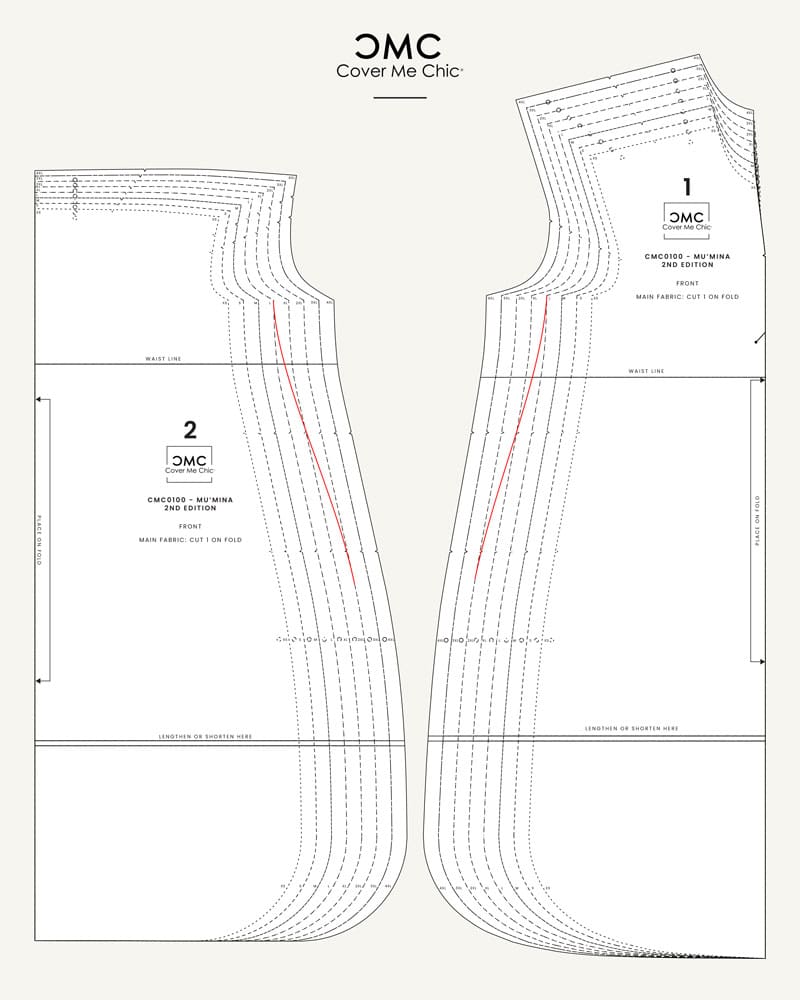
Grading between sizes means blending from one size to another on a sewing pattern to match your measurements. For example, you might use a size 20 at the bust, a 22 at the waist, and a 24 at the hip. By connecting these points on your pattern, you can create a custom fit that works for your body.
Tip: Check out the Finished Garment Measurements for each pattern—they’re super helpful when deciding whether you need to grade.
Grading between sizes is easier than it sounds. Just:
Need a visual? Check out our how to chose the right size pattern tutorial for a walkthrough.
You can typically grade up to 3 sizes apart with great results. More than that is possible, but be careful to keep your curves smooth and natural. Always test your changes with a muslin or toile to make sure they land in the right place.
True story: One of our testers once graded too far too quickly and ended up with too much ease at the side—not the hips where she needed it!
Yes, especially when you’re grading or adjusting a pattern for the first time. A muslin helps you see how your changes affect the fit—before cutting into your good fabric.
The basics of how to grade between sizes are the same, but:
Sometimes! Before you grade, check:
But to preserve the original look and fit of the design, grading between sizes is often the best path forward.
Still unsure? We’re here to help. Contact us here with your measurements and the pattern you’re working on—we’d be happy to walk you through the best approach.
Download your free how to Measure your body Tool Kit.
There was a problem reporting this post.
Please confirm you want to block this member.
You will no longer be able to:
Please note: This action will also remove this member from your connections and send a report to the site admin. Please allow a few minutes for this process to complete.