Making your own head wrap isn’t just a stylish choice—it’s practical and budget-friendly too! A custom head wrap can keep your hair neatly in place while adding a vibrant pop of color to any outfit. In this comprehensive guide, I’ll walk you through the simple process of creating a perfectly-fitting head wrap that’s uniquely yours.
Whether you’re looking to protect your hair, create a bold fashion statement, or simply keep cool on hot days, learning how to make a head wrap is a valuable skill for any crafting enthusiast.
Before you begin crafting your custom head wrap, gather these materials:
For the best results when you make a head wrap, choose cotton fabric with a bit of stretch—this ensures your creation stays securely in place when worn.
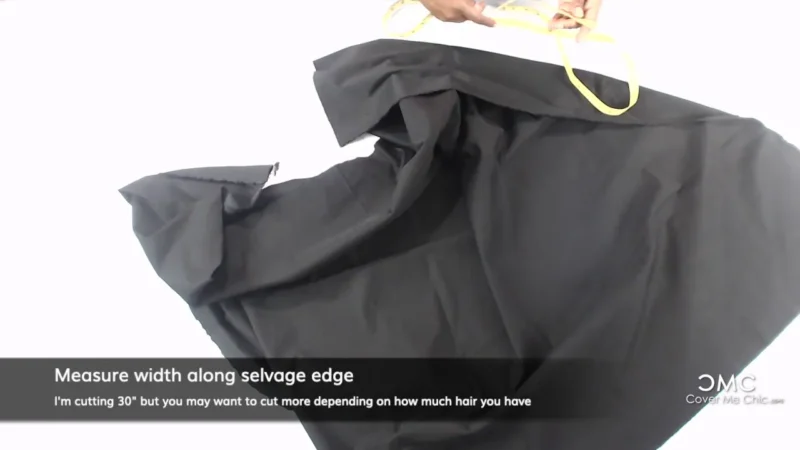
Now that you have your supplies ready, let’s start measuring your fabric:
For most head wrap styles, a length of approximately 30 inches works well. If you have thicker or longer hair, consider adding a few extra inches for comfort and full coverage.
With your measurements complete, it’s time to cut the fabric:
Your finished head wrap will measure approximately 30 inches long by 6 inches wide—the ideal dimensions for comfortable wear without excess bulk when tied.
Creating professional-looking edges is crucial when you make a head wrap:
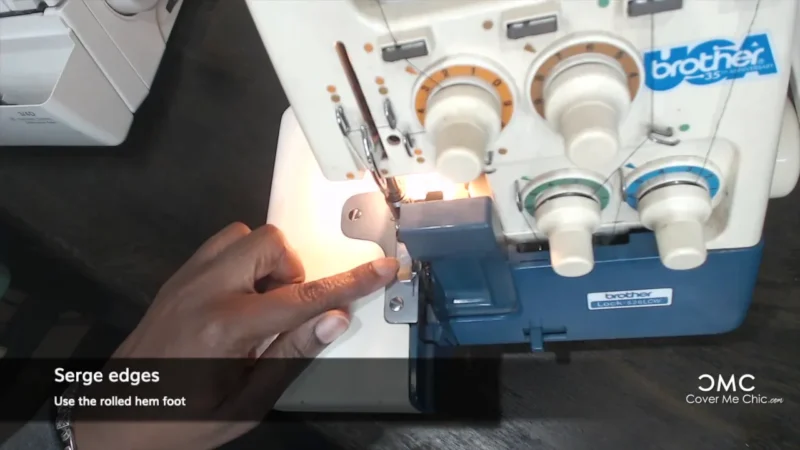
To achieve flawless hems on your head wrap:
Now that you know how to make a head wrap, let’s explore how to wear it! There are numerous styling options depending on your preference and occasion:
Fold your head wrap in half, place it on your head, and secure with a tie at the back.
Twist the fabric at the front, then wrap it around your head and secure at the base.
Create a playful bow at the front for a fun, retro-inspired look.
Experiment with different styles until you find your favorite way to wear your handmade head wrap!
Learning how to make a head wrap is more than just a crafting project—it’s an opportunity to express your creativity and personal style. By creating your own head wraps, you’ll have unique accessories that no one else owns, plus the satisfaction of having made them yourself.
This beginner-friendly project is perfect for crafters of all skill levels. Once you master the basic technique, you can experiment with different fabrics, patterns, and sizes to create an entire collection of custom head wraps.
If you enjoyed learning how to make a head wrap, explore these other creative sewing projects to enhance your crafting skills:
Happy sewing! Let your creativity shine as you make a head wrap that’s perfectly suited to your style and needs. Have questions about how to make a head wrap? Leave a comment below!
Download your free how to Measure your body Tool Kit.
There was a problem reporting this post.
Please confirm you want to block this member.
You will no longer be able to:
Please note: This action will also remove this member from your connections and send a report to the site admin. Please allow a few minutes for this process to complete.